Bias Tape – What is it?
You may know that bias is the direction of a fabric at a 45° angle to the selvage edge. Bias edges are ravel-free, stretchable and flexible and a bias strip can be curved without puckering, whereas a straight-grain cut can’t go smoothly around curves.
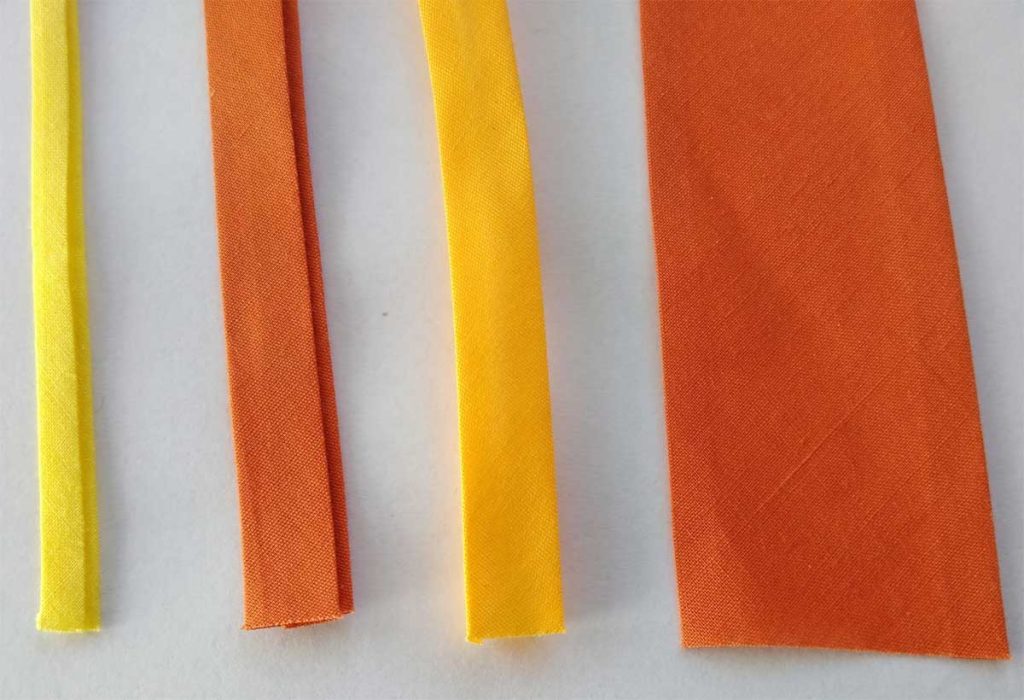
Pre-made bias tape is available in several varieties—single fold, double fold, wide versions of each of those, and also in a quilt binding width. Look for it in myriad solid colors, but also prints, plaids, stripes, metallics and satins. Some brands also make seasonal bias tape offerings, like holiday prints. Bias tape can be purchased pre-packaged or by the yard.
Single-fold bias is a fabric strip with each long edge pressed under once. Standard width single-fold bias tape is ½” wide. A wider width is also available measuring 7/8”-1” depending on the brand.
Double-wide bias is a fabric strip with each long edge pressed under and then the strip is folded in half with wrong sides together and pressed agsin. Standard double-fold bias tape is ¼” wide, while extra-wide measures ½”. Quilt binding is a variation of double-wide bias tape and it measures 7/8” wide. All double-fold bias tapes have one side slightly longer than the other and that goes on the underside during application to help accommodate the thickness to the fabric and still ensure catching both layers with the stitching.
What’s it used for?
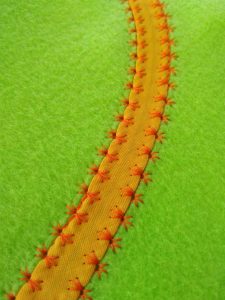 Single-fold bias tape is often used as a flat trim band. Both sides can be sewn down with a straight or decorative stitch. It’s also great for making casings for elastic or a drawstring, and its wider varieties can be used as a hem, armhole or neckline facing.
Double-fold bias tape is used most commonly as an edge finish and to add a pop of color to a project. Double-fold bias is great for encasing a raw edge, such as a seam allowance in an unlined garment, around an apron or as a tie. The extra-wide version is ideal for binding thicker projects like pot holders and the very wide is most often used to finish the edges of quilts or fleece blankets.
How is bias tape applied?
Stitch & Flip
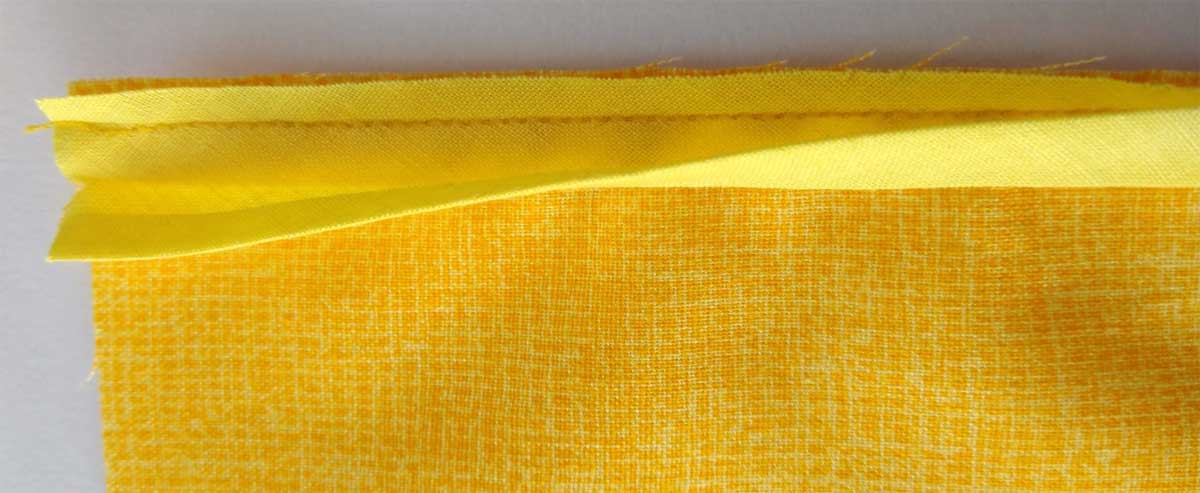
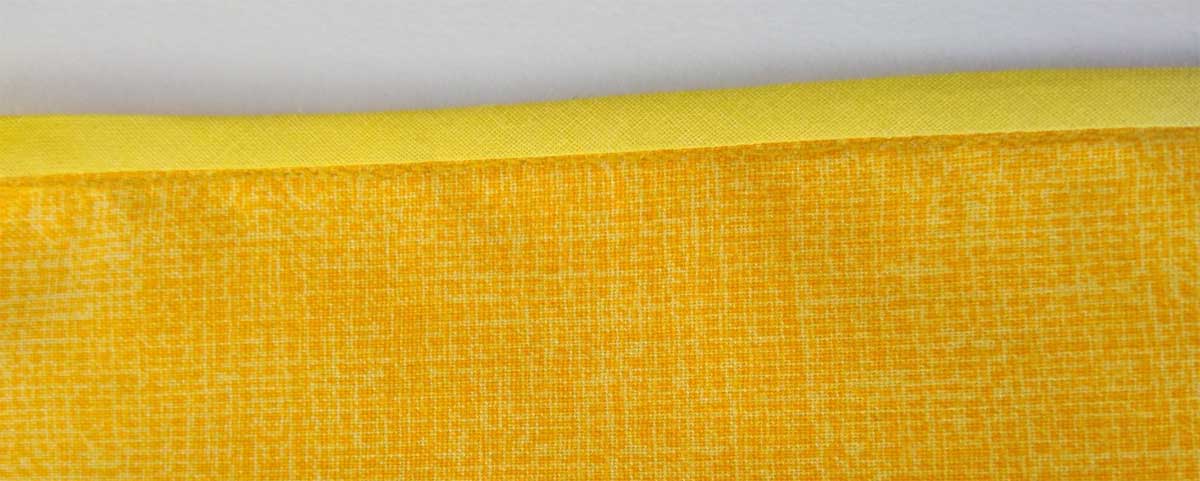
On double-fold bias tape, open out the pressed folds and place the narrowest portion right sides together with the edge to be bound. Stitch along the crease line, turn the bias over the edge and hand-stitch in place. This creates an application with no visible stitching. If there’s enough space on the underside to ensure catching the fold, you can also machine stitch in the ditch of the seam from the right side.
Encase
The easiest way to apply double-fold bias tape is to simply encase the raw edge to be finished and machine stitch the tape in place from the right side. Be sure that the wider portion is on the underside to ensure the stitching catches it. The stitching can be a simple straight stitch or a decorative stitch along the edge or over it.

Fuse
Some brands offer fusible bias tape, both double- and single-fold. To apply this, simply encase the edge and fuse according to the manufacturer’s instructions. Note that the fusing is a temporary hold, so stitching also needs to be done for security. Single-fold fusible bias tape is used for stained glass and Celtic appliqué techniques to cover raw edges.
If you want to make your own fusible application, simply tuck a strip of ¼” wide fusible web tape under the bias tape on both sides and fuse in place.
How do I finish the end of bias binding?
Anytime you can bring the bias tape ends into a crossing seam line, that is ideal. If that’s not possible, simply turn under the starting end of the binding and start stitching 1” in, then as you return to the starting point, tuck in the finishing end under the beginning point and continue stitching. If the bias tape end is free, like on apron ties, simply tie a knot in the bias tape, as the ends won’t ravel. Another option is to hand-stitch the ends in place for an invisible finish.
Can I make my own?
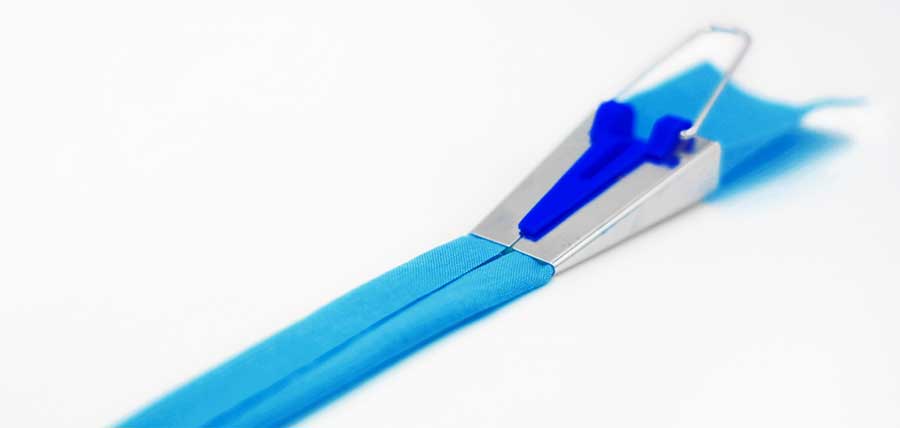
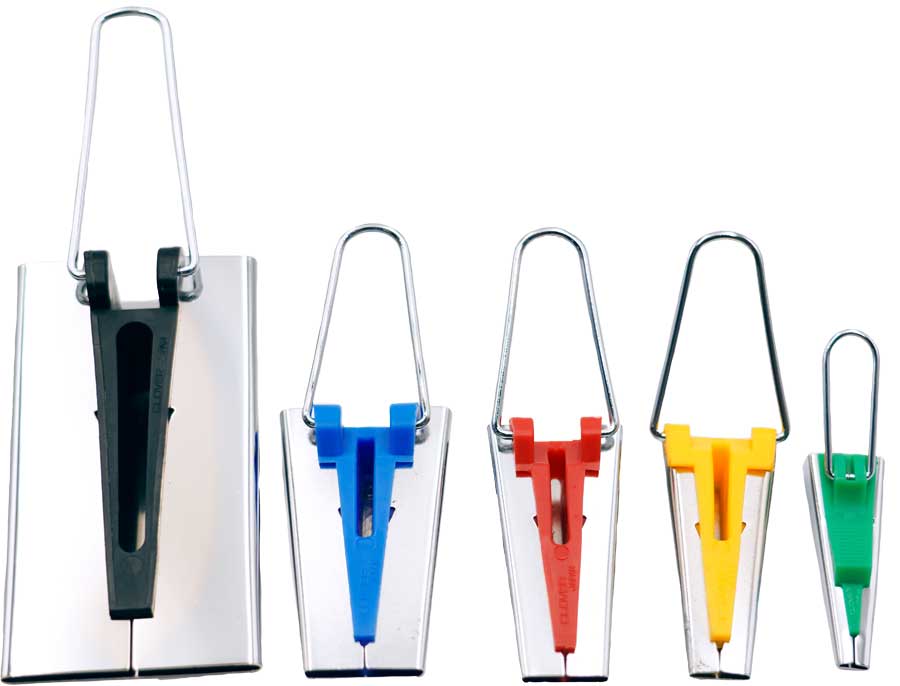
Absolutely, and there’s a bias tape maker to make the process even easier. Bias tape makers are available in multiple sizes and some offer the option of adding a fusible tape in at the same time as the folding and pressing operation. Using one of these devices makes bias tape a consistent width, which is tricky to do when you just try to fold and press it yourself without the tool. Custom bias tape allows you to use whatever fabric you prefer, instead of being limited by available ready-made colors.
Tip: See our video on how to use this tool at https://www.asg.org/how-to-make-your-own-bias-tape/
~Linda Griepentrog
Linda is the owner of G Wiz Creative Services and she does writing, editing and designing for companies in the sewing, crafting and quilting industries. In addition, she escorts fabric shopping tours to Hong Kong. She lives at the Oregon Coast with her husband Keith, and two dogs, Yohnuh and Abby. Contact her at .


