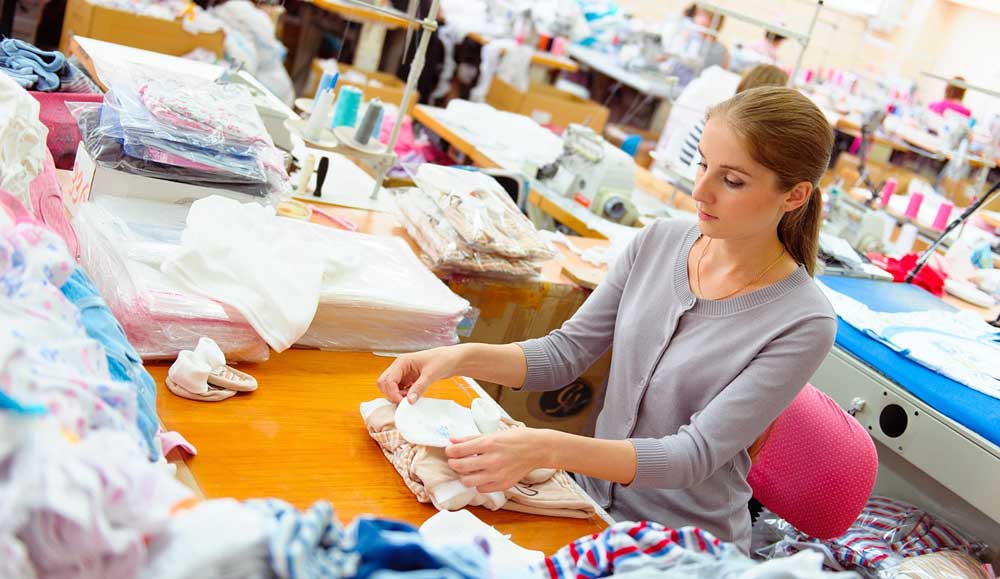
As home sewers, not many of us get a chance to see sewing in a production setting, but for five years I was in charge of a small sewing “factory”. There are many similarities to our own sewing rooms, but also many differences. Some factory findings can be transferred to our personal sewing efforts to help save time and money.
Before you cut out your project, looks through the pattern pieces and see if you can simplify the design. For example, can you change a sew-on facing to a cut-on one and perhaps even create a self-interfacing? That simple change saves both sewing and likely fusing time, and perhaps fabric as well.
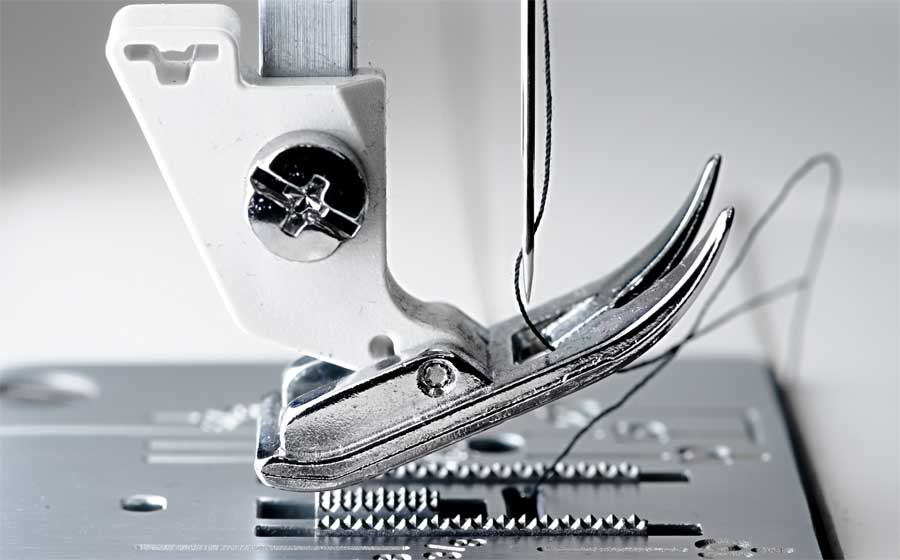
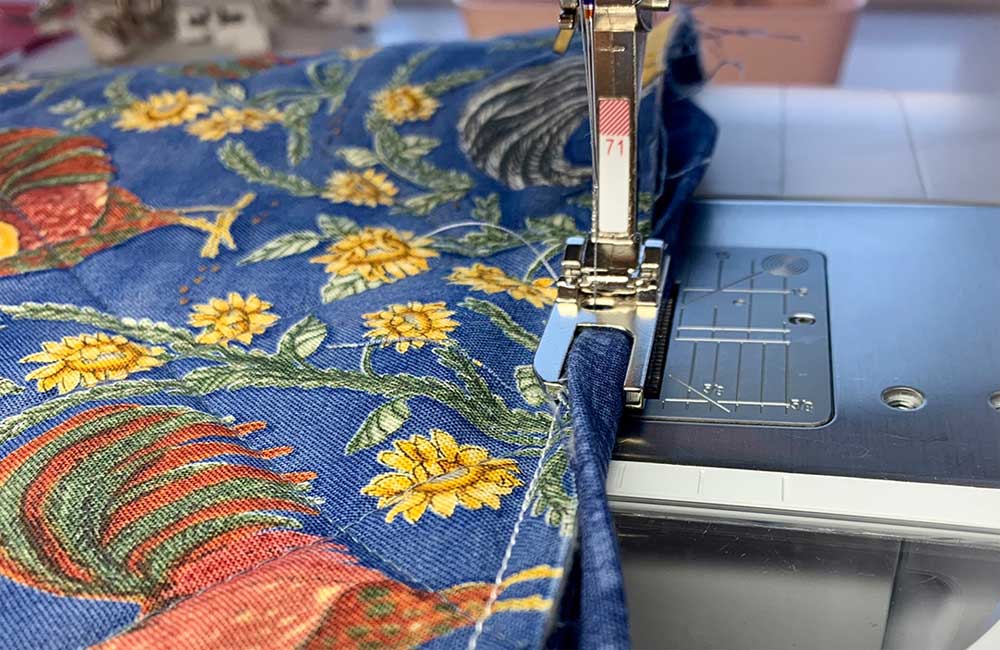
Whether you’re making 10,000 pairs of Levi jeans, or 50 tote bags for a charity project, or a single shirtwaist dress, nothing saves time like chain piecing. If you’re a quilter, you’re probably already familiar with the concept used to create multiple blocks. If not, it simply means that you feed in the next pieces to be sewn continuously without stopping or manually cutting threads. If you have a presser-foot lifter, it’s even easier. Not only a timesaver, but also a thread saver.
This effort means that you won’t be necessarily following the pattern guidesheet, which usually has us making “units”, but instead you’ll be challenging yourself to see how many pieces you can sew together before stopping to press or cut them apart (a built-in thread cutter makes it even easier). For example, when sewing a garment, you could sew both side seams of a skirt, then feed in a sleeve underarm seam, a bodice side seam, the other sleeve seam, the remaining bodice side seam, then a collar and/or facing in a continuous chain. You’re saving time for sure, and lots of thread as you’re not stopping between to pull out new threads before the next seam is sewn. In a factory, there is a specific amount of thread allocated to each item and each step of the production process.
Take note of a huge factory timesaver in choosing where/how to position your cut pieces. The closer you can get the cut pieces to where they’ll be sewn, the less time and motion is involved in the process. In a factory, both of those factors influence cost. An example—place the cut pieces of your project on the bed of your machine instead of on the table next to it. Pieces destined for sewing together should be place right sides together at the machine so you don’t have to fumble with them prior to sewing.
Sew without pins whenever possible. The time it takes to remove pins while seaming adds up and will slow down your continuous sewing. If you feel compelled to pin, place the pins inside or outside of the seamline, so they don’t need to be removed as you sew.
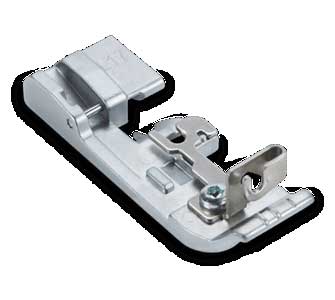
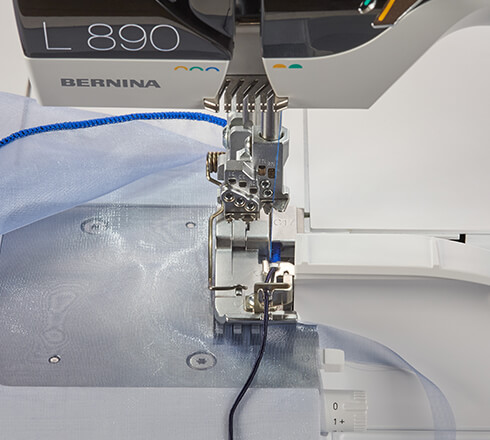
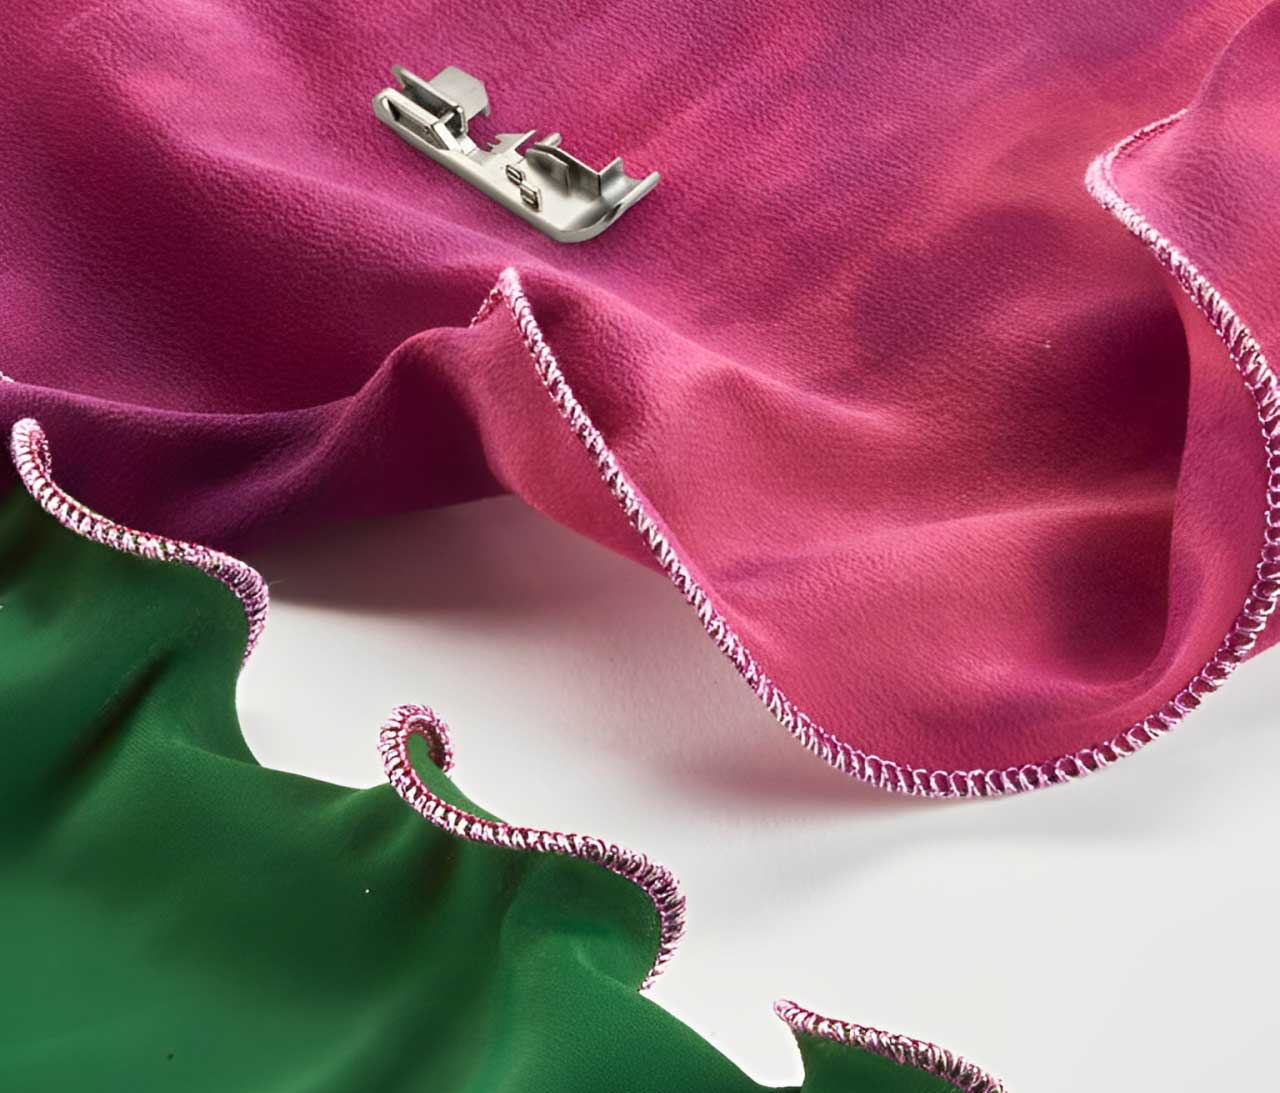
If you have specialty presser feet available for your machine, learn to use them as they will not only make your life easier, but they also save time as they’re designed for the specific task at hand. Bias binders, piping feet, narrow hemmers, folders, etc. are examples of these single-function attachments.
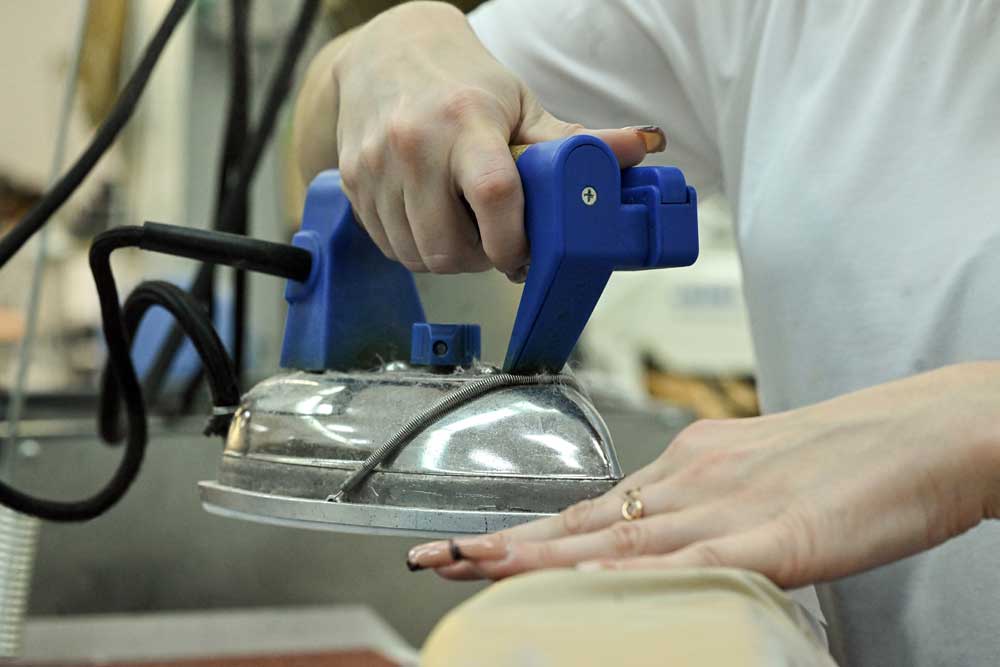
Contrary to our home sewing mantras, most factory work does not include pressing as you go; most likely, if at all, it’s done at the very end of a project. A single final press is the culmination of the sewing process.
If you’re making quantities of a single item, like for a charity or a craft sale, choose a non-directional fabric that doesn’t require matching, and select fabrics that can utilize the same color thread. Both of those things are timesavers.
Whether or not you choose to implement any of these techniques gleaned from production sewing is up to you. Saving bits of time may not be that important to you if you’re savoring the creative sewing process, but if you’re making a hundred of the same item and are bored to tears, time saved is welcome.
~Linda Griepentrog is the owner of G Wiz Creative Services and she does writing, editing and designing for companies in the sewing, crafting and quilting industries. In addition, she escorts fabric shopping tours to Hong Kong. She lives at the Oregon Coast with her husband Keith, and three dogs, Yohnuh, Abby, and Lizzie. Contact her at .