Do you use your serger only for finishing seam allowance edges? If so, let us enlighten you about another use for this wonderful machine—to make decorative edges using wire or fishing line! What, you say?

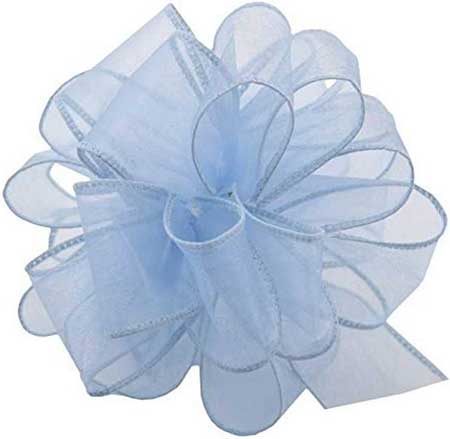
You may have purchased wire-edge ribbon at the store to use for floral or other decorative effects, but with the serger you can make your own with fabric of your choosing. Simply cut long lengths of fabric into strips the width you need, plus ½” for seam trimming. Piece the strips together if needed to get the total length needed for your project.
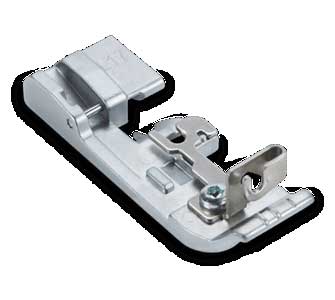
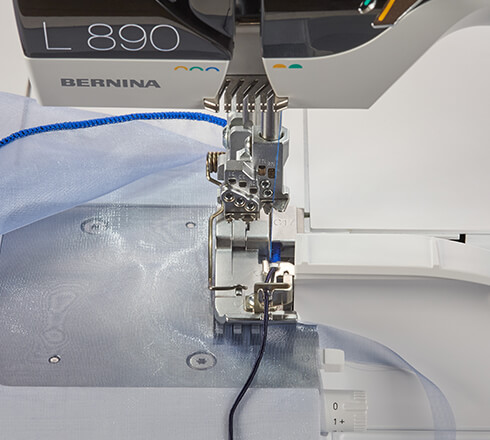
Select a very thin florist or beading wire and, if it’s available for your serger, a cording/beading foot. This foot has a designated channel/guide to help direct the wire for encasing with serger stitches. If you don’t have that foot, the standard foot can work, but it will take a bit more effort to guide the insertion.
Use a medium-width, medium- to short-length stitch setting to encase the wire, depending on how much you want it to show (or not). A rolled hem setting will totally cover the wire if that’s the preferred look. Test-stitching will determine the proper length and width setting.
Position the wire under the presser foot so that the serger stitch covers it—about ¼” in from the right side cut edge. Do not try to guide it exactly along the fabric edge, as you will slip off. It’s better to let the serger knife trim the edge next to the wire as you sew to make a neater and cleaner looking edge. For ribbon-making, be sure not to stretch the fabric edge as you sew or you’ll create ruffles.
At the end of your ribbon length, repeat the wire encasement on the opposite length. Clip the wire ends close to the stitching and secure with a seam sealant.
To make the fabric ribbon stiffer, spray with starch or starch alternative. Shape the wire to form the bow or whatever shape is needed for your project.
You’ll often find a similar edge on fabric, especially on wedding and evening wear, only the edge finish encases fishing line instead of wire. The edge can be flat or ruffled.
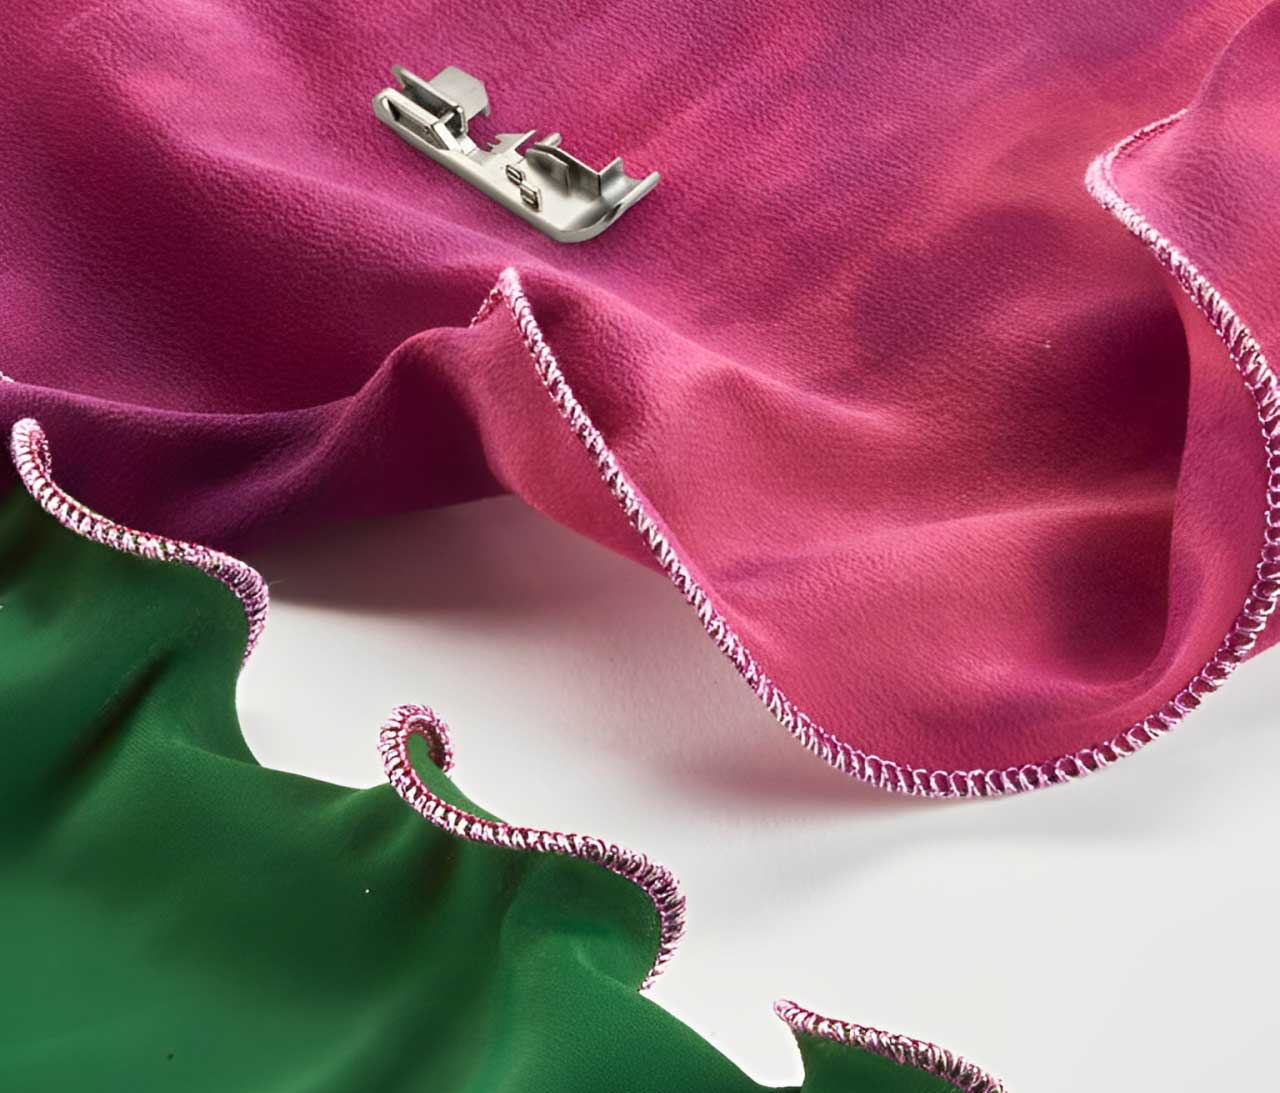
To make an edge finish on a fabric, like net, tulle or lightweight sheer, follow those same processes but use lightweight monofilament fishing line (10-15 lb.) instead of wire. For heavier fabrics, like satin or taffeta, or when serge-finishing two layers together, a 25-lb. fishing line weight works well.
Leave a 4”-5” fishing line tail at the beginning of your serging. If you want a flat edge, be careful not to stretch the fabric as you sew, but if you want undulating ruffles, sometimes called lettuce edging, stretch the fabric as you serge. For a prominent looking edge, use a rolled hem setting; for a lighter looking edge, use a medium stitch length and width.
When you’re serging fishing line into a hem and wondering what to do when you come to the end of the circle, the answer is easy—just keep stitching after you cut off the finishing end of the line. As you continue stitching over the previously stitched area, both the finishing end and the beginning end will be encased. Then, clip off any additional length.
Another Way
If you don’t have a serger, you can create wired or fishing line edges on your conventional machine. Choose a cording or buttonhole foot with a guide slot for the filler and follow the same instructions as above. Stitch inside the fabric cut edge about ¼” rather than trying to go over the fabric edge, then carefully trim the excess close to the stitching once you’re done sewing.
~Linda Griepentrog is the owner of G Wiz Creative Services and she does writing, editing and designing for companies in the sewing, crafting and quilting industries. In addition, she escorts fabric shopping tours to Hong Kong. She lives at the Oregon Coast with her husband Keith, and three dogs, Yohnuh, Abby, and Lizzie. Contact her at .