


Ever wondered how to line-up/match the pattern of your fabric across seams? This 1-minute tutorial is a sure fire way to get it right!
Sew Confusing: Pattern Instructions
As you read pattern instructions there may be some unfamiliar terms or worse yet, things that sound similar and you’re not sure what’s what. Let’s take a look at some often-confused terminology and set it straight for your next project.
Interfacing/Stabilizer
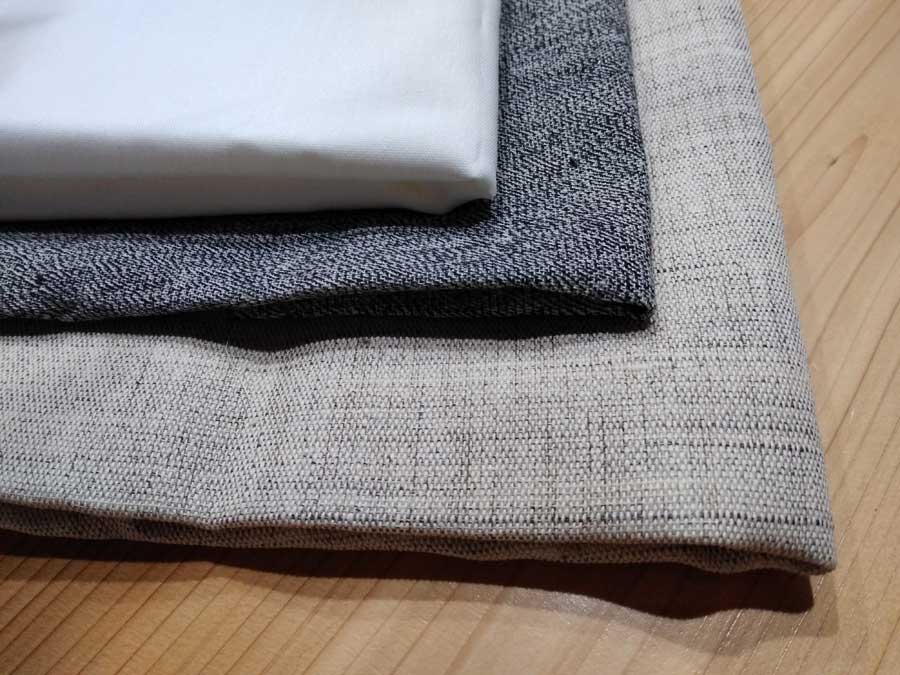
Interfacing (woven, non-woven or knitted) is used anywhere more firmness or body is needed during construction—like in collars, cuffs, front openings, etc. It remains in the garment permanently. Sometimes entire garment sections like jacket fronts are interfaced to add body to the fabric.
Stabilizer is one of many types of products (knit, woven, non-woven; fusible or non-fusible; temporary or permanent) used to add body and support for a specific function, like machine embroidery or decorative stitching. Depending on the use, it can remain permanently in the project, or it can be removed once the function is complete, like using tear-away stabilizer under embroidery.
Stay Tape/Basting Tape
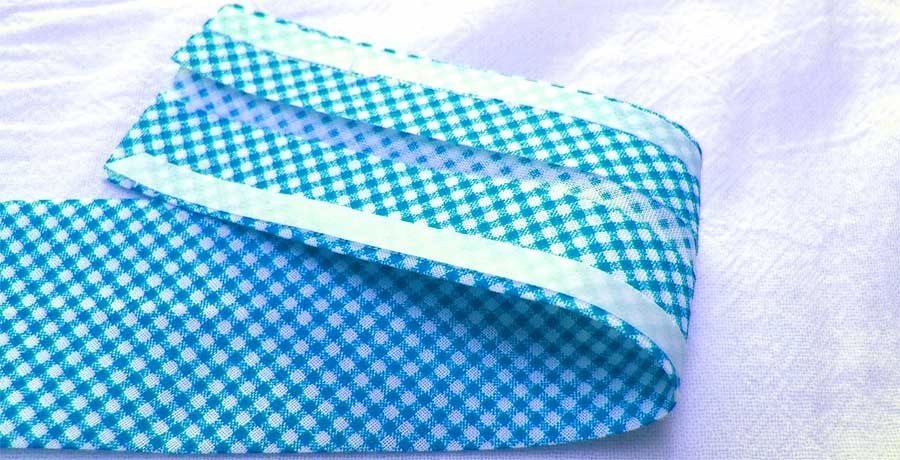
Stay tape is a narrow strip of woven or knit fabric used to stabilize an area and keep it from stretching. Common areas for stay tape use are shoulder seams, necklines and hems in knit garments; the front of a wrap dress or blouse, or lapel areas in a tailored garment. Stay tape can also be used to stabilize zipper areas in stretchable fabric and to keep pocket openings firmly in shape. Tapes can be sewn in (by hand or machine) or fused.
Basting tape is a narrow, double-sided adhesive product used to hold something in place temporarily while sewing. Most basting tapes are water-soluble, so they disappear after washing. A common place to use basting tape is to hold a zipper in place for stitching, especially in bulky fabrics like fleece, to hold a patch pocket in place for no-slip topstitching, or to temporarily hold binding in place.
Staystitching/Basting
Staystitching is a regular length straight stitch sewn through a single layer of fabric in garment areas that tend to stretch during construction—like armholes, necklines and bias-cut seams. It is sewn just a hair inside the seamline and remains in the garment.
Basting is a long straight stitch used to temporarily hold the garment together for fitting, or other reason why only a temporary hold is needed, such as applying a zipper or trim. Basting can be done by hand or machine and can be used any place for a more secure hold than pins provide. Basting stitches are also used to help ease fabric, like in a sleeve cap, or to gather it, like for a skirt.
Fusible Web/Fusible Adhesive
Fusible web is a film-like adhesive sheet, often backed on one or both sides with a protective paper. It is frequently used for appliqué, hems and any place where a permanent hold is needed, other than sewing.
Fusible adhesive is a generic term that can include fusible web, but it can also include heat-activated glues or sprays, either permanent or temporary.
Ironing/Pressing
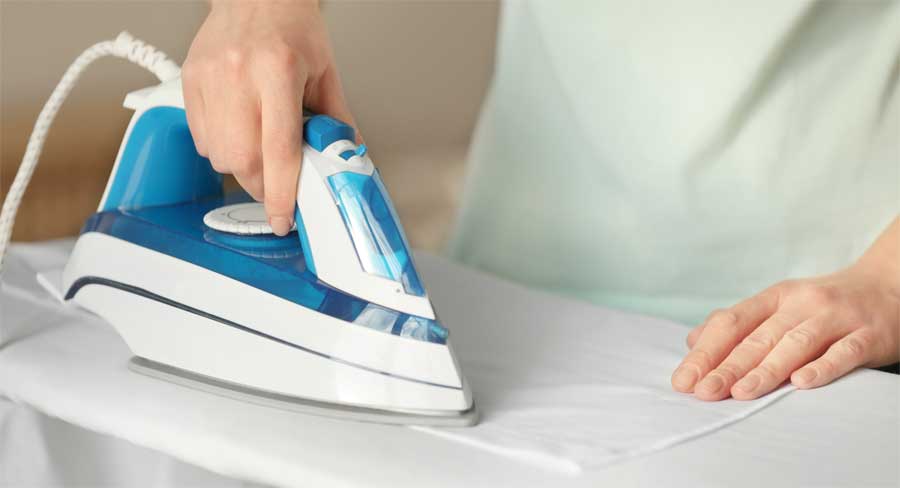
Ironing is something you do after clothes are laundered to get rid of wrinkles. It involves sliding the iron back and forth with pressure to rid the item of creases created by the washing/drying process.
Pressing is something you do during the sewing construction process to ensure a professional look to the finished project. It involves lifting the iron from one place to another, rather than sliding it, as the latter can stretch in-progress pieces out of shape. Pressing is often done from the fabric wrong side, like when opening a seam, or setting fullness in a sleeve.
Both pressing and ironing can be done with a dry or steam iron, depending on the fabric. Pressing cloths can be used to protect delicate fabrics during the sewing process.
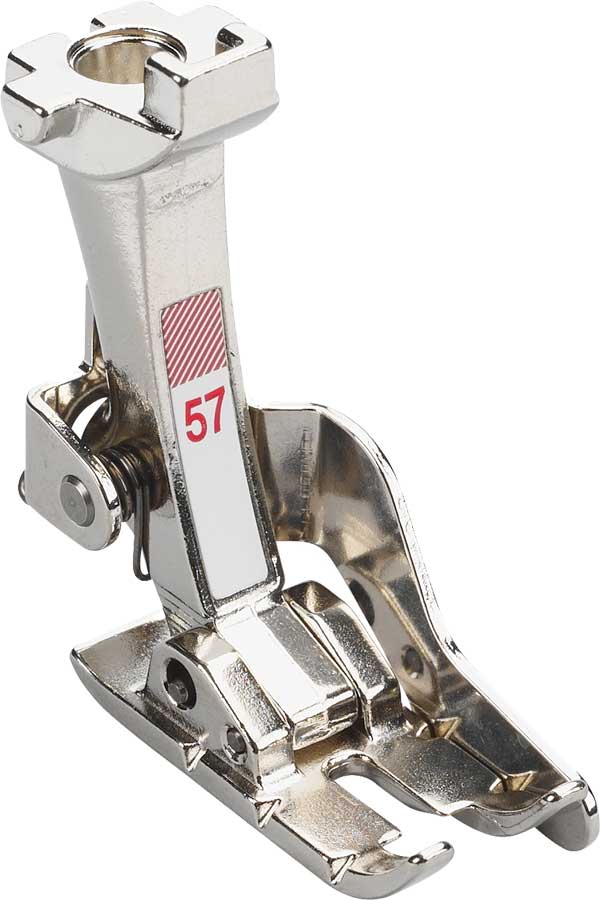
Seam Guide/Seam Gauge
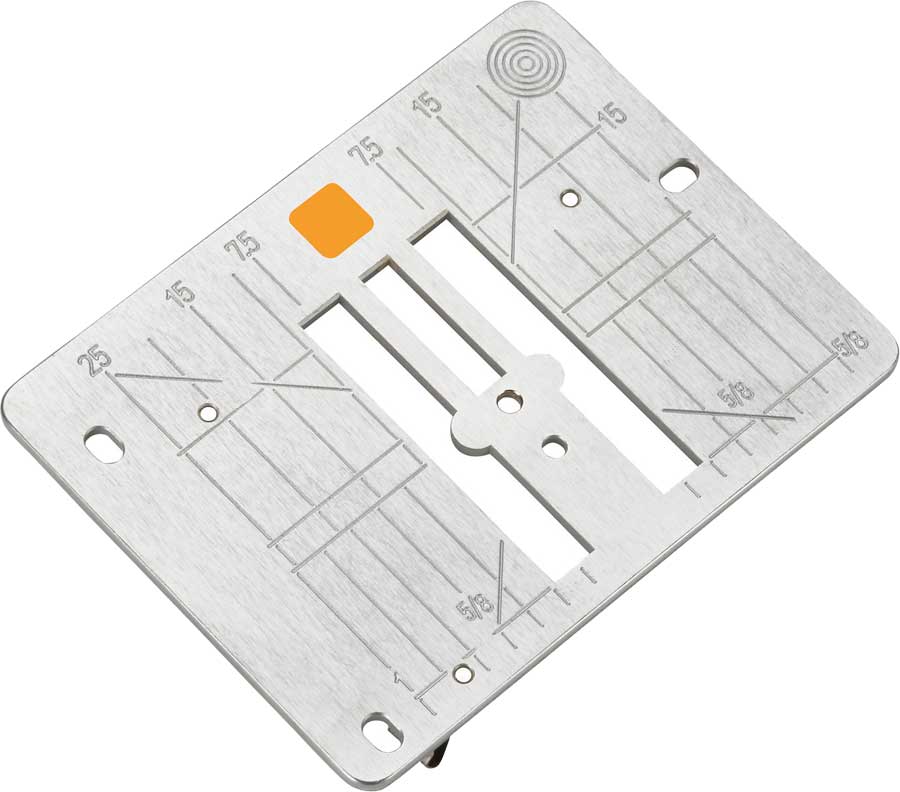
A seam guide is used to help keep an even seam allowance while sewing. It can screw onto the machine, attach magnetically or be incorporated into the presser foot. Temporary guides can be easily adjusted to change the distance from the needle to guiding edge. The term can also refer to the lines marked or etched on the machine needle plate.
A seam gauge is a short metal or plastic ruler with a sliding mechanism to indicate a specific measurement—especially helpful for measuring hems or spacing buttonholes.
Scissors/Shears
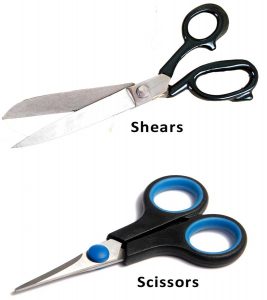 While both scissors and shears are designed with pivoting blades for cutting, the usual distinction is that scissors have blades shorter than 6” while shears have longer blades. In addition, scissors have two of the same-sized finger holes, while shears have asymmetrical finger holes, usually a large one and a small one. Shears are specific to left- or right-handed users, while scissors can be used by either. There are many specialty types of scissors and shears available.
~Linda Griepentrog
Linda is the owner of G Wiz Creative Services and she does writing, editing and designing for companies in the sewing, crafting and quilting industries. In addition, she escorts fabric shopping tours to Hong Kong. She lives at the Oregon Coast with her husband Keith, and two dogs, Yohnuh and Abby. Contact her at .
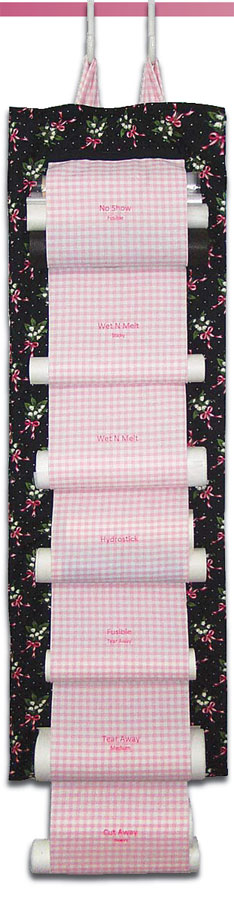
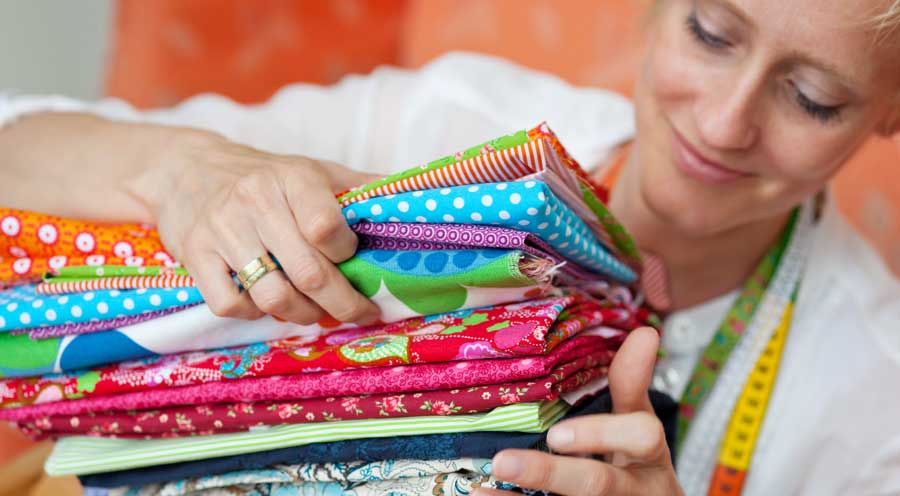
Stabilizer Organizer
Tired of hunting for the right stabilizer every time you tackle an embroidery project? This project is a great way to keep them clearly identified and within easy reach. Carmen DePalma, a talented educator and ASG member, originally created the organizer for the Marathon Thread Company and has shared it with us.
 Sturdy Home Dec, Denim, or Canvas Fabric*
- 1—28″ x 60″ rectangle for the base
- 7—20″ x 10″ rectangles for the pockets
- 1—12″ x 4″ strip for the hanging loops
Additional Supplies
- 77″ of 1″-wide ribbon
- Fusible web, such as Steam-A-Seam (optional)
- Glue stick (optional)
- 2 Over-the-door hooks if hanging on the back of a door
*If you prefer to use a lightweight fabric, you will also need:
- 1—14″ x 60″ piece of batting or fusible interfacing for the base
- 7—20″ x 10″ rectangles of fusible interfacing for the pockets
- 1—12″ x 14″ strip of batting for the hanging loops
Prepare the Pockets
For lightweight fabric, fuse interfacing to the pocket sections before you begin.
- On each pocket section, machine embroider* the name or type of stabilizer you will store in this pocket, centering the lettering approximately 5″ below the top (10″) edge. If your machine doesn’t embroider letters, use a fabric pen to print the names.
- Serge-finish the long edges of each pocket section or press under 1⁄4″ twice and fuse or topstitch in place.
- Fold the pocket in half crosswise and stitch or serge the 10″ edges together. (Note: This edge will not show on the finished holder.) Do this for all seven pockets.
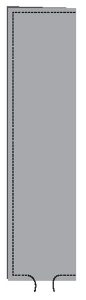
Construct the Hanging Loops
- Fold the long edges of the loop strip 1⁄2″ under and press. With wrong sides together, fold lengthwise in half; topstitch close to the pressed edges.
- Cut into two 6″ long sections.
If using lightweight fabric, insert a strip of batting into each loop. This will strengthen the loop and help support the weight of the holder.
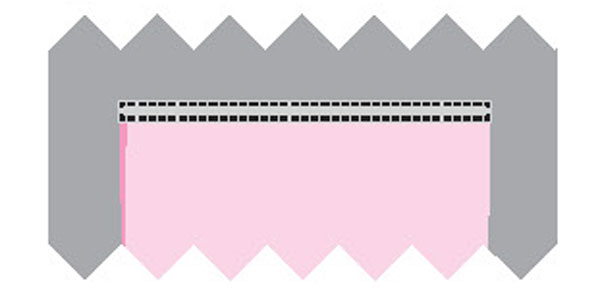
Position the Loops
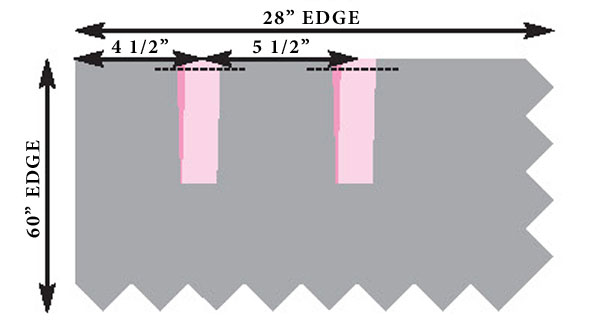
- Working along one 28″ edge of the base, measure and mark 41⁄2″ in from one long edge. Measure and mark again, 51⁄2″ from the first mark.
- Fold each strip crosswise in half to form the loop. Center one loop over each mark, matching the raw edges of the loop to the raw edge of the base. (The loops will be approximately 4″ apart.) Machine baste 1⁄2″ from the raw edges, through all layers.
 Assemble the Base
 Fold the base in half lengthwise, right sides together.
Note: For lightweight fabric, center batting over the folded base or fuse interfacing to one (wrong) side before proceeding.- Using a 1⁄2″ seam allowance, stitch around raw edges of the base, leaving a 10″ opening at the center of the lower edge for turning.
- Clip the corners. Turn the base right side out; tuck the raw edges in at the lower edge and press. Slipstitch *or machine stitch the opening closed.
- To reinforce where the loops are attached, topstitch across the upper edge of the holder.

Attach the Pockets
- Pin the first pocket to the base so that its upper edge is 1″ above the lower edge of the base. Make sure the embroidered names are “right side up.” Machine baste.

- Pin the next pocket in place so its lower edge overlaps the upper edge of the first pocket by about 1″. Repeat, until all seven pockets are pinned and basted in place.
- Cut the ribbon into seven 11″ pieces. On each piece of ribbon, fold the cut ends under 1⁄2″ and press.
- Center one piece of ribbon over the upper edge of one pocket; pin or glue-baste in place. Edge-stitch all around the ribbon, stitching through the pocket and the base.
- Repeat for the upper edges of all the pockets.
~Carmen DePalma, ASG Tampa Chapter
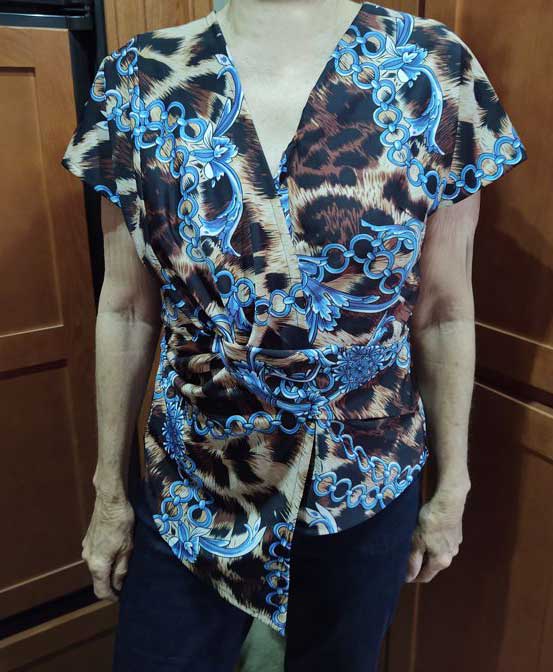
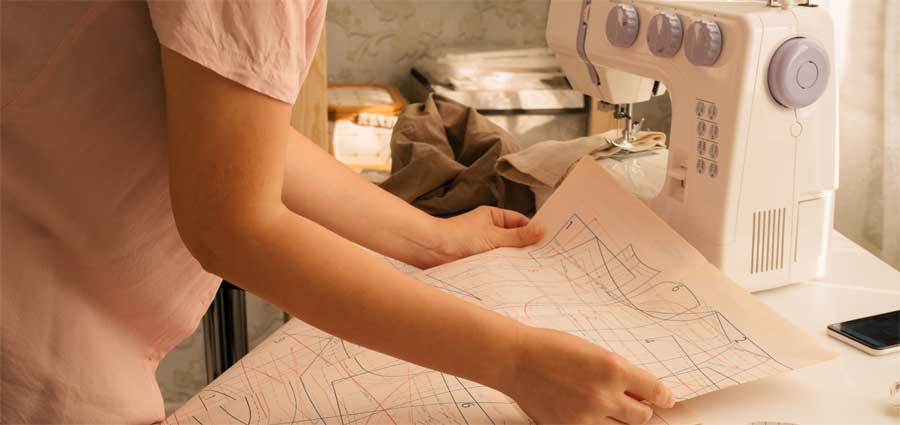
What I’m Sewing: Alyce Blouse
Linda Jensen from the ASG Lake County Chapter shares her experience making this great-fitting blouse from Silhouette Patterns.
 Q. Item Created
A. Blouse
Q. Independent Pattern Designer
A. Silhouette Patterns
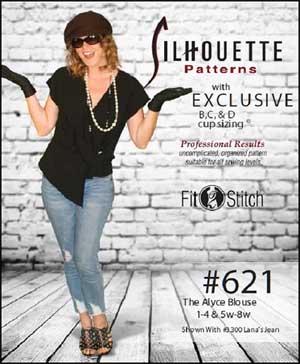
Q. Name and Number of Pattern
A. Alyce Blouse #621
Q. Fabric Used:
A. Stretchy knit, but a wide variety of fabrics can be used
Q. Special Embellishments/Notions Used
A. None
Q. Skill level required?
A. All levels
Q. Are the instructions easy to follow?
A. Yes, they are easy to follow. There is also a YouTube of making the top that is helpful. Be sure you mark all notations of the letters to put it together.
Q. Are you pleased with the finished result? Did it meet your expectations?
A. I got a blouse that was very different from the usual plain blouse, which is what I wanted.
Q. Did it look like the picture?
A. Yes
Q. Did you make any modifications in the pattern?
A. No
Q. Are there any changes you would have made?
A. No
Q. Did the pattern teach you any unique or special techniques?
A. I learned that I needed to use knit interfacing when using very stretchy fabric.
Q. Would you make this again?
A. Yes
Q. Would you recommend this pattern to others?
A. Yes
Pattern Link: https://www.silhouettepatterns.com/html/patterns/p_621.htm
* Pattern found exclusively at http://www.fit2stitch.com/p_621.html
~Linda Jensen, ASG Lake County Chapter
Sewing: An Improbable Match of Math and Creativity
I teach Algebra
T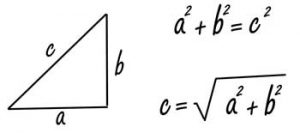 here, I said it. Go ahead, I’m used to the rolling of the eyes as well as both the internal and external groans. Such a pronouncement usually has one of two effects on the conversation: It either stops it dead or leads to everyone sharing their horror stories of trying to learn algebra.
At first I try to redeem myself by quickly adding that I used to teach Accounting, but that usually resulted in adding to the drama, or clearing the room completely. So, for years I have tried to hide my association with anything mathematical. I’m actually not a real math geek. I majored in business and worked my way through college as a stenographer, but I found that math came easy to me and had a logic and balance that went well with my personality and love of sewing.
Yes, I just matched math with SEWING.
Thanks to my math ability, when I look at a pattern, the logic and sequencing of algebra helps me anticipate the steps in construction. I can almost see a garment coming together before I ever look at the instructions. It’s great for fitting — being able to quickly and accurately manipulate fractions allows me to tackle the most complicated adjustments over multiple pattern pieces. This quirky talent puts me in high demand during any fitting workshop.
My association with math also helps me to easily draw quilting patterns and design purses, tote bags, placemats, table runners, and more. While my non-mathematical friends are limited to patterns on the market that have predetermined sizing, I can accurately create items to fit the size I want rather than make do with what’s available. Math also helps in determining ahead of time if a piece of fabric is large enough to accommodate my design or I’ll need to adapt the pattern to fit the fabric. And when it comes to mass production, math allows me to calculate how many items I can get from a yard of fabric so that I can purchase just the right amount. (OK, so I rarely limit myself to just the right amount, but it does keep me from purchasing too little.)
Of course, blessings can quickly turn to curses and, more than once, math has made me the pariah at an ASG meeting. For example, many years ago when a friend discovered kaleidoscope quilts, she shared this wonderful new idea at our neighborhood group meeting and offered to order the plastic template we’d need to create the kaleidoscope effect. While everyone else was scampering around to pay the $25 for the template, I sat and stared at her pictures. Before I realized it, I heard the following words come out of my mouth, “That’s just an equilateral triangle with 60 degree angles.”
 Silence. Dead silence.
My friend assured me I was wrong, and the only way we could create the true kaleidoscope was to purchase the template. On my 45 minute drive home, I reviewed my logic and calculations over and over and couldn’t see any flaws. At home, I got to work drawing a cardboard template and proceeded to make my own kaleidoscope motif. Then I set aside the $25 for more fabric. Yay me!
Who said geometry would never be useful?
As much as I tout the benefits of math, I must admit that its logic and balance occasionally get in the way of my sewing. That’s when the other side of my brain wants to take over the creative process. It’s often an internal struggle to allow myself the freedom to ignore symmetry and place an embroidery design off center or to color block with an abandon of precision. But when I’m fortunate enough to win this struggle, sewing becomes my blank canvas and I can see the many possibilities a piece of fabric provides. What does it want to become? Does it want to be paired with another color, many colors? What accent pieces will give it that “bling” that makes my project “pop?” Making these decisions requires thinking outside the box. It’s not simply following the rules and balancing equations, but making decisions based on emotions rather than pure logic.
When I see the finished product, what pride and feelings of accomplish I achieve! And the more I create, the more inspired I become. Do you use all of your abilities and talents when you sew? Even the ones that aren’t “sewing” related? Remember that structure and rules don’t always have to be followed. Don’t just think outside the box, sew outside of it as well. For me, the blending of math and creativity activates both the right and left brain and keeps me alert and alive. That’s a high that’s worth experiencing, one that only sewing provides.
~Rosemary Fajgier
- « Previous Page
- 1
- …
- 39
- 40
- 41
- 42
- 43
- …
- 79
- Next Page »
