


A new member talks about her experience in joining ASG and about how she loves the education, friendships and tips. Welcome, Ginger!
~Sheryl Belson
A new member talks about her experience in joining ASG and about how she loves the education, friendships and tips. Welcome, Ginger!
~Sheryl Belson
What is the one item that you absolutely must have for every sewing project you will ever do? It’s fabric, of course! Since the fabric you choose will have a significant impact on how your finished project turns out, it can help to have an understanding of how fabric is woven so that you can meet the expectations of your finished project. While weaving is a skill all on its own, understanding weaving principles can open our eyes to a greater depth of our understanding of fabric. Let’s start by watching this 7-minute video as we see cotton and hemp woven into fabric.
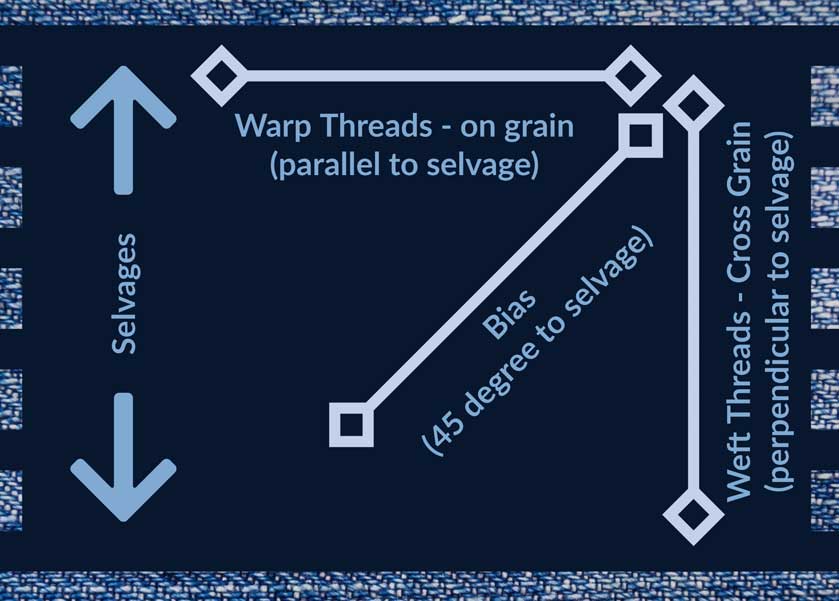
Now that we have a visual of the process, let’s look at fabric terms:
Selvage: The video provides a great visual representation of selvage and why it exists. The process of shuttling the weft threads back and forth is what creates the finished edge. Now, as you think about how that thread if shuttled from one direction then the other, wrapping the edge as you turn to the other direction, selvage makes a lot more sense. No wonder it doesn’t ravel! And since it is created by wrapping those vertical warp threads, it now makes sense why the selvage is so vital to determining the grainline, as well as the most stable part of the fabric. The selvage can be included when cutting a waistband to help reduce the stretch factor that is sometimes experienced while wearing a garment. Using the finished edge of the selvage in a waistband can add strength and may eliminate the need to turn another layer of fabric inside, thus reducing a layer of bulk.
Warp: As shown in the video, warp threads are the first to be set up and run the length of the fabric. Warp threads provide the structure for the weft threads to weave through and give the fabric stability. Warp thread and grainline go together — the grainline equals the direction of the warp thread. Doesn’t it make more sense now that the grainline is the most stable direction of the fabric?
Weft: Remember the threads being shuttled from the left to the right in the video? Those vertical threads are the weft, which also defines the cross grain of the fabric. The cross grain is the second most stable direction of your fabric but since they are not held tightly in place like the warp thread, they have a bit more “give” to them. However, since they are in a straight line, they have more stability than the bias, which we will talk about next.
Bias: Think of bias as a tic-tac-toe grid and draw a line from one corner to the opposite diagonal corner. That 45-degree angle is the bias. This has the most give and the least stability of any direction in your fabric. With an understanding now of how threads are woven, you can probably visualize the tiny gap between the threads. When you pull those threads at a diagonal, there is no straight thread to pull against, thus you are pulling across that tiny open gap between the threads. Sometimes we use the property of bias to the advantage of a project. For example, a garment made with bias-cut pieces will have a greater amount of drape and will skim the body much more than the same garment made of the same fabric that was cut on the grain.
Grain: By now, just by talking about warp and weft, we have already addressed grainline. But to see a little bit more focus on the grainline, watch this 6-minute video we published in January of 2020. It addresses some of the things already discussed here with a little more information about how to identify and use the grainline when cutting out your projects.
Hand: The final term in this discussion is hand. The “hand” of a fabric refers to the “feel” of the fabric against your skin. There are many adjectives that can be used to describe the hand, or feel, of a fabric. Words like cool, slick, smooth, loose, stiff, heavy and stretchy can all be used to tell someone about the hand of a fabric.
We hope that diving into the art of weaving has given you a new perspective on fabric and has helped to explain the importance of understand the relationship between the fabric you’ve chosen for your project and your desired outcome.
~Sheryl Belson
November 16 is National Button Day! Buttons can be utilitarian, decorative, functional, collector’s item, or works of art and this special day is a celebration of buttons, whether they are in a tin in a drawer, attached to a garment, or displayed in a competition. National Button Day was founded in 1938 by the National Button Society and recognizes button collecting as an organized hobby. Watch our video interview with Jerry Dawson with Benno’s Buttons and see some of his unique buttons, then ASG members are invited to take advantage of a 15% discount from Benno’s Buttons using the code found in the Special Offers area of ASG.org.
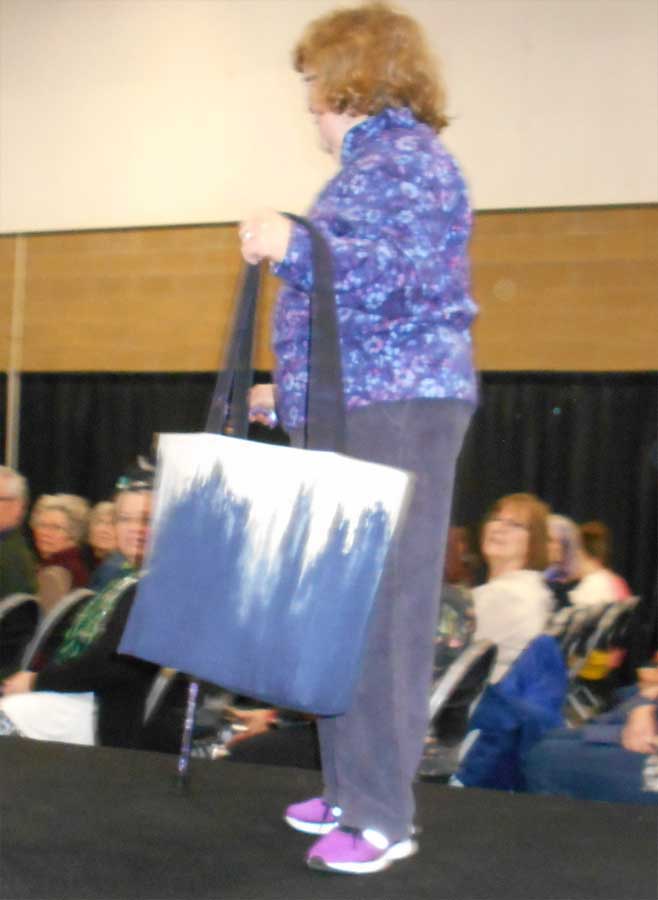
Charlotte Trayer from the Seattle Chapter of ASG created this roomy, fat quarter friendly tote bag.
 Q. Item Created
A. Tote bag
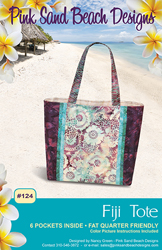
Q. Independent Pattern Designer
A. Pink Sand Beach Designs
Q. Name and Number of Pattern
A. #124 Fiji Tote
Q. Fabric Used:
A. Cotton/linen for exterior, Japanese cotton print for lining, other cotton fabric for trim
Q. Special Embellishments/Notions Used
A. A Czech glass bead on the inside, to fasten a strap for my water bottle tote
Q. Skill level required?
A. Medium
Q. Are the instructions easy to follow?
A. The instructions were very easy to follow. It did use some Pellon products with which I wasn’t familiar. In the second rendition (in the first tote, I used all cotton fabrics from my stash), I did make one substitution and changed a couple of things about it.
Q. Are you pleased with the finished result? Did it meet your expectations?
A. Very much so to both questions. I receive compliments whenever I carry either tote.
Q. Did it look like the picture?
A. The first one did as I made it exactly according to directions to test the pattern. The second one is similar, but with changes listed below.
Q. Did you make any modifications in the pattern?
A. I made modifications on my second tote. First, I used a solid fabric for the exterior instead of piecing it as the pattern directs. Then I made the handle a little longer so I could put it over my shoulder. I also added a strap with button/buttonhole to the interior–the strap goes thru the handle of my water bottle tote (which I also made), to hold it upright. Finally, I made a slight change to the spacing of the stitching on the pocket panels so that the center pockets would be a little wider.
Q. Are there any changes you would have made?
A. None, other than the handle length, etc. mentioned above. Although, next time I may add an exterior pocket to the center panel.
 Q. Did the pattern teach you any unique or special techniques?
A. Just working with the Peltex, which is very stiff! Sewing the corners was a bit of a challenge for that reason.
Q. Would you make this again?
A. Probably.
Q. Would you recommend this pattern to others?
A. Yes!
Pattern Link: http://www.pinksandbeachdesigns.com
~ Rosemary Fajgier
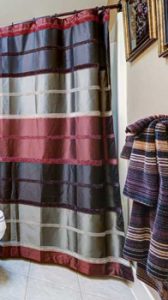 Nothing’s more fun than sprucing up your home and as sewers, a little refresh is easy to do. So, why not start in the bathroom with a fun fabric shower curtain!
A standard shower curtain is 72” square, so be sure to measure your tub/shower before you buy fabric and adjust as needed.
From 45” or 54” wide fabric, cut two panels 88” long, trim the selvages and seam the lengths together. Press the seam open. Trim the seamed piece to 80” wide. Use the extra fabric to trim towels or make a fabric basket for the bathroom.
Press a double 2” hem on each side of the curtain and stitch in place close to inner fold.
Press up a double 4” hem along the bottom of the curtain and stitch in place close to the upper fold. To make the shower curtain hang smoothly, include a plastic covered weight in each corner of the hem, or if your tub is metal, a plastic covered magnet for a sure hold.
To make the top hem, fuse a 4” strip of medium-weight interfacing to the wrong side of the upper edge, abutting the seams as needed for the entire width. This provides support for the buttonholes or grommet openings. Press a double 4” hem at the top and stitch close to the lower fold.
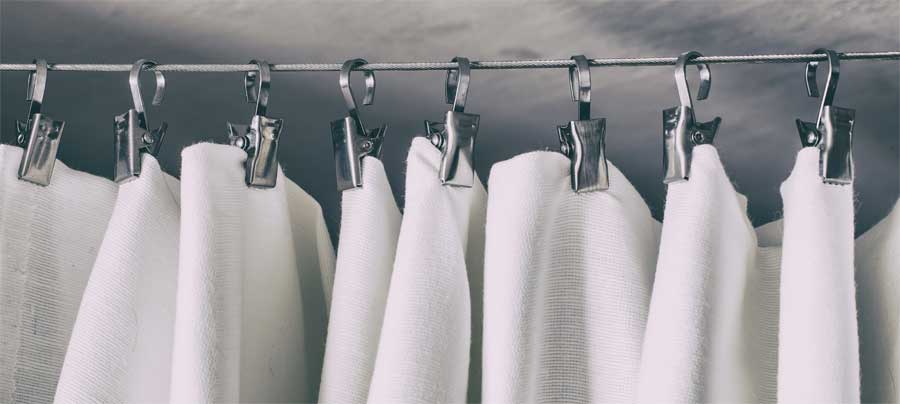
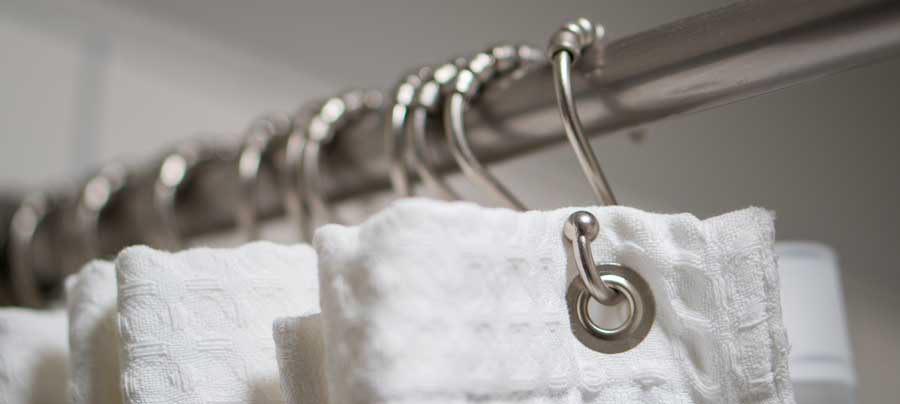
Shower curtains can have one of many options at the top, but a 72” curtain should have 12 openings for attachments of some sort, either metal or plastic hooks or rings. The openings can be stitched buttonholes, or metal or plastic grommets—either large or small–so choose your desired feature. You can even choose spring clips and avoid creating holes altogether.
If you opt for buttonholes, you can hang the vinyl liner on the same rod using the hook/loop set. If you opt for large grommets, then you’ll need a separate rod for the vinyl liner.
For buttonholes, evenly mark 12 hole placements 1” from the finished upper edge. Stitch a 1” long buttonhole at each mark. For quick and easy marking, lay your vinyl shower curtain liner on the wrong side of the fabric curtain and mark through the liner openings so they’ll align. Carefully cut open the buttonholes after stitching.
If you’re using either small or large grommets, follow the manufacturer’s instructions for insertion.
As easy as it is to make a shower curtain, stitch some for different seasons and holidays to change up your décor. Or if company is coming, try a different theme they can relate to. Personally, we have friends who love everything Disney, and a Mickey print shower curtain brings a smile to their faces when they visit.
~Linda Griepentrog
Linda is the owner of G Wiz Creative Services and she does writing, editing and designing for companies in the sewing, crafting and quilting industries. In addition, she escorts fabric shopping tours to Hong Kong. She lives at the Oregon Coast with her husband Keith, and two dogs, Yohnuh and Abby. Contact her at .
