 Nancy Lee, an ASG member from the Princeton, NJ Chapter never thought she would retire from teaching and become a business owner doing what she loves—sewing. To be honest, she never really planned on becoming a teacher either, but both lucrative careers came about in the same way: someone suggested it, and off she went.
Back to the Beginning
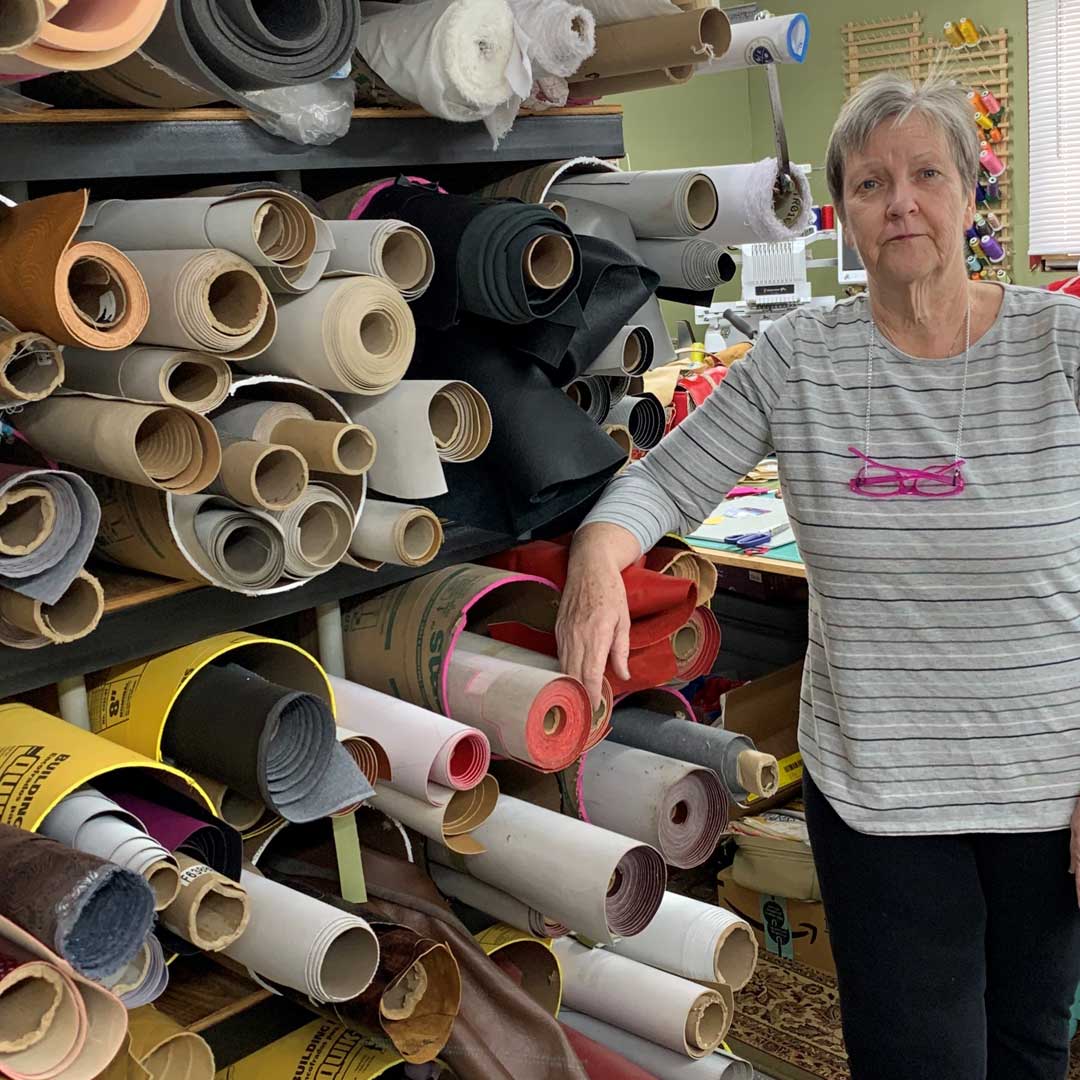
The seeds for her first career started when she was a young mom driving a school bus for the Trenton, NJ school district. One day, some of the teachers suggested that she join them inside the building as a teacher. While still driving a school bus, she went back to school herself and was soon majoring in English, then began teaching Science and Social Studies, eventually becoming the school librarian at Trenton High. After 17 years, she left her teaching position to be home with her husband, Dave, who had recently retired due to health issues after 47 years in the auto upholstery business for antique cars and street rods. And when he retired, she was gifted all his inventory of leathers and other supplies.
I Want THAT Bag!
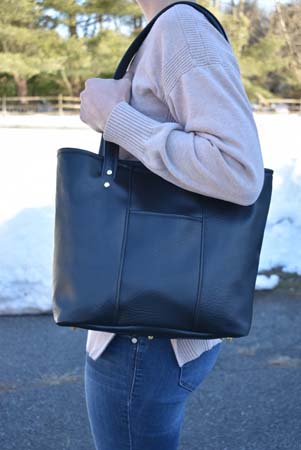
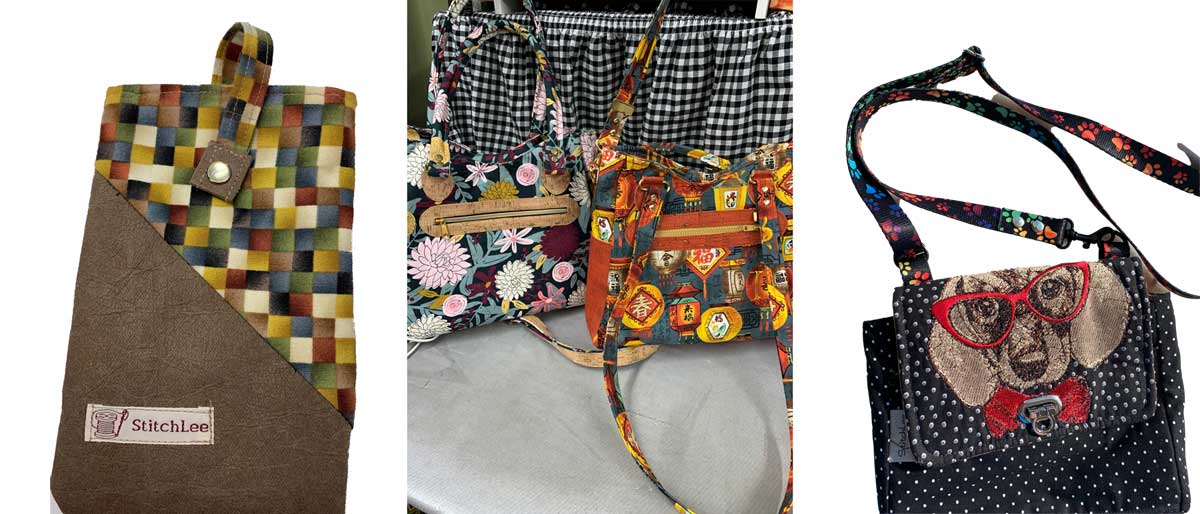
 Like any truly dedicated sew’r, Nancy couldn’t let go of this newfound supply of fabric, so she started creating leather bags and wallets. While traveling in Virginia and carrying her own creations of a matching overnight tote and purse, she was stopped by a woman who not only admired her work, but offered to buy the bags. Nancy agreed that upon returning home she would make a set for the woman, but that wasn’t what the woman had in mind. She wanted THAT set. And, as the saying goes, she made Nancy “an offer she couldn’t refuse.” Nancy found herself heading home with her stuff in plastic bags while the woman went on her way with her new matching tote and purse. StitchLee now had a direction and a targeted audience—men and women who know what they want and are willing to pay for it.
Nancy found that her quality work on high-quality leathers and other fabrics was soon in demand due to sheer word of mouth, and it was spreading. She now has clients across the country from California to Massachusetts, and just recently added Hawaii as her latest location. Although she does have a website (StitchLee.com), she says that very few sales come from the site and she depends on satisfied customers who love to share their items with friends and then pass on her business information. The business continues to grow when a gifted item from a customer brings in a new client.
Making It Unique
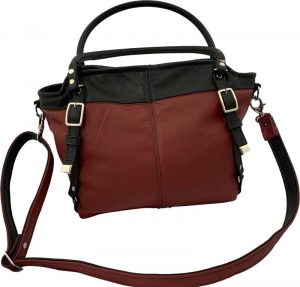
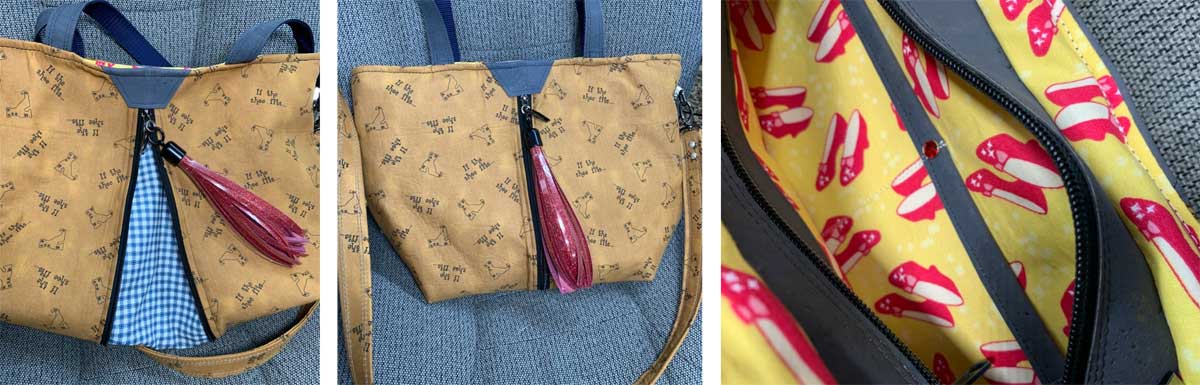
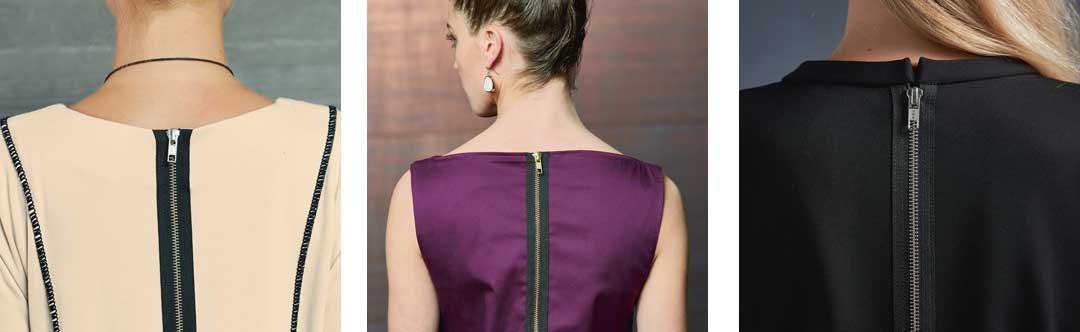
Nancy says that her customers want items that are uniquely theirs, things that are personalized to their interests, and she enjoys making these one-of-a-kind items. Take for instance her Wizard of Oz purse with multiple elements that tie it to the theme. The exterior of the purse is a soft tan stamped with the words “if the shoe fits.” When unzipped, the vertical zipper reveals the check from Dorothy’s dress and allows the bag to expand to an even larger size. The inside of the purse is lined with the ruby slippers fabric with the slip pocket highlighted with a tiny ruby. It’s these touches of whimsy and detail that distinguish her work from store-bought items.
On the Move
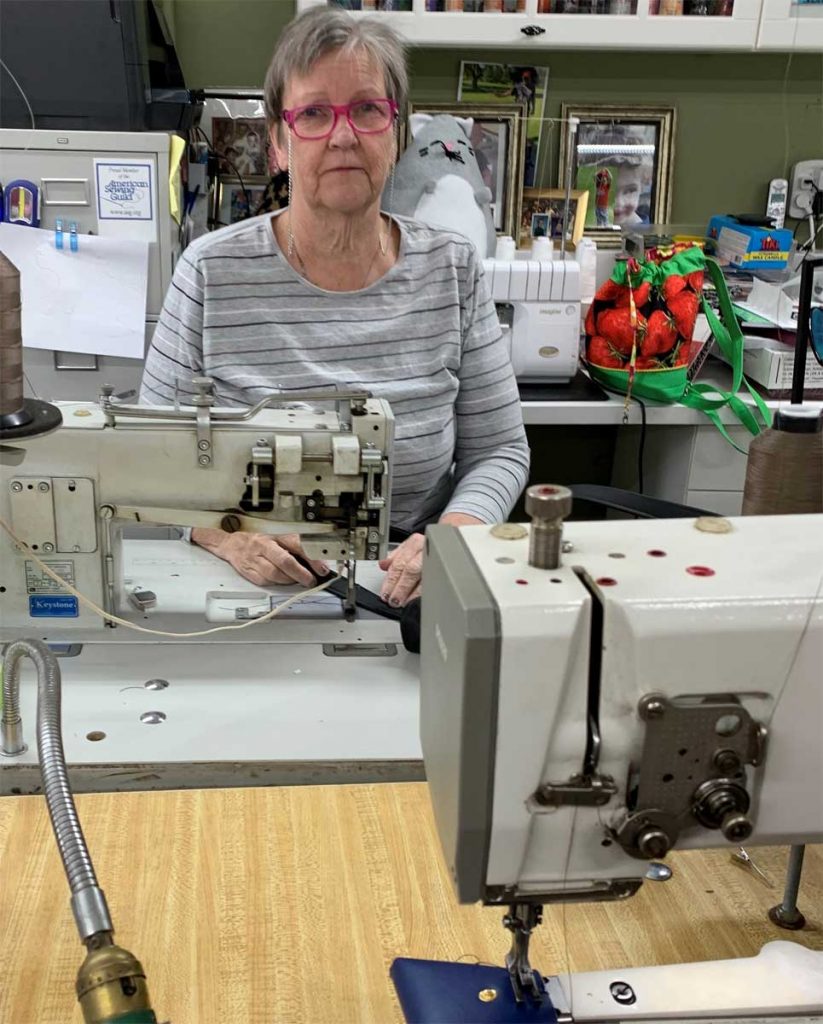
Nancy’s business has grown to such an extent that her husband gave up his garage and converted it into her sewing studio. His support has been important throughout the launching of her business. To create her leather purses, backpacks, etc, Nancy uses a special sewing machine that works well on this thicker fabric. Her Dukop/Adler, pictured here, is her machine of choice when working with leathers. Again her husband came through and retrieved the machine when she found it for sale used. It is over 30 years old and she calls it her “workhorse.”
More Than Just Bags
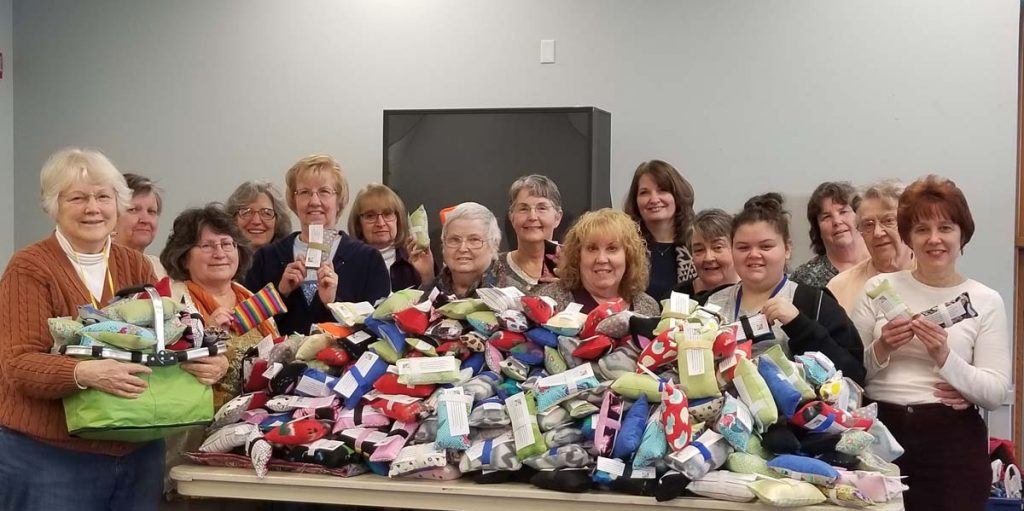
In addition to bags, Nancy also creates “memory” items for grieving families made from the clothing of their deceased loved ones. Pictured here are some of those items: pillows, stuffed animals, neckties, bow ties, and assorted bags. But it’s not all business for Nancy. While she says she will charge a bride for a purse made from Grandma’s antique wedding dress, she says she would never charge a sick child for one of her stuffed animals or dolls. Like most ASG members, Nancy continues to devote much of her time to charity projects. Shortly before the pandemic, she led a chapter charity day in which members created seat belt pads to cushion around the ports that are needed for chemo patients. This is an ongoing mission for her, one that creates the cushions which she donates to the patients at the hospital where her husband receives his treatments.
Whether hobby, charity work, or business, sewing continues to be Nancy’s passion in her retirement. What a great way to remain active, make a difference, and bring in an income all by doing what you love!
~Rosemary Fajgier
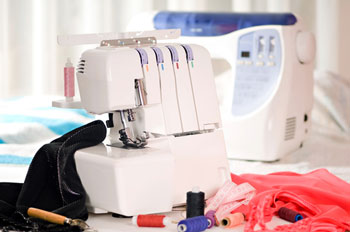


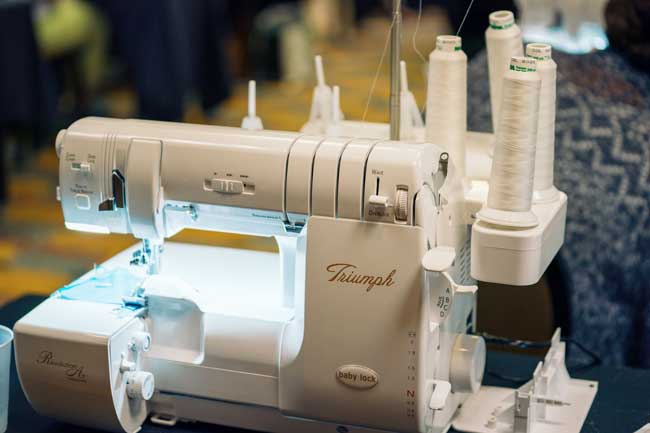
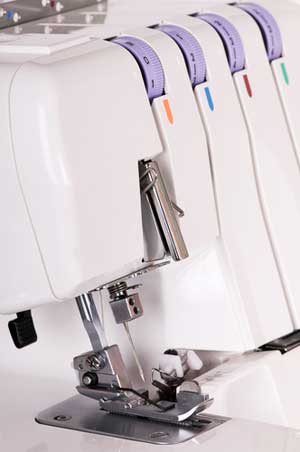 The next biggest fear of serger owners is changing threads. On a 4-thread serger, the first two spools are for the needles. Threading the needle is much the same as it is a traditional sewing machine—the thread paths are very similar except for the telescoping guide above the thread cone. The remaining two spools are for the loopers (the thread path that comes from below and creates the overlock) and can be a little more involved to thread. However, most all machine have color coded pathways to indicate the proper thread paths so you can start at the spool and follow the same colored dots all the way to the needles. And just like the tensions, many manufacturers now offer air threaders that allow the user to insert the thread into a hole, press a button, then find the thread at the looper all ready to go.