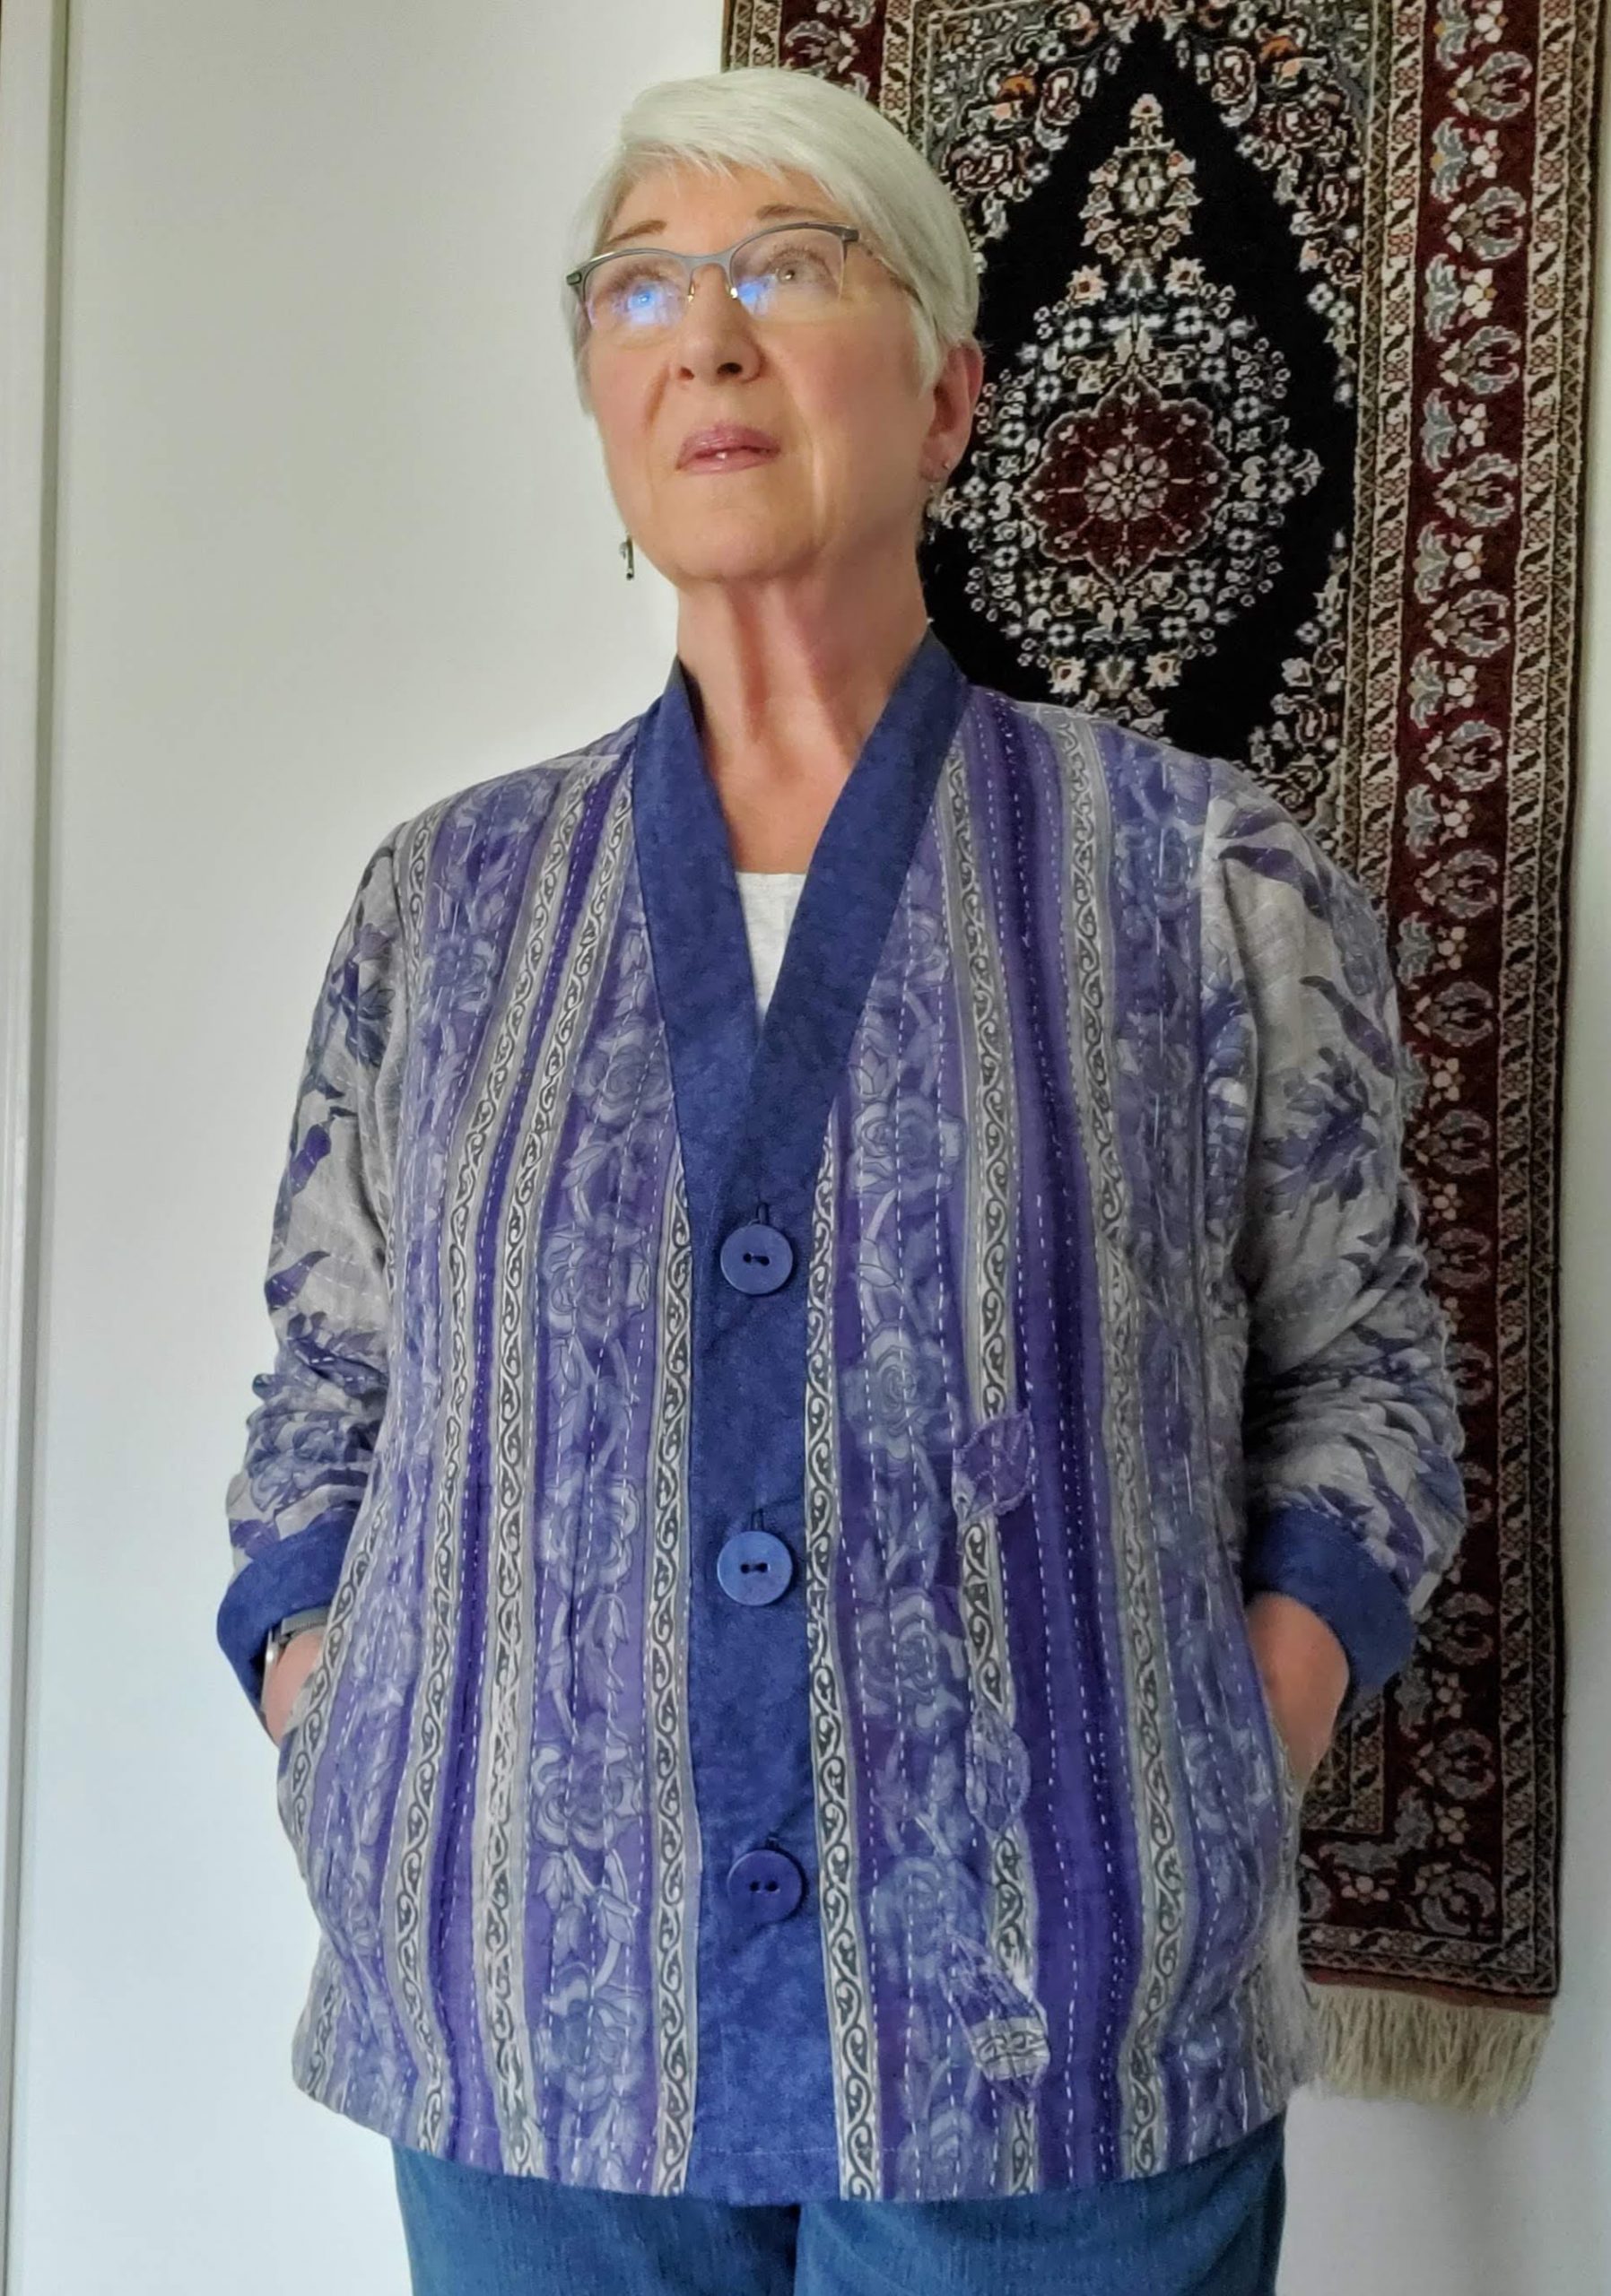
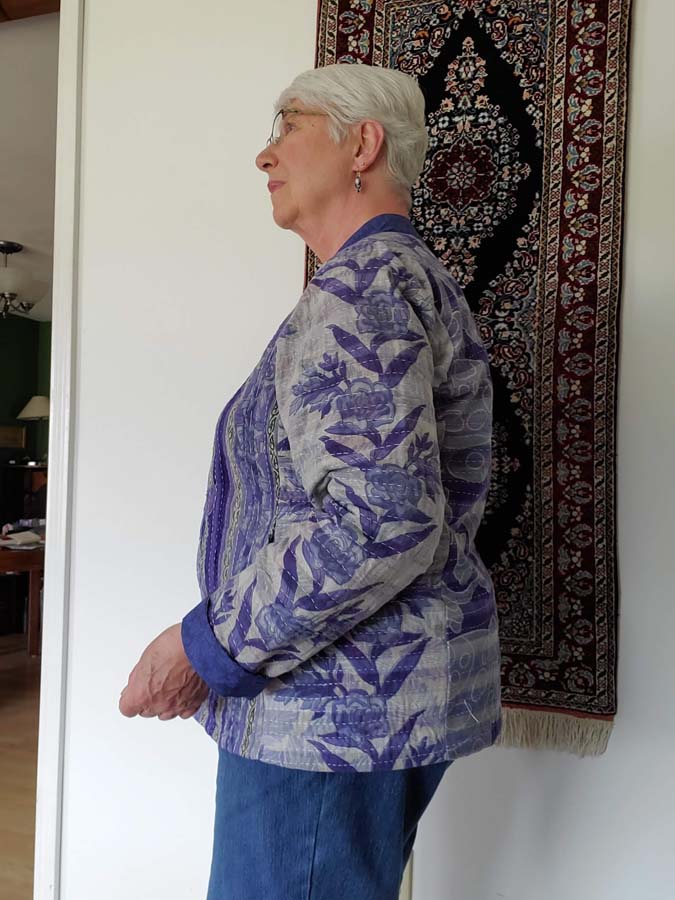
The great cutting debate
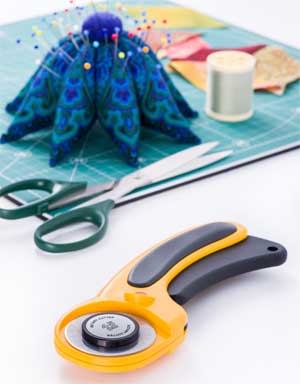 When it comes time to cut out your project, which do you choose, scissors or rotary cutters? Ask this question in any online forum or neighborhood group meeting and you will hear strong opinions on both sides. And those opinions often line up by what they sew: quilts or garments.
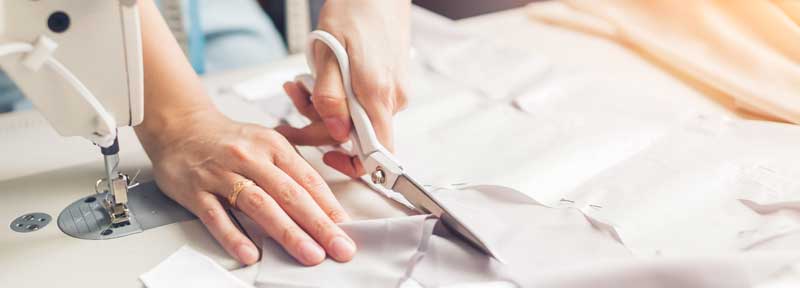
My mother was a garment sew’r and I was raised to use proper sewing scissors for the project. Scissors were the short blade (less than 8” long) cutting devices used for threads or short clips in fabrics. Shears had longer blades and were used for cutting fabrics. And heaven forbid that I should use the shears to cut threads and dull the tips of the blades! With more experience, I added pinking shears for finished seams, duck bill or applique scissors for maneuvering around small areas, and clippers which worked especially well for cutting threads close to the fabric.
I often see the beginning sew’r try to save money on scissors and shears, not understanding that a good quality cutting tool makes the job go much easier. While a new pair can be purchased from the dollar store, they simply don’t do the job that specially manufactured fabric shears do. Some reputable manufacturers are Fiskars, Gingher, Kai, and Wiss. Prices vary from as $8 to $130 or more.
What Options Do I Have?
While most scissors are designed for right hand use, manufacturers have become more accommodating to the left handers among us and have designed ones contoured for the left hand.
- Those with arthritis or who do a great deal of cutting may choose the spring action feature that opens the blades after each cut and greatly reduces the effort required.
- A contoured handle with soft grip touchpoints is another great feature which provides a secure, comfortable grip, while an easy-open lock helps protect the blades during transport and storage.
- Some come with special carrying cases that sharpen the blades when scissors are placed inside.
- Electric scissors allow you to cut the way they do in ready-to-wear and they take away the fatigue of opening and closing the blades entirely.
- Some shears come with a laser pointer to ensure cutting in a straight line. Now, how is that for technology?
Whether using pins or pattern weights, shears are easy to use. Sometimes, however, especially for the new sew’r or in the case of slippery fabrics, shears lift the fabric off the surface and distort the cut. To combat this effect, manufacturers have redesigned the shape of the scissor and have raised and angled the handles so that blades can ride along the table more easily. To further insure a good cut, blades should also be sharpened frequently to prevent the tearing action of a dull blade. There are tools on the market to help with this, but a qualified professional will keep those scissors and shears sharp and smooth and ready to use. And the number one rule: NEVER use fabric scissors or shears on paper, even pattern tissue.
But if this is a debate, what about rotary cutters?
I got my first rotary cutter as a freebie in the mail. At the time, I knew nothing about them and tried cutting on a table. OOPS! I cut right through to the top of the table. First lesson: always put something underneath. I remember trying magazines and even pieces of wood under the fabric before giving up and tucking the cutter away. It may have come with instructions, but I certainly hadn’t read them, so I returned to my scissors. Thinking back, my attitude could be likened to Guy I Am from the Dr. Seuss book, Green Eggs and Ham. I indeed “did not like them, Sam I Am.”
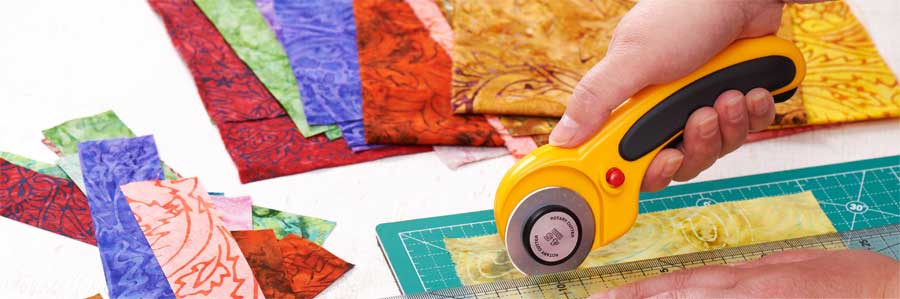
By the time I purchased my first fold-up cutting table that came with a large cutting mat, I understood more about rotary cutters and how they should be used. Helping a friend in her craft business, she suggested using a rotary cutter to produce the long, even-width strips she needed for ruffling. Armed with a tool, mat, and plastic ruler, it was easy to work with the yards and yards of fabric and cut them into 6″ strips. This ease-of-use is the reason that rotary cutters have won the admiration of quilters. Since I often worked with knits, transferring this technique into cutting the ribbing for neck and waist bands was a natural jump.
The first cutters had a straight handle and a 28 mm blade. However, just as scissors have evolved, so too has the rotary cutter. Today they come in various ergonomically designed shapes that help reduce the fatigue and stress on the hand when doing large amounts of cutting.
Super Size Me!
Rotary cutters now come in 14, 28, 45, and 60 mm sizes. Why so many? Just like scissors, the smaller cutter makes it easier to maneuver around smaller shapes. The larger size is better suited for long, straight edges or thicker fabrics. Specialty cutters even come with blades that can produce a pinked or wavy edges. There is even a rotary cutter with its own mat-like feature attached that allows it to run between rows of stitches on multiple layers of fabric and make the cuts needed to create chenille.
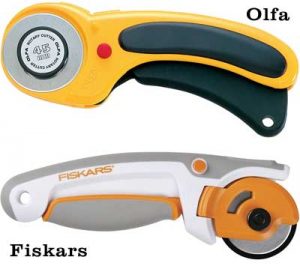
Olfa and Fiskars are the two most common brands of sewing rotary cutters, but others can be found on the market. The lower end models start around $8 and go up from there depending on their size and features. The electric ones come in around $40, and large ones that look like paper cutters used mainly in quilt shops for cutting quantities of fabric can go above $170. Because these cutters can handle up to 10 layers at a time, they make fast work of the tedious job of multiple cuts. And, yes, they are also available for the left hander.
Rotary cutters are not without some down sides. While they work great when cutting straight edges that can be aligned with a quilting ruler, it takes some practice to go around curves in both quilting and garment sewing. With practice and the right size blade, however, this obstacle can be overcome. What is a bit more cumbersome is using the cutter in conjunction with pattern pieces. Putting pins in the pattern creates an uneven surface for the ruler to be placed upon, and weights, if used, always seem to be in the way. I have even seen some brave souls use the rotary cutter instead of a seam ripper for taking out stitches, This requires some practice, but a sharp blade easily snips the threads that a seam ripper might otherwise just pull.
Quilting cottons are a natural for the rotary cutter, but even slippery fabrics can be tamed because the proper use of the ruler holds the fabric in place and allows for an accurate cut. Of course some of this is dependent upon having a sharp blade in the cutter. While there are tools available to sharpen blades, I have found it best to simply change the blade which is easily done with the turn of a screw that holds it in place.
 Perhaps the biggest drawback for this tool is the fear of cutting oneself on the blade. Today they are designed with retractable blades or covers to help prevent accidents from occurring; however, most users will admit to being nicked at one time or another by a sharp blade being in the wrong place at the wrong time.
So where do I stand in the great cutting debate? Like Guy I Am, I must say, I like them. I like them both, and “I would use them here and there, I would use them everywhere!”
~Rosemary Fajgier
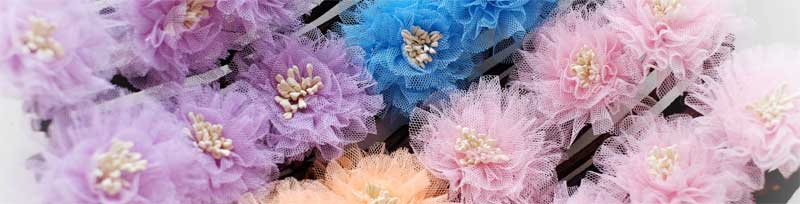
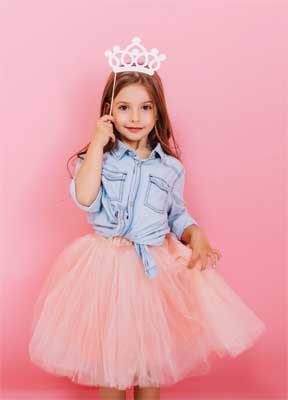 Whether you’re making a flirty tutu, a long flowing wedding veil or decorating for a bridal shower, it’s likely some tulle will be involved in the process.
 Sewing