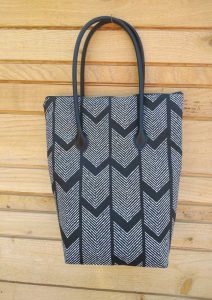
Making bags and totes is a ton of fun and making them look professionally finished is easy as pie. Bags have not only height and width, but many also have depth, giving you room to put things inside. But, to get that depth, you need to create some shaping in the lower portion of the bag.
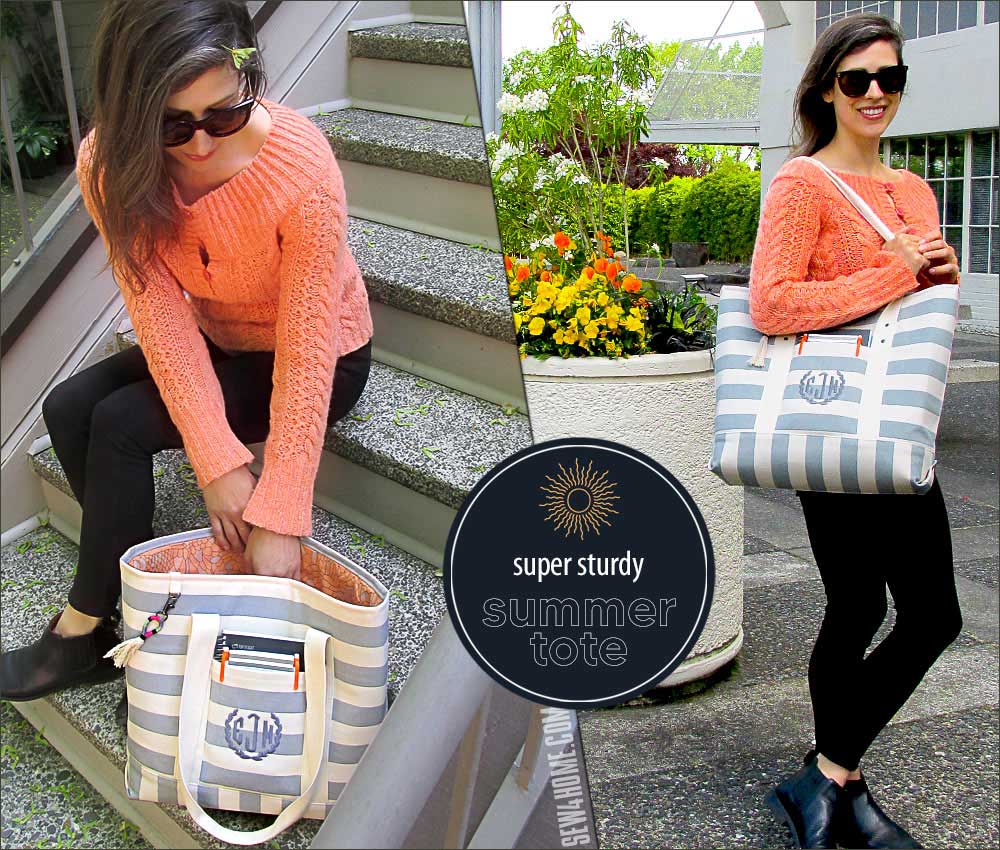
Some bags have corners, others have separately sewn bottom sections called gussets, while still other bags are shaped with darts. But no matter which you choose, those details are what give your bag some depth. Other bags, like clutches, pouches and fold-over versions may not have any depth, so with a flat construction what you can put inside is limited.
There are several ways to make professional looking corners on bags, so let’s take a look at the process. Remember, the same shaping is done both to the outer bag and to the bag lining.
Boxed Corners
Boxed corners allow a bag to have a flat bottom so it can stand up on its own, and they can be made wide or narrow, depending on the bag shape desired.
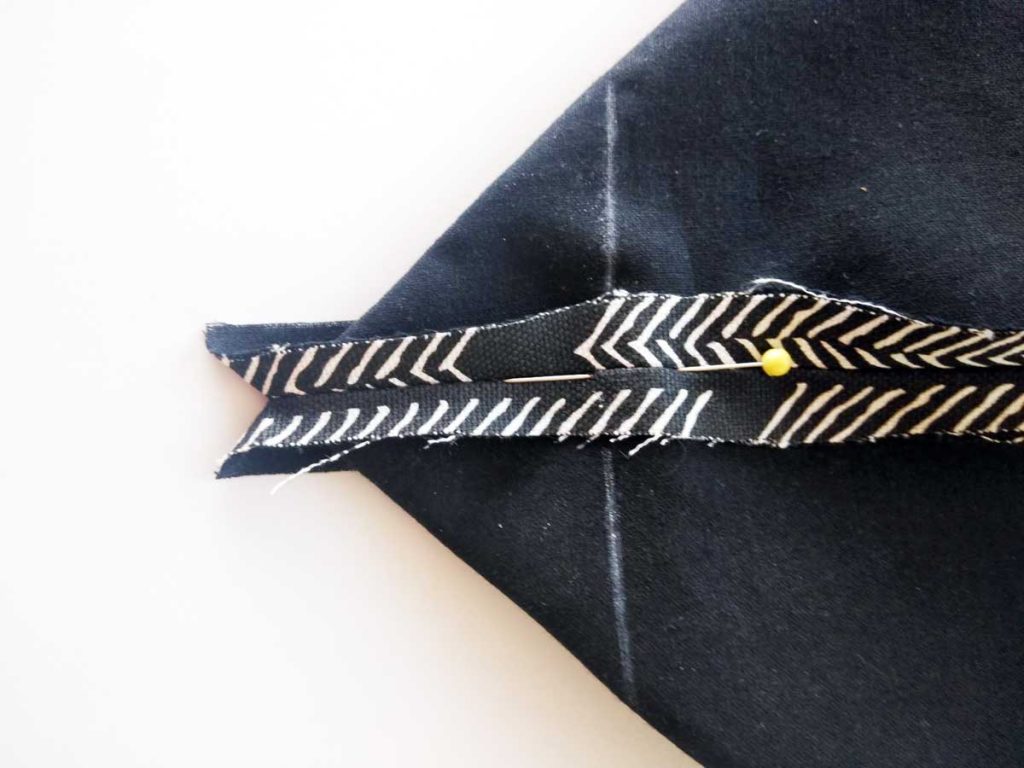
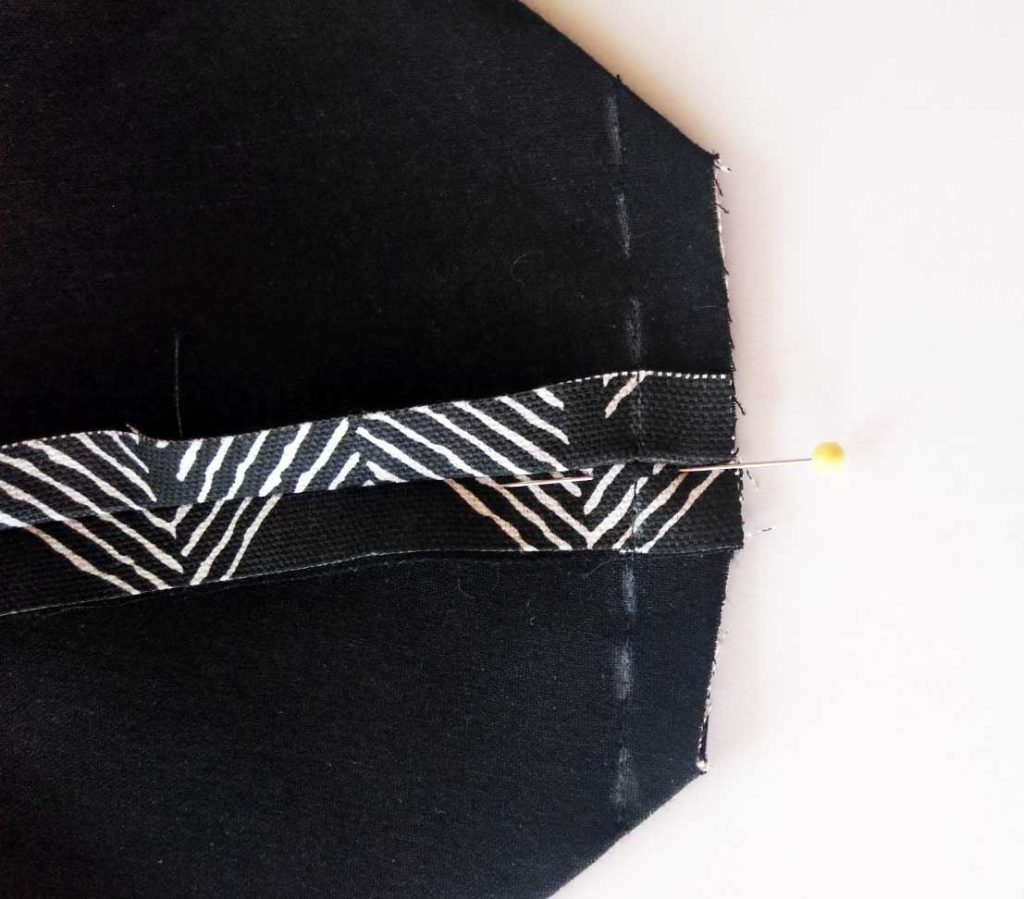
The easiest way to make boxed corners is to stitch the side and bottom seams of the bag together, then fold the side seam directly on top of the bottom seam and pin, matching the seams exactly. If the bag doesn’t have a center bottom seam, mark the center before construction.
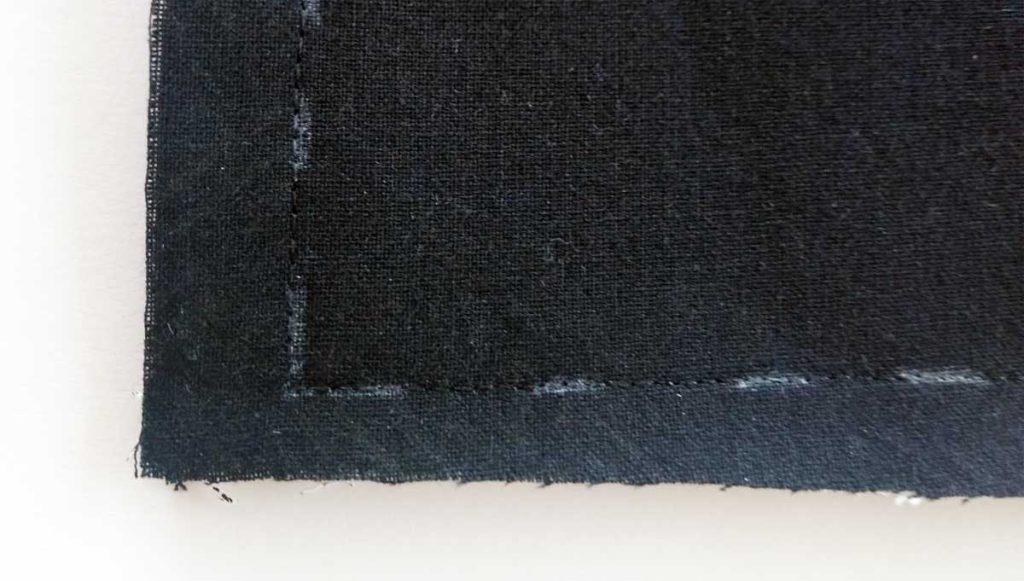
With the seams aligned, measure up the seam allowance half of the desired bag depth and mark a line. Using a right angle, mark a line across the corner exactly perpendicular to the seam and sew across it. Trim the seam allowance to ¼”.
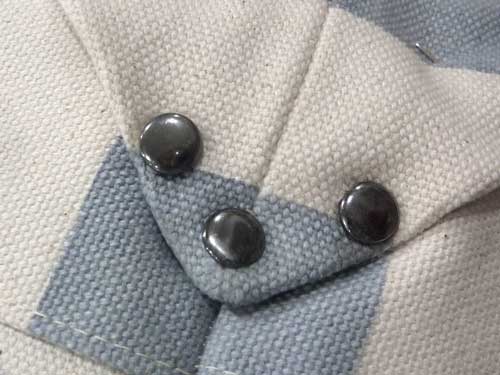
*The boxed corner structure can also be positioned on the outside of the bag and be held in place with buttons or rivets. To do this, simply sew the side and bottom seams of a bag, turn it right side out and gently poke out the corners to get a sharp point. Fold the corner into a triangle and match the point to the outer bag side seam; shape to form the boxed corner. Anchor the triangle fold in place with sewn-on buttons or follow the manufacturer’s instructions to add rivets to hold the point in place.
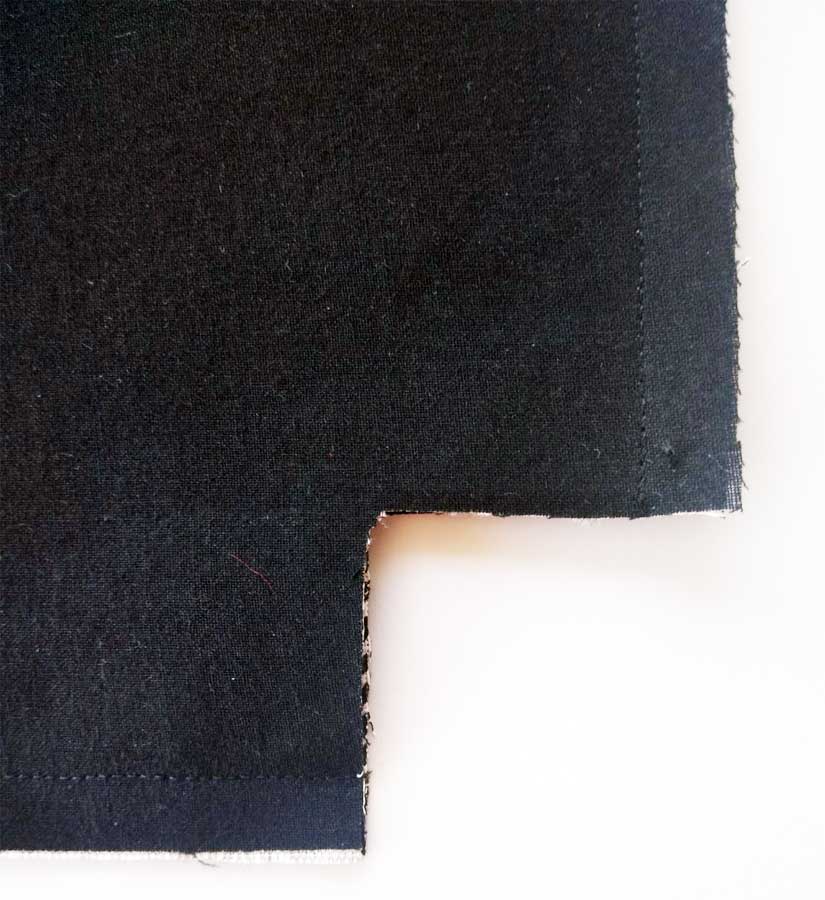
Some bag patterns come with a cut-out corner making boxing corners almost foolproof. The square cut from the bag lower corners is half the depth of the bag. Similar to the first cornering method, sew the side and bag bottom seams, then fold them directly on top of each other and sew across the cut edges.
Darted Corners
For softer, less structured bags, think about finishing the bottom of the bag with darts, instead of the sharp corners of the previous methods. The bag pattern may come with darts indicated already, or you can add them yourself by drawing a narrow triangle at the center of each bag corner, making the point at a 45° angle to the bag center. Fold the outer bag right sides together and sew the dart along the seamline, tapering to nothing at the inside point. {photo 5} Press the front and back corner darts in opposite directions to reduce the bulk of the fabric fold inside. On very bulky fabrics, trim the dart fold seam allowances to ¼” after sewing the darts and press them open to flatten. Align the dart lines when sewing the bag back to the front.

Gussets
Gussets are pieces added to the bag for shaping. They can be a long strip that goes from the upper edge of the bag around the bottom to the other upper edge, or sometimes gussets extend to create handles.
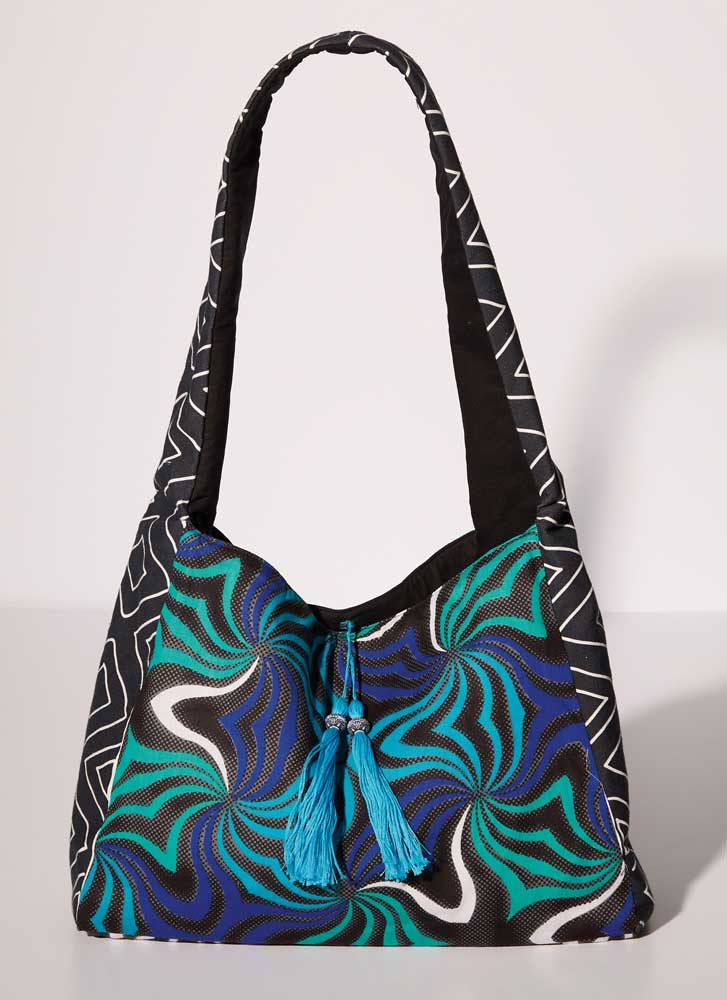
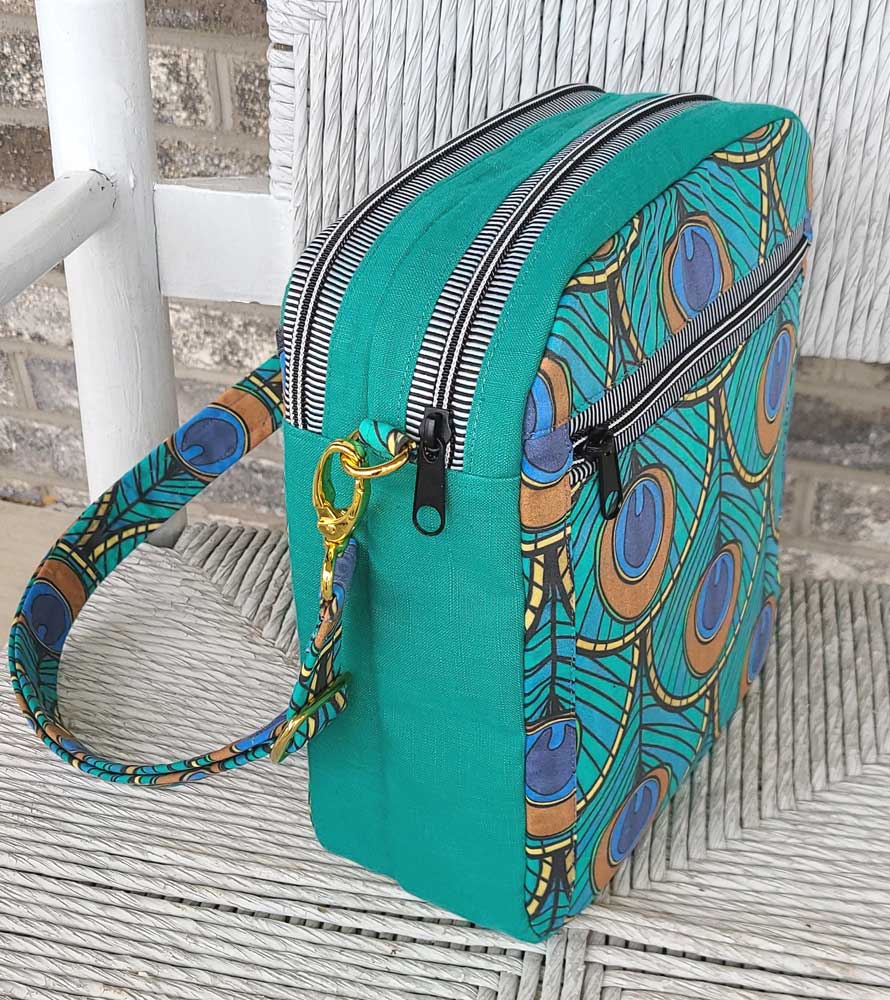
Some gussets fit only on the bottom of a bag, creating a totally flat base, while others fit up the side of a bag, creating a deeper bag, more like a luggage tote. Still other gussets go around the entire bag, coupled with a zipper closure to create even depth all around. {label: Studio Kat Flight Bag}
~Linda Griepentrog is the owner of G Wiz Creative Services and she does writing, editing and designing for companies in the sewing, crafting and quilting industries. In addition, she escorts fabric shopping tours to Hong Kong. She lives at the Oregon Coast with her husband Keith, and three dogs, Yohnuh, Abby, and Lizzie. Contact her at .


