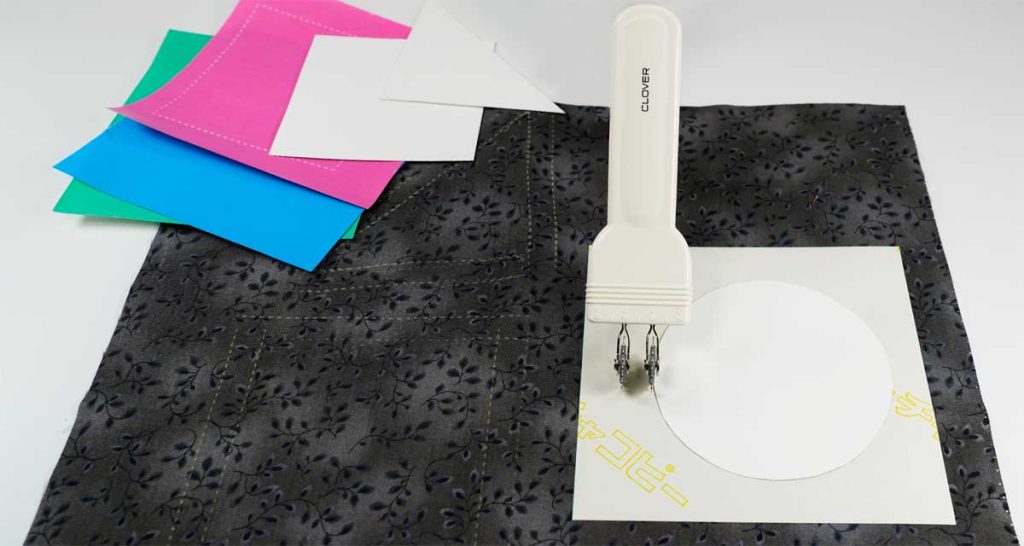
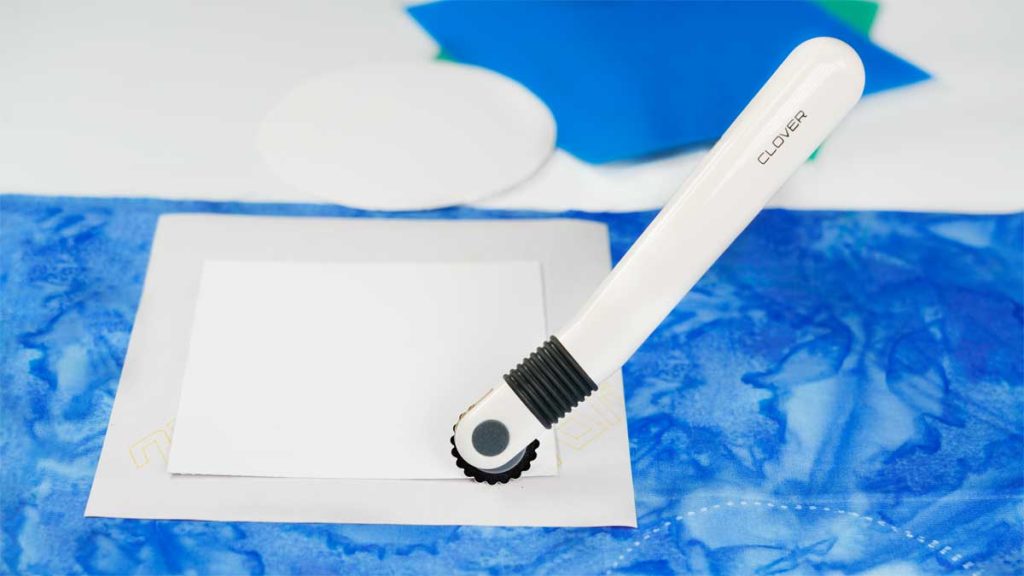
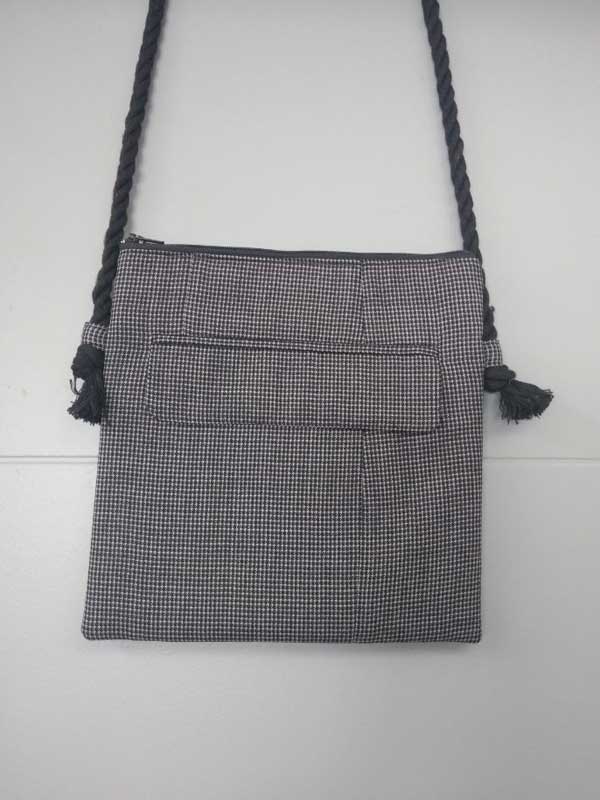
This short video shows you how to use a chisel to cut open a buttonhole and mark notches.
~Sheryl Belson
This short video shows you how to use a chisel to cut open a buttonhole and mark notches.
~Sheryl Belson
We are continuing our Fabric Sources series of articles with education on fabrics made from living things. While we are all familiar with leather being used in fashion and home décor, for the purpose of this article, we will only be exploring the sources that create woven or knitted fabrics. In this 3-part section, we’ll start with discussing silk and continue our next 2 articles with wool and “other.”
Plants (part 1) | Plants (part 2)
Living Things: Silk | Living Things: Wool | Other Living Things
Minerals: Acrylics, Polyester, & Nylon (part 1) | Minerals: Spandex and Rayon (part 2)
Did you know that silk is made from two different sources? The most common silk comes from the silkworm. But there is also a far less common silk made from strands made by spiders. Both produce a natural protein fiber which can be woven into textiles. Let’s talk about the differences.
The best-known type of silk is obtained from the cocoons of the silk moth. This moth is a completely domesticated moth and does not exist in the wild. The practice of breeding silkworms to produce raw silk (a.k.a. sericulture) began over 5,000 years ago in China but soon spread beyond to India, Korea, Nepal, Japan, and the West.
How is it processed
Silkworm cocoons are placed in hot water to soften the gum which, sadly, kills the insect inside. The cocoons are softly brushed to find the end of the filaments. The cocoon is unwound carefully to maintain the integrity of the fibers, which can be very long. The ends of the filaments are then reeled on to a wheel and twisted (spun) into the desired strength and thickness. Finally, the spun thread is boiled in soap and water (called degumming) to prepare it for finishing and dying. To get a glimpse of the process, watch this 2-minute video:
Pros
Silk is a luxurious fiber that can be woven in a wide variety of textures, smooth like China and Thai silk or nubby like silk shantung and silk tussah. It is a strong fiber that creates a comfortable fabric.
Cons
Silk can get quite expensive and stains easily. It usually requires dry cleaning since laundering silk typically changes the texture and sheen of the fabric. But if that is the look and feel you are going for, launder away. You be the judge!
Impact on the silkworms
Approximately 3,000 silkworms die to make every pound of silk. Animal activist groups believe that silkworms experience fear and have a physical response to pain in the processing.
Where can I buy it?
Silk made from silkworm cocoons is a fabric you will not have any trouble finding. Since it can get expensive, you can save a few pennies by buying it with your ASG Member discount from one of these sellers:
Spider silk has been sought by the U.S. military for applications like body armor, parachutes, and rope due to its strength and light weight. And, though with great difficulty, has been the subject of an incredible exhibition at the V&A museum as displayed in an amazing golden silk cape woven entirely from silk harvested directly from spiders. Take a peek at the cape in this 2-minute video.
How is it processed
Silk is pulled by tweezer from the spinnerets of the spider and attached to the spool with a dab of glue after which the motor is started to begin harvesting. It’s possible to harvest between 30-80 yards of silk in one go. Watch this interesting video of the process. Because of the extremely labor-intensive nature of harvesting true spider silk, research into simulating the strong spider silk artificially has been pursued and offers promising results.
Pros
Spider silk is one of the strongest and elastic natural fibers known. It is five times stronger than steel and three times tougher than Kevlar. And the silk of the ogre-faced spider can be stretched six times its original length without damage.
Cons
Spider silk is difficult to harvest and thus expensive and difficult to source.
Impact on the spiders
To harvest true, natural spider silk, the spider must be sedated and constrained, after which the spider can be released back to its web to feed ready for reeling another day. While the spider is said to remain unharmed during this process, it certainly isn’t in line with its natural habitat.
Where can I buy it?
While the superior properties of spider silks are well known, there is no known way to produce natural spider silk in commercial quantities. Besides the labor-intensive process of harvesting natural silk from spiders, spiders are also cannibalistic. So even if the harvesting challenge were overcome, they cannot be raised in concentrated colonies to produce silk. I was not able to find ready sources of synthetic spider silk either. So, the short answer is – you won’t be buying this silk for your home sewing stash. Better go see the cape at the V&A museum!
~Sheryl Belson
The first word that comes to mind when thinking about bralettes is comfort. The key is “no underwire.” From lounging around to dressing up, there are a variety of options and occasions for wearing bralettes.
There are conversations about a certain disappointment after purchasing or trying on a beautiful bralette in a store or online, just to find out that the fit doesn’t work. The truth is that many of the ready-to-wear, mass-produced bralettes on the market are less than perfect when it comes to fit– especially for either small or large bra cups. However, with a little bit of interest in embarking on a sewing journey and finding a sewing pattern with a fit that works, bralettes can be made very quickly. According to the materials we choose and how inspired we get, we can end up with our own creation. A word of caution though; making bralettes can be addictive! So be prepared for making a few more for family, friends or even starting your own business venture!
When we think about the versatility of a bralette, a few bralette types come to mind, each one with its own “personality”:
The “so comfortable” bralette
The cozy thought of getting home after a long day, changing into a favorite loungewear, removing the underwire bra, and reaching out for the cotton, modal, bamboo, tencel or any other soft fabric bralette to complete the experience. Ready to breathe deeper and sip on a warm cup of tea.
The ‘I’m cool” bralette
Made out of unusual materials, usually velvet or even shiny foil prints. These are all different options that will serve as a layering piece, like wearing it under a jacket.
The “romantic or fanciful” bralette
Lace, lace and lace. Also can be combined with stretch meshes or shiny, sparkly fabrics.
The “problem solver” bralette
Tops, dresses or jumpsuits with a low back neck or sheer tops. These are all pieces that can layer on top of a nice lacey, or cool bralette. Any fashion stylist will agree!
The “moody” bralette
It’s all about the prints! Tropical pineapple prints, cozy strawberry prints, funky bat prints, cute macaroon prints, superhero prints, dots, stripes, neon colors, pastel colors… you name it, they will all find the right fit.
The best news is that all of our bralettes can be made with the same pattern just by changing up the material.
The Daisy is a cute, comfy, easy to make and easy to wear lingerie piece. The long-line bralette features adjustable straps and lined seamed cups. Daisy was carefully designed to be versatile and provide you with subtle support while lounging, playing, sleeping, traveling or just going out.
Instructions include variations for a lengthened version for a bustier style, or can be converted to a one-piece back for more comfort. If using a lower stretch fabric, follow the variation with hook and eye. Use a cotton or bamboo spandex blend knit fabric for a cute look, lace with a stretch mesh for a romantic style, or stretch velvet to wear under a low cut tee or jacket. Create endless combinations and have fun!
The “Daisy” bralette pattern is available in a downloadable, easy to use, PDF chock full of easy to follow instructions, accompanied by colorful clear photos for every step, to guide you along in your bralette journey. Available in sizes ranging from XS-3XL.
As a proud sponsor of the 2021 National Sewing Month celebration, www.StitchLoveStudio.com is offering 20% off their entire line of Stitch Love Studio brand downloadable PDF patterns for ASG members. Visit the Members Only area of the ASG website to get the code.
~Stitch Love Studio
Have you looked at advertisements for new sewing machines lately? One boasts of 729 built-in stitches! The designs consist of holidays, seasonal references, geometrics, flowers, plants, bugs, scrolls, animals, lettering, and just about any topic you might be looking for. They are quite impressive, but where can they be used?
In this article, Beverly Betz and Rosemary Fajgier set out to not only find uses for these great designs, but also to explore their machines and find some of their little known features. Although these stitches can be found on traditional sewing machines, when using them, there are a few embroidery tips that should be followed.
First, begin with the proper foot installed on your machine. Some machines will indicate the foot by number or letter. Generally, this will be a foot that has a wider needle opening to allow the needle to move from side to side without hitting the foot and breaking. The second characteristic of the foot is on the underside. If you turn the foot over, you will see that the foot has a channel running from the needle opening to the back of the foot. This channel is especially important for those stitches that are dense and use more thread when created. The channel allows the extra space needed for the stitch to clear the foot without getting hung up under it.
The extra stitches often overwhelm the fabric and cause it to pucker if not supported properly. To avoid this, use a stabilizer under the fabric. What kind of stabilizer? That depends on several factors:
Threads can make a big difference in the final appearance of the stitches. Embroidery threads have a glossy sheen to them and especially when contrasting colors are used, draw the eye to the stitching and make the design detail pop.
Tip: Before you begin stitching, always make sure you have enough thread on the bobbin to complete the line of stitching. Trying to realign your stitching once you change a bobbin is most frustrating!
So where can these decorative stitches be used?
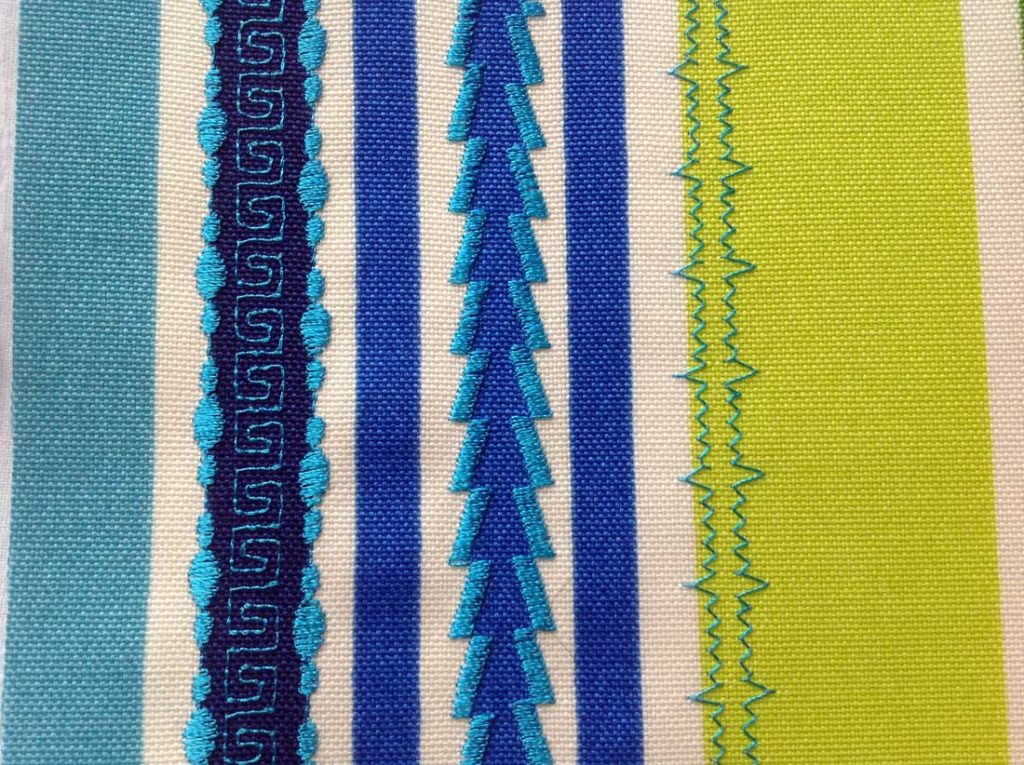
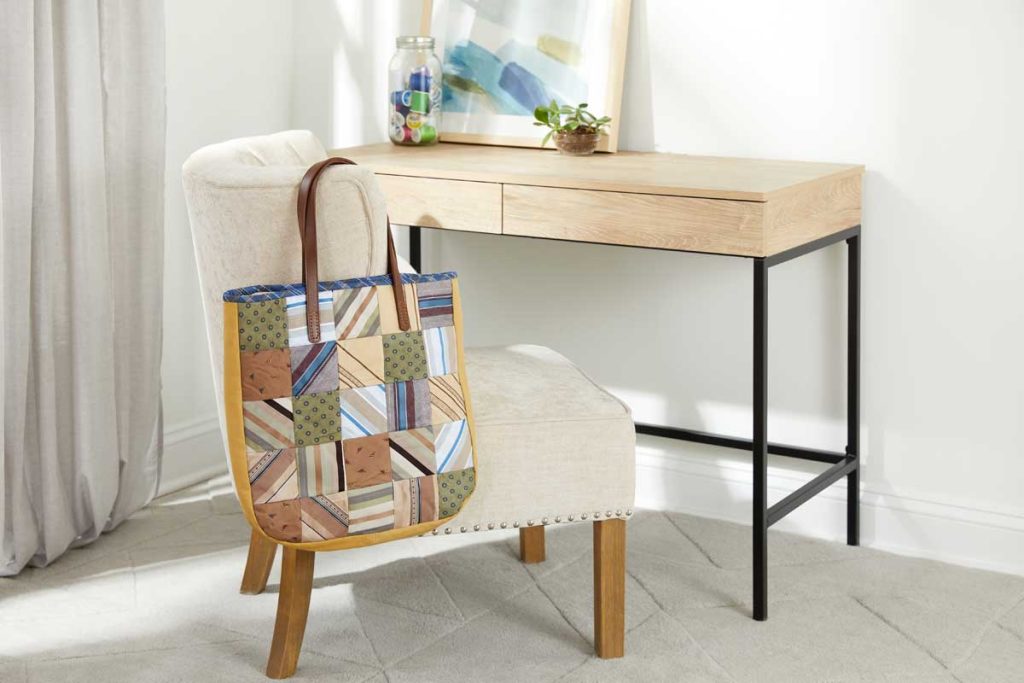
Quilters have long used these kinds of stitches to accent crazy quilts and even bindings. In this tote bag, a number of different patterns were stitched down the centers of strips to give the tote an added detail. The stitches can be applied on the strips as a sewing detail or to quilt the layers together.
Just because we traditionally think of specialty stitches as long lines of stitching doesn’t mean that is the only way to use them. When this plain blue fabric got a new personality with embroidered snowflakes in a random pattern on the fabric. Note that some machines can be set to stitch single designs while others must be stopped manually after each motif. And instead of quilting in just straight lines, why not use the specialty stitches when you want to add a little creativity to plain fabric. Either way, it’s a great technique to use to create an all-over pattern or just a few random accents.
The way the stitch appears on the machine screen and the way it looks when stitched out is sometimes very different. Therefore, it’s a good idea to test out the stitches to see if you like them before placing them on your finished project. Even doing test stitches can spur some creativity, as shown here by placing a number of designs together to create an overall pattern. Starting in the center with tiny blue eyelets, a wavy pattern was added and stitched down either side of the eyelets. Then a utility stitch in yellow resulted in a heavier braid effect. Rows of stitches continued to be added until a desired width was achieved. This design is now slated to become the front of a peasant-style blouse, but it could just as easily become a decorative pocket, or used on the front on a purse. You can even take a plain piece of fabric and fill it with your pattern to create an entirely new look to the fabric.
To get a good design, it is important to align each new row of stitching in relation to the last. The width of the presser foot makes a great spacer, as does marking a line with chalk that you can follow when stitching. And if you have a laser pointer on your machine, here is a great use of that feature. But if you don’t want to keep sewing in straight lines, how about stitching in curvy lines from various directions to create a totally unique pattern. Placing decorative stitches on fabric in random patterns gives the impression of an all-over print.
Some machines provide the same stitch in both a small and large size. If the large design requires the feed dogs to move the fabric horizontally to achieve that wider width, accurate alignment with preceding rows can be very difficult. It is better to start with the narrower designs when first stacking straight rows. The wider width ones are best used when straight lines are not necessary.
Some machines allow the user to flip or mirror image designs. Mirror imaging allows you to create more symmetrical designs and achieve a framing effect.
Now that you have the basics, how else might you change up your design?
While creating a manual stitching pattern manually is time consuming, it’s not especially hard. And watching a pattern emerge is exciting and rewarding. While playing with her decorative stitches, Rosemary discovered that these same stitches could also be used in her embroidery mode on her machine. Using the embroidery mode took all the tedium out of trying to align the stitches and allowed more focus on the creativity of the patterns. But that’s another story. Look for Part 2, Using Decorative Stitches in the Hoop coming soon. Until then, give the manual method a try a see what you can create.
~Beverly Betz and Rosemary Fajgier
If you’re using fusible sewing products like webs, interfacings and stabilizers, there’s always that errant portion that finds its way to the soleplate of the iron. If you don’t take care of it right away, the fusible goo can transfer to the next thing you’re pressing and then it comes a bigger challenge to get the black stuff off the fabric.
If your iron has a non-stick soleplate, fusible adhesive can often be simply wiped off using a soft rag or paper towel. But, if your iron doesn’t have that feature, enlist the assistance of an iron cleaner available in the notions department of your fabric store. Usually in a tube, these cleaners just smear onto the soleplate surface of a warm iron, interact with the adhesive, and are gently wiped off with a cloth. They may smoke a bit in the process, but no worries—that’s just the product doing its work. Be sure to read and follow the product instructions.
Prefer a DIY option? Mix two parts baking soda and one part water to form a paste and gently rub it onto the soleplate. Or, soak a cloth in white vinegar and heat in the microwave for 30 seconds, then wipe the soleplate.
Short answer—it depends! Many home décor fabrics can be used for garments, but some are better left on the bed or the chair. So, ask some questions about it before jumping into the switch.
If the fabric feels right to you for garment use, there are some advantages to home décor fabrics. Most are wider than traditional garment fabrics so you may not need as much. Many offer bold patterns to make eye-catching garment patterning, but be sure to account for pattern matching before you buy, as extra may be required to match large prints. If you’re working with a bold print, keep garment design lines simple to avoid breaking up the visual patterning.
Rotary cutters slice a very straight, clean edge which is ideal for many fabrics, both quilting cottons and garment fabrics. It also creates a smooth edge on fabrics like UltraSuede, cork, etc. that may have lapped seams. Rotary cutters come in several sizes, so the blade diameter can be tailored to the use. A protective cutting mat is required to protect the table surface.
Pro
One advantage of using a rotary cutter for garment sewing is that the fabric can stay flat on the cutting surface as you cut. That’s very helpful for slippery materials or fabrics that distort readily, like loose knits. Used with a medium to large blade and a ruler, rotary cutting for straight lines is faster than scissor cutting—think full skirt, long eveningwear seams, etc. Smaller diameter blades work well for cutting curved areas like armholes and necklines.
Con
One downside of rotary cutting garments is that you have to have the protective cutting mat under the area being cut, and this may necessitate constantly moving the mat (depending on the size) or the fabric.
So, is a rotary cutter necessary if you’re only sewing garments? No, but it’s definitely a nice option to have around, especially if you’re sewing on pesky fabrics that make scissor cutting more challenging.
~Linda Griepentrog
Linda is the owner of G Wiz Creative Services and she does writing, editing and designing for companies in the sewing, crafting and quilting industries. In addition, she escorts fabric shopping tours to Hong Kong. She lives at the Oregon Coast with her husband Keith, and two dogs, Yohnuh and Abby. Contact her at .
American Sewing Guild
National Headquarters
9660 Hillcroft, Suite 230
Houston TX 77096
713-729-3000 | 713-721-9230 Fax
www.ASG.org