


View the entries from the 2019 Anyone Can Win contest.
The Winners!
1st Place
Over 18
2nd Place
Over 18
1st Place
Under 18

View the entries from the 2019 Anyone Can Win contest.
 Perhaps you searched long and hard for the perfect fitting jeans, but alas, they’re too long! Or maybe you painstakingly created a custom pair and it’s time to hem them. Either way, you’re in the thick of it—literally!
The hem area of jeans can be up to eight layers thick, depending on how the side and inseams are constructed. Stitching through all of that thickness while maintaining straight, even stitches and not breaking the needle can be a challenge for any sewer, but here are some helpful hints to make the process easier.
Before you determine the length of your jeans, be sure to wash and dry them at least twice to allow the fabric to shrink. Nothing’s worse than meticulously hemming them and after the first wash, they’re ankle skimmers.
Try on the jeans with the shoes you plan to wear with them and pin-mark the desired finished length on both legs. Both legs aren’t always the exact same length.
Having the proper tools to sew multiple denim thicknesses is a must. First, select a denim or jeans needle with a special tip and blade to cut through the fibers without deflecting (because of the tight weave) or breaking. Denim needles are made especially for sewing extra thick fabrics, and they’re available in sizes 70/10 to 110/18—the heavier the denim, the larger the needle size needed.
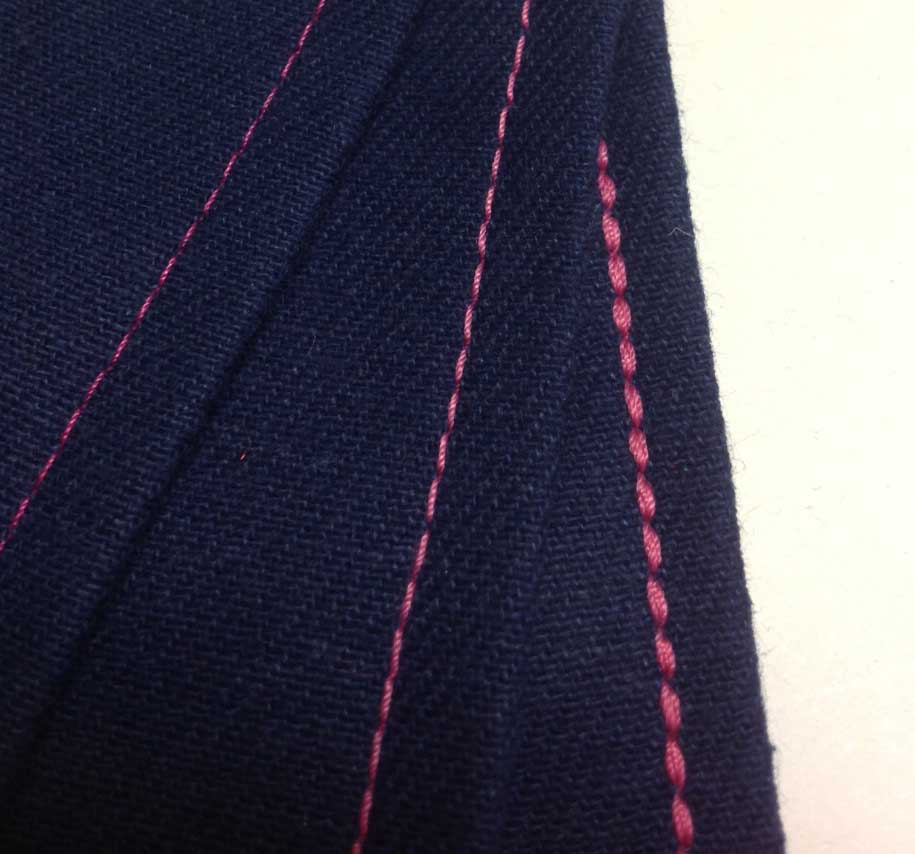
In addition, if you’re doing decorative topstitching to mimic the infamous Levi gold version, acquire a topstitching needle with a large eye and groove to accommodate jeans thread without shredding.
 Denim Thread
Choose either an all-purpose or denim blue thread for stitching if you want a matching hem, or a heavier jeans thread if you prefer contrast seaming detail. Denim thread is a twist of multiple blue colors to mimic the looks of our favorite indigo fabric.
The absolute hardest part of hemming jeans is going over those leg seams, but there are tools to help. Look for a Jean-a-ma-jig, Hump Jumper or Big Jig to help even out the raised area.
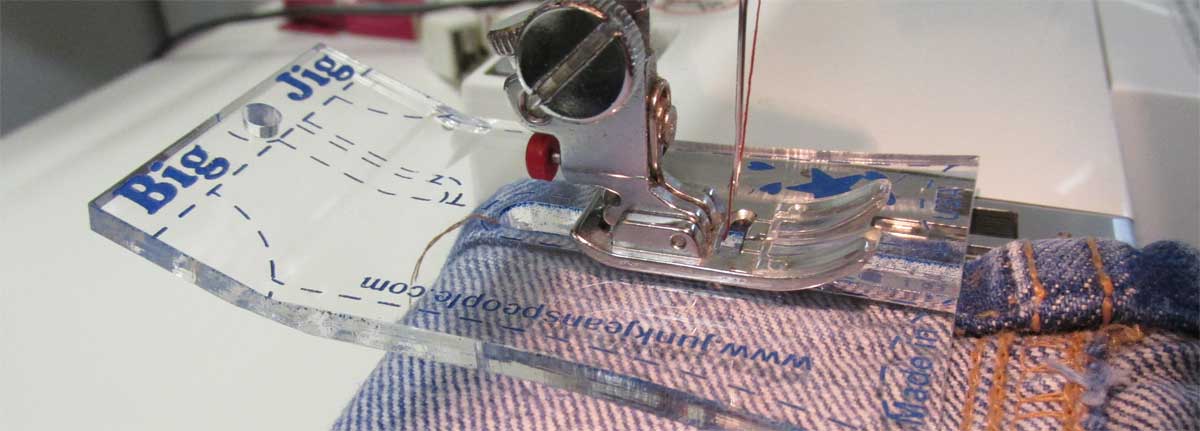
These tools are slipped under the presser foot on the ascent to the leg seam thickness to help keep the presser foot horizontal over the ridge and again on the other side to keep it from sliding off the raised area and making uneven stitches on the downward journey. And, they work on all machines.
For the neatest appearance, bring thread ends to the wrong side and tie them off instead of backstitching.
~ By Linda Turner Griepentrog
You might know my name from my years as editor of Sew News, from the many magazine articles I’ve written, or perhaps you’ve been on one of the ASG Sew Much Fun Hong Kong tours with me. But soon you’ll be seeing my name a bit more often as I’m writing for the American Sewing Guild blog!
Watch our exclusive video interview with Kenneth D. King, couture fashion designer, author and professor at The Fashion Institute of Technology. This lively and informative interview occurred at the American Sewing Guild National Conference 2019 in Boston.
Enjoy the video from the One if by Land, Two if by Sea Fashion Show from the 2019 ASG Conference in Boston. The show was emceed by Nick Coman from Dragonfly Dyeworks.
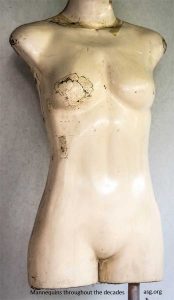 When mannequins were first introduced to storefront windows around the 1850’s in France, they were heavy beasts made of iron, wood and wax. The latter, as you could imagine, melted and the forms held stiff poses and were easily broken. In America, the stiffness relaxed in the early 1900s but the Women’s Christian Temperance Union’s view of them did not. The group took offense as apparently even these less-than-lifelike body replicas were too revealing when used to sell corsets. Some cities even passed laws that required store windows to be covered while mannequins were dressed and undressed.
In the 1930s, the faux bodies became lighter as thin material enveloped metal skeletons and limbs were easier to reposition. Earlier, and for decades to come, mannequins reflected bodies and faces of recognizable celebrities. Plastic bodies were introduced during WWII but to ill effect. A chemical reaction from display windows turned mannequins green. During those war years, the mannequins were also hit by rationing; shorter and slimmer mannequins were the norm, but only for a few years. Once troops returned, plumped-up, voluptuous mannequins welcomed the soldiers home.
Soon thereafter, nipples became a no-no and those anatomically accurate nubs were sanded off of older mannequins. They become acceptable again in the 1960s, which also brought us silhouettes resembling Marilyn Monroe and her often unachievable hourglass shape. Barbie, with her much narrower waist, debuted at the end of the decade. Later, a 1990’s study revealed that mannequins from the ‘60s had smaller arm, hip, and thigh circumferences than their pre-WWII counterparts.
Sturdier fiberglass produced lighter mannequins in the ‘70s and waif-like Twiggy influenced the shape. Celebrity bodies and faces were replaced with mannequins that sprouted heads with expressionless faces. Jane Fonda and the aerobics era arrived in the ‘80s and influenced mannequins with more toned body shapes. As that decade came to a close the movie Mannequin hit theaters.
Sporty gave way to waif again, or rather the sickly stick-thin figures of the 1990s and model Kate Moss. Even so, plus-sized mannequins emerged. Characteristically, they weren’t accurate representations of women’s bodies but amplified proportions of existing mannequins. The century turned and manufacturers churned out ubiquitous forms that, like the Grinch’s heart, were two sizes too small. The average American female body was size 14, according to the Centers for Disease Control. Mannequins were sized 8-10.
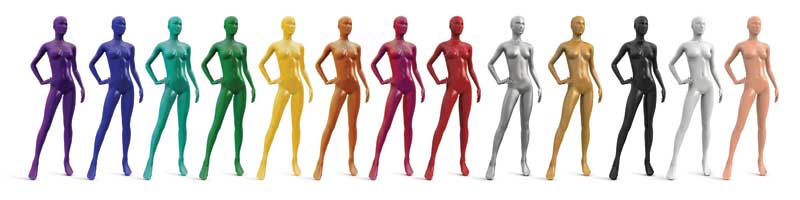
Curvier plus-sized shapes. Mannequins in wheelchairs. With freckles. Wearing hijabs. A better reflection of women in today’s world. It also has become easier to create new mannequins. Traditional manufactured forms are several hundred dollars each making it costly to replace an army of store mannequins. Today’s 3-D scanning and printing can produce different – and realistic – shapes faster and at lower costs.
Interested in reading more?
~Pamela Lardinois, Milwaukee ASG Off The Cuff, Apr/May 2019
Copyright © All content is copyrighted to the author and may only be reprinted with permission.
