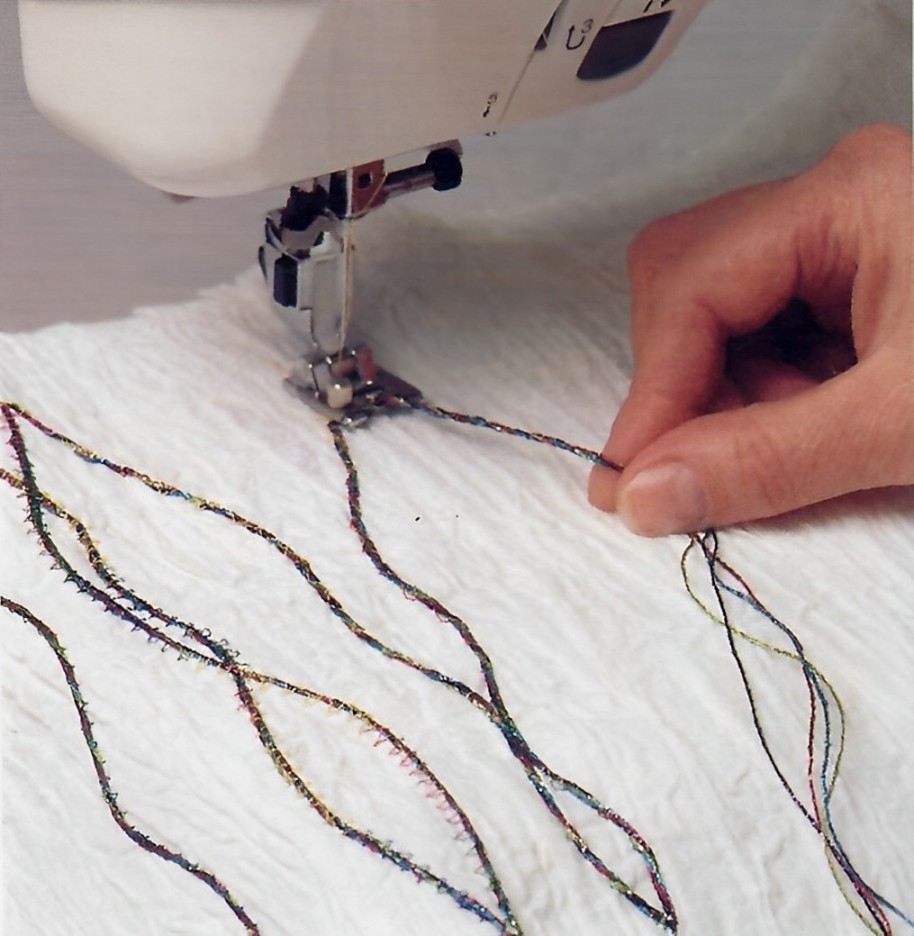
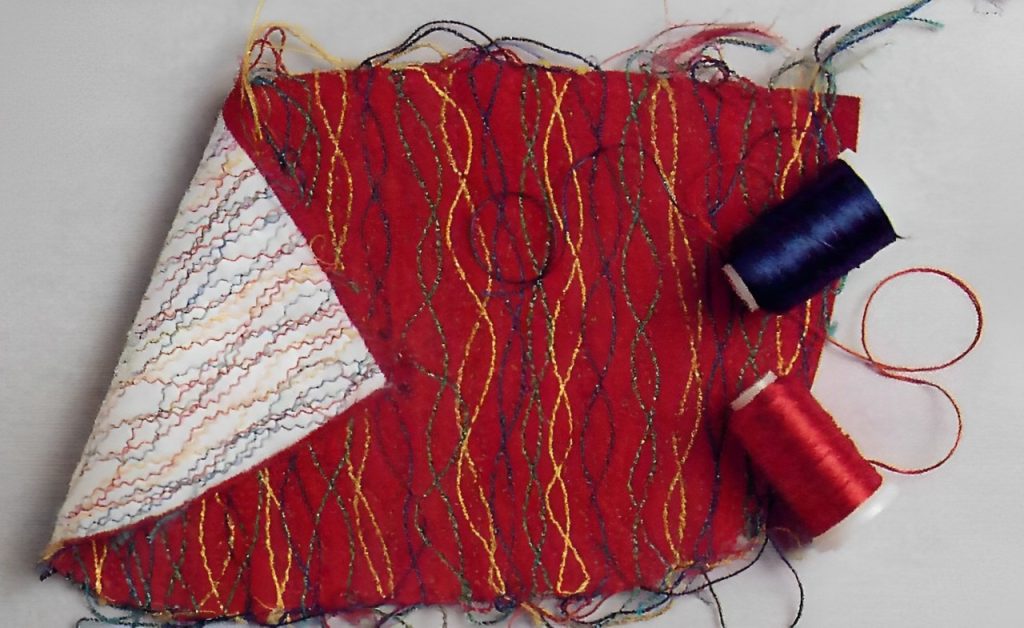
Couching is the method of embroidery used to attach a thread or group of threads to fabric when they are too thick, too highly textured or too fragile to be stitched through the fabric. A second thread, normally finer, is used to stitch over the couched thread, thus anchoring it to the fabric. The name comes from the French word coucher, meaning to lay down. In couching, a design is created by hand or machine stitching over threads, cords, or yarns that have been arranged on the surface of a material. With the availability of more embellishments such as sequins, beads, pearls, and ribbons, and additional feet available for your machine, couching takes on a new dimension.
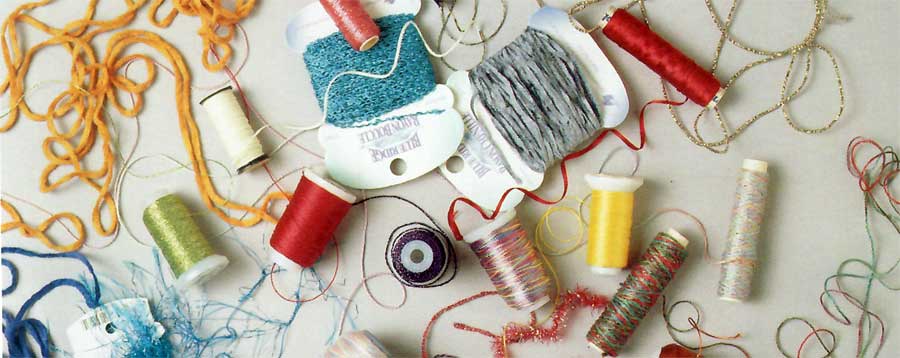
The market is overflowing with wonderful threads designed for the upper and lower loopers on sergers, yet are still heavy enough to use in the sewing machine needle. These metallic threads, braids, ombres and ribbons, pearl rayons and cottons, and other decorative yarns are perfect for couching. Other threads and yarns intended for hand embroidery, needlepoint, knitting, and related crafts can also transfer to couching. They glide through a couching foot, maintaining their position and making couching by machine a simple, quick process for creating an ornament or trim. Start by choosing your couching thread or threads, and then choose a needle thread.
Plan Your Layers
Each type of couching thread and ribbon could have multiple options for couching. To begin, apply the widest, flattest layers first, in colors that need to be subtle in the project. As layers progress, add the more bulky layers like edgestitched ribbon, beads, and sequin yardage.
¼” Satin Ribbon
When a centered stitching is desired on ¼” ribbon, use the open two embroidery foot, making accuracy a breeze. More open decorative stitches, staggered satin stitches, the honeycomb stitch, or double needle feather stitches produce a beautiful texture. Experiment with the stitch length and width for different effects. Be careful with the stitch width when using the double needle. The wider the distance between the needles, the narrower the width must be to prevent the needle from breaking. The double needle button on most new machines allows the machine to stitch up to a certain width. Be sure to push the button.
Ribbon Thread and 1/8” Ribbon
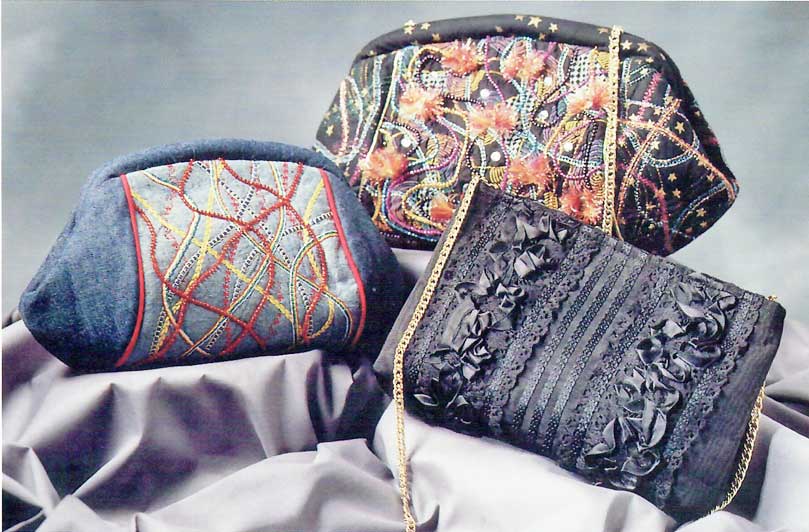
Ribbon thread or floss and 1/8” satin ribbon are suitable for couching in a variety of ways. Use the braiding foot to center the ribbon by the needle. Set the decorative stitch width to allow the needle to go over the edge of the ribbon and not beyond. Consider the daisy, ladder, or feather stitch for these narrow ribbons or any stitch with open spaces for the ribbon to show. Combinations of stitches are another alternative using memory.
Serger Threads
Heavier threads for the serger loopers are easy to couch single or twisted width with other colors. The tendency is to match colors so well that they are not visible once stitched. Add a contrast in color visibility. Use thread colors you would never buy in fabric. Thread is only a small portion of the garment.
The Proper Stitch
Most instructions suggest using a zigzag stitch to hold twisted threads in position. However, it tends to mat the beautiful threads down. My preference is the multi-step zigzag stitch. Alter the stitch width to the width of the twisted threads. Lengthen the stitch to about 1.5 or 2. By using variegated thread that do not match, the needle thread is barely visible and it doesn’t draw attention to itself but does add sparkle to the couching thread.
Occasionally I work with braids or ribbons that are so tightly woven, it’s difficult for the needle to penetrate using the multi-step zigzag stitch. In this case, use a clear monofilament thread in the needle and a zigzag stitch. Be sure the needle swings over these couching threads rather than piercing them to avoid pulls.
Choose the foot with the hole closest to the size of the couching threads to maintain proper alignment. A too-large hole will cause the couching threads to move around too much, missing stitches. A too-small hole will catch on the couching threads, causing the fabric to gather. Some feet have an adjustable screw to alter the size of the hole.
Using a Multi-hole Cording Foot
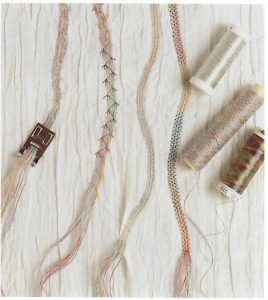 Cording feet with tiny holes through which three to nine heavier threads may pass allow many combinations of types and colors of thread. The different holes align the threads perfectly, resulting in the illusion of ribbon.
A subtle variegated design is achieved with slightly different shades of a color or a bolder appearance with sharper, brighter colors. The possibilities are endless because a great variety of colors is available in specialty threads.
Ordinarily, all holes in the foot are threaded at once. Just because there are a number of holes in a foot does not mean all holes must be used at the same time. Creativity happens when rules are broken. Sometimes, only the outer holes are used with a decorative stitch set to the maximum width.
Other times, odd holes are used, allowing space between the lanes of couching threads. Incorporate a variety of uses from the same foot into the same project. Every row stitches can be a different application.
Tips:
- Always test needle thread and couching thread combinations as they sometimes change colors after they are stitched.
- Whenever possible, begin and end on the cut edge of the garment.
- Couching may cause the base fabric to shrink slightly. Cut out the garment 1” larger before beginning to stitch.
- Use the foot that makes the task easier.
- When threading is difficult, use a floss threader to thread the foot.
- Effective couching uses threads of high contrast colors and texture. The spools of thread laying side-by-side may look awful together. Twist several threads together before making a final choice because, sometimes, what looks ugly on the spool becomes wonderful in small amounts.
- Have several full bobbins handy. Decorative stitches use more thread than straight stitches.
- To hide a skipped stitch, overlap another row of couching. Note that it’s not necessary to relocate the needle into the stitch pattern.
~from the book, Creating Texture with Textiles by Linda McGehee (reprinted with permission), available from Ghee’s.
ASG members receive a discount with a code available from the Members Only area.
Linda McGehee from Ghee’s brings 50 years of rich and varied sewing expertise, spanning everything from garment creation and handbags to piecing, heirloom sewing, and surface manipulation. She skillfully blends multiple techniques into samplers showcasing her broad skill set. A seasoned demonstrator and lecturer, Linda has shared her knowledge worldwide through her books and patterns. Highly sought after at trade shows, machine conventions, consumer events, guilds, shops, and on television, Linda’s teaching style is engaging, fun, and detailed.


