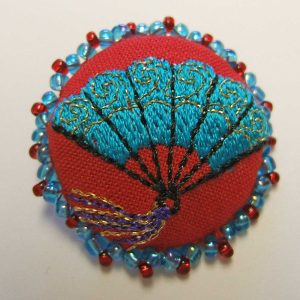
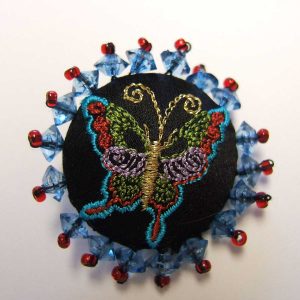
Are there times when you just can’t find the right buttons to accent your project, and you long for something really unique? Well, never fear, you can make buttons look like anything your heart desires by covering your own.
Forms
Button covering forms come is sizes from 7/16” to 2 ½”, depending on where you’re going to use them. The smaller ones are ideal for cuffs or down the back of a wedding dress, while the larger sizes are great for home décor uses and jewelry. Yes, jewelry (see below).
Metal button forms come in both flat and domed shapes, depending on the look you like and the size needed.
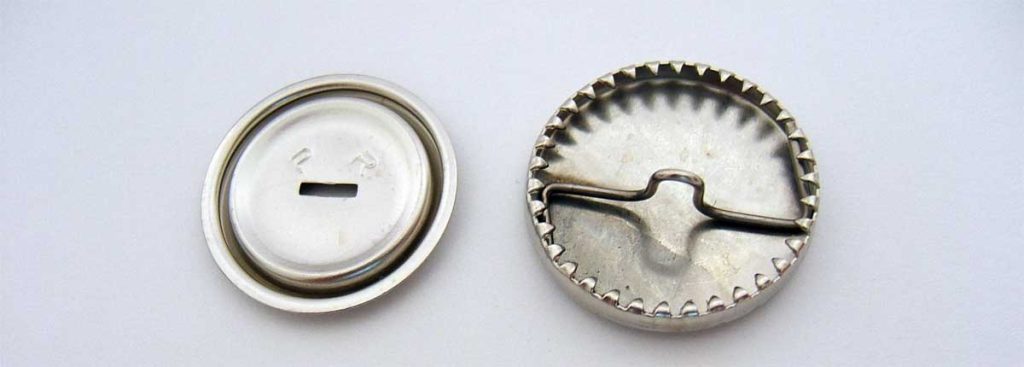
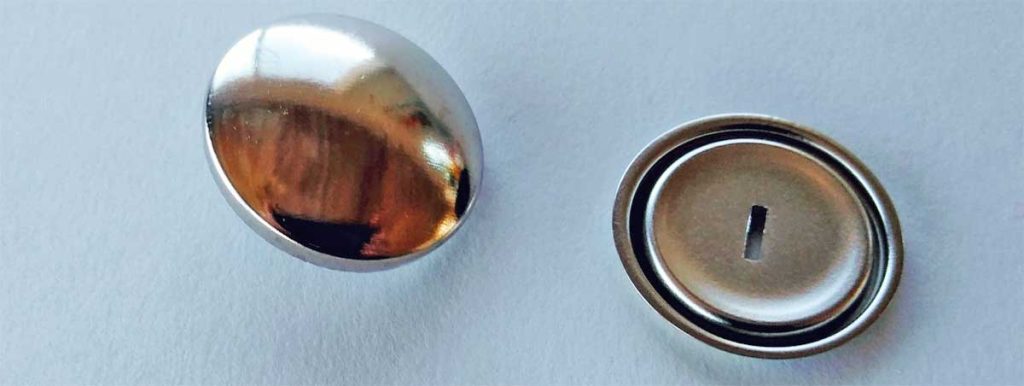
There are two components to each button form—the top portion which has sharp teeth around the underside to grip the fabric, and the bottom portion which snaps into the top to hold the fabric in place. The top portion of the button form also includes a wire shank which goes through the bottom section when the button components are snapped together.
The packaging on the button forms contains a pattern to use for cutting the covering circles, so carefully trim around it when opening the pack of forms.
Covering Up
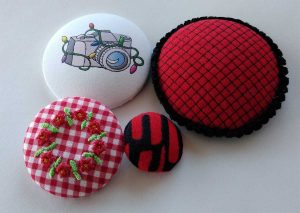
Almost any fabric can be used to cover buttons—some easier than others. If your fabric has a loose weave or is not opaque, the shiny metal form may show through, so back the fabric with a lightweight interfacing or underlining.
If your covering fabric is very bulky, like some home décor fabrics or faux furs, cut the circle slightly smaller than the template and/or trim any pile from the underside edges to reduce bulk.
Keep in mind that the covering fabric can be fussy-cut to showcase a particular area on the button circle, so plan ahead for repeat buttons.
The covering fabric can also have numerous other decorative techniques applied to it before use—stenciling, painting, dyeing, hand stitchery, needle felting, machine embroidery, texturizing, etc. Just keep in mind the button size to showcase the embellishments. A Bit of Stitch offers two design packs made specifically for machine embroidered covered buttons.
Cut the covering fabric from the supplied template and cut as many as needed to cover all the buttons.
Lay the fabric circle face down on the table surface and center the button form top face down on it. Pull the fabric around the form and hook it over the teeth on the underside. Work from opposite sides of the button and pull the fabric taut over the form, so there are no wrinkles or pleats. Work your way around the button hooking the fabric securely to the teeth. If you get wrinkles, unhook and try again to smooth the fabric in place.
When the covering fabric is well anchored into the teeth all the way around, position the back section over the wire shank and snap it firmly into place covering the teeth. If your fabric is bulky, a light tap with a small hammer may be helpful to be sure the backing snaps in place.
Repeat to make as many buttons as needed.
Help, the button is winning! If things don’t go quite as smoothly as you’d like and it feels like the button form is winning the wrestling match, try using some temporary spray adhesive to hold the fabric in place while you pull it tautly over the form and anchor it to the hooks. Another option is to use a little fabric glue along the teeth to help hold wiry or otherwise testy fabrics in place.
Fun Options
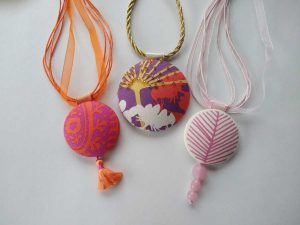 In addition to functional closures, fabric covered buttons are ideal for jewelry and craft projects, like holiday ornaments. Remove the wire shank before adding the button back if you need a flat back, and cover the button back with a felt circle to finish. If you’re making a brooch, just glue a pinback to the button flat underside.
Once the button is covered, you can add beads or other gemstones to it for embellishment, or even some iron-on crystals for a bit of bling.
~Linda Griepentrog
Linda is the owner of G Wiz Creative Services and she does writing, editing and designing for companies in the sewing, crafting and quilting industries. In addition, she escorts fabric shopping tours to Hong Kong. She lives at the Oregon Coast with her husband Keith, and two dogs, Yohnuh and Abby. Contact her at gwizdesigns@aol.com.


