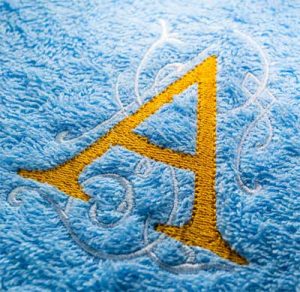
 Whether it’s an item you’ve made or an item you’ve bought, a monogram is a wonderful way to add a personal touch. And if you’re pressed for sewing time, it’s a great way to solve your gift-giving dilemmas. For example, if you don’t have time to make a robe, buy it and personalize it… with towels to match!
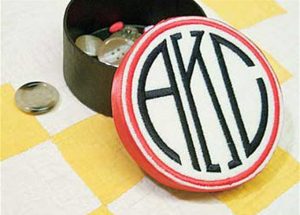
Monograms are usually composed of capital letters. Until the beginning of the 20th century, a single initial, usually the last initial, was the most common style. Today, one-, two-, and three-letter monograms are all equally common but the most conventional monogram arrangement consists of three letters: a larger central letter, flanked by two smaller letters, one on each side. Generally, the center letter is the surname or last name, with the letter on the left representing the first name, and the letter on the right representing the middle name. This arrangement makes sense for an individual with three initials available. Typically, each member of the household sharing the same surname would have their own monogram. A married couple might choose to blend their individual initials into a common monogram. For example, John R. Smith, who marries Katherine L. Brown, might create the common monogram JSK. In contemporary life, it would also be acceptable to use KSJ, with the woman’s initial appearing first.
Arranging the Letters
The spacing of the letters and their position relative to each other will vary depending on the style of lettering, the letters themselves, and your own personal preference.
When you work with individual designs for each letter, you have complete control over placement and spacing. Just move the letters around onscreen until you are happy with the results, then save the combination under a new file name—one that you can easily remember.
 Several of the EmbroideryArts styles (e.g., Circle, Empire) have left, middle, and right versions of each letter. Although the individual letters can still be used alone, these styles are designed to make three-letter monograms that form a specific shape, so the left side A, for example, is a different letter than the right side A.
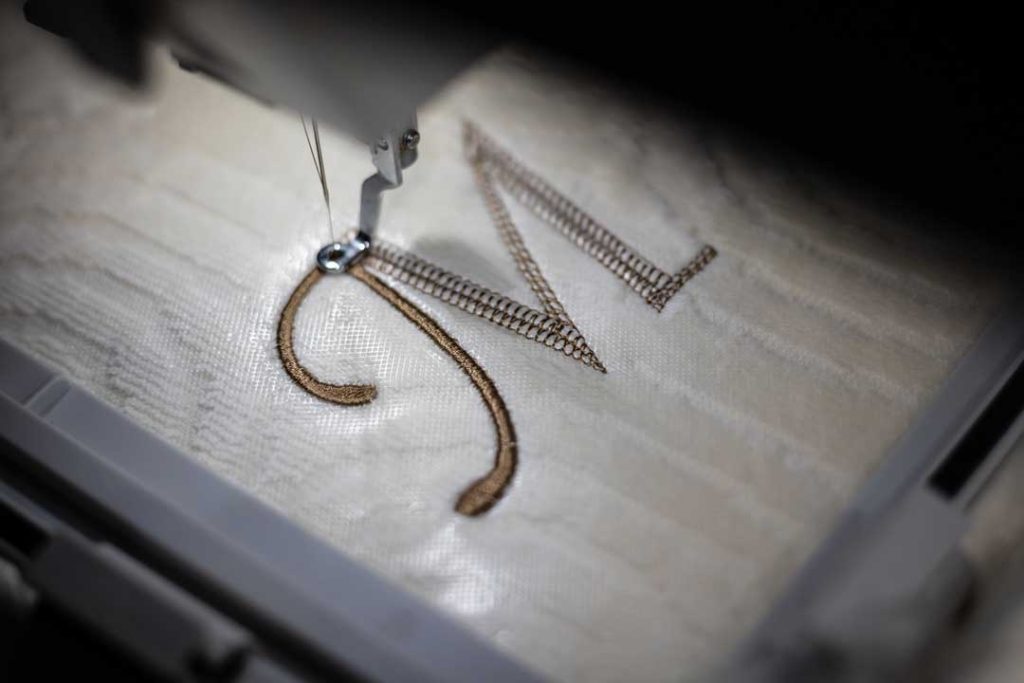
Start with the larger center letter for the surname or last name, and then add the flanking letters, on the left and right. This sewing sequence will produce longer connecting threads between letters for embroiderers whose machines do not have automatic thread trimmers, and will also push the fabric away from the center as the complete design is sewn.
Placing the Design
Once you’ve determined the arrangement of your letters, you’ll need to consider the placement on your project. To do this, stitch out a sample of the monogram and photocopy it. Then:
- Find the center of the design by measuring the height and width, then drawing crossed lines half way between each dimension.
- At the center point, cut away a 1⁄4″ square or use a standard paper punch to make a hole.
- Cut away the excess paper surrounding the monogram and place the photocopy where you intend to put the monogram.
- Using a water-soluble or air-soluble marker, mark the design center on the fabric. If you don’t want to mark directly on your fabric, place a dot on a small piece of masking tape. Slide the tape under the hole in the photocopy until it is centered, then hold both the photocopy and the tape together, and place the two where you want the design to go. Lift the photocopy and the tape will stay in place, marking the center.
- Hoop the fabric, making sure the center mark is in the center of the hoop. If using the tape method, remove the tape before stitching the monogram.
Where the Letters Go
If you’re puzzled about where to place the monogram, here are a few guidelines.
- Golf shirt: 7″ to 9″ inches down from the left shoulder seam and 4″ to 6″ over from the center.
- Wash cloth: 1-1/2″ above the hem, or 1″ above the border for placement parallel to the edge; for placements in the corner, turn the washcloth diagonally until the shape is a diamond, then determine placement based on the design size.
 Hand towel: 2″ above the hem, or 1-1/2″ above the border, on the opposite edge from the label.
- Bath towel: 4″ above the hem, or 2″ above the border, on the opposite edge from the label.
- Sheets: the bottom of the monogram should be centered at the midpoint of the sheet width, and should be approximately 2″ above the wide hemline at the top of the sheet.
- Pillowcase: centered at the midpoint of the width of the open end, and also centered midway between the edge of the pillowcase and the hem edge.
- Shirt cuff: on the top of the wrist, and from 1″ to 1-3/8″ toward the buttonhole from the center of the cuff. Cuff monograms are typically small, and are placed so that the bottom of the design is 1/4″ to 1/2″ above the cuff edge
- Coat lining: on the right side of the lining, at approximately waist level.
~This article appeared in a previous issue of Notions
Richards Jarden, born and raised in the suburbs of Philadelphia, Pa., studied fine arts in the U.S., India, England, and Canada as a college student. He is a former associate professor of fine arts, and in the late 1980s was head of the Sculpture Department at Rhode Island School of Design. He has managed various art-related businesses, first in architectural restoration, later in decorative painting, and since 1993 in embroidery design and digitizing. He has a particular interest in lettering and monogramming, and is the president of Embroideryarts (www.embroideryarts. com), which designs and markets digitized monogram designs for home and commercial embroiderers.


