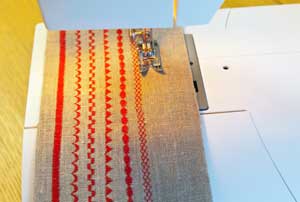
 Have you ever tried to use the decorative stitches on your sewing machine and some of them bunched up or didn’t stitch evenly, or you ended up with crooked rows? The really wide stitches can be especially tricky to keep centered where you want them. The best option for a quality result is to bring them into the hoop. The result of using embroidery mode will be perfectly balanced columns of stitches, and you’ll be even happier with the ease of stitching and the precision-aligned results.
The first thing to do is check your manual to see if your machine can load sewing stitches into the hoop in embroidery edit mode. My Husqvarna-Viking Designer Ruby calls it “loading a stitch program.” On the Ruby, the stitches come into the hoop in vertical alignment but can be rotated to the horizontal position after they’re brought into the hoop. The Ruby also allows you to program how many times to repeat the stitch, as well as providing an opportunity to choose different stitches to use in a particular column of stitches. Alternatively, you can use just one of the fancy stitches by itself and then duplicate it and arrange them in the hoop. (Note that your machine may or may not have these options.)
Getting Started
Consider what hoop size you want to use and make note of the hoop’s stitch area measurement. For example, the Ruby’s 130 x 180 hoop would use a design that is just slightly smaller in size. It could fit a series of stitches that measured up to 178 mm. The Ruby also reports the size of one “stitch unit,” as well as the combined size of the column of stitches being created. In addition, you can edit the stitch length and width of an individual unit of stitches to make them fit, if needed, as well as tell it how many repeating units are desired.
Notes:
- The machine automatically starts and ends with “tie off” stitches for the column of stitches. Check to see if you need to add that on your machine.
- It is very helpful if you can zoom in on your machine’s screen when aligning multiple columns of stitches.
From the machine’s screen… to stitchout
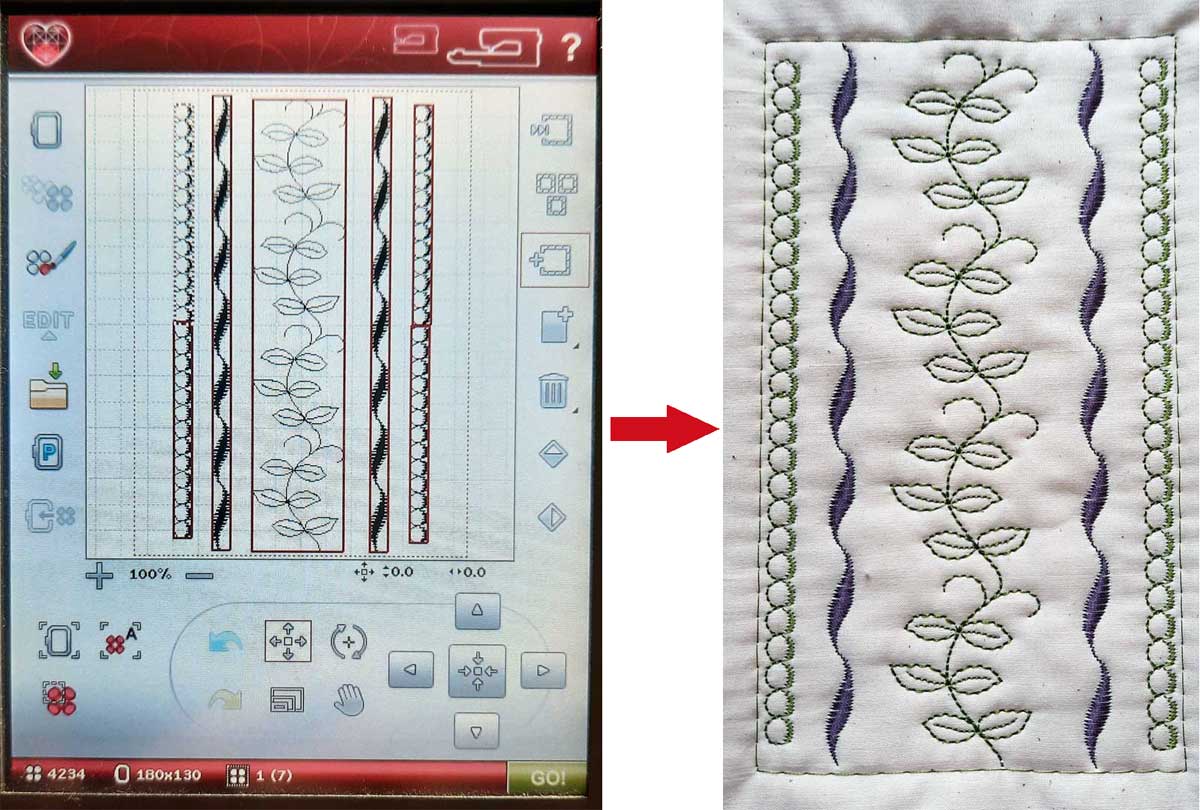
Some stitch units are merely running stitches and some may be triple stitch, or have some satin stitches, meaning some are more dense than others. For some of the samples that I created, I did not use stabilizer in the hoop, but just had a quilt sandwich of two fabrics with batting in the middle. If you are embroidering on one layer of fabric, you will need to use stabilizer in your hoop. Starching your fabric helps too.
- It is highly recommended to stitch a sample before using on your final fabric.
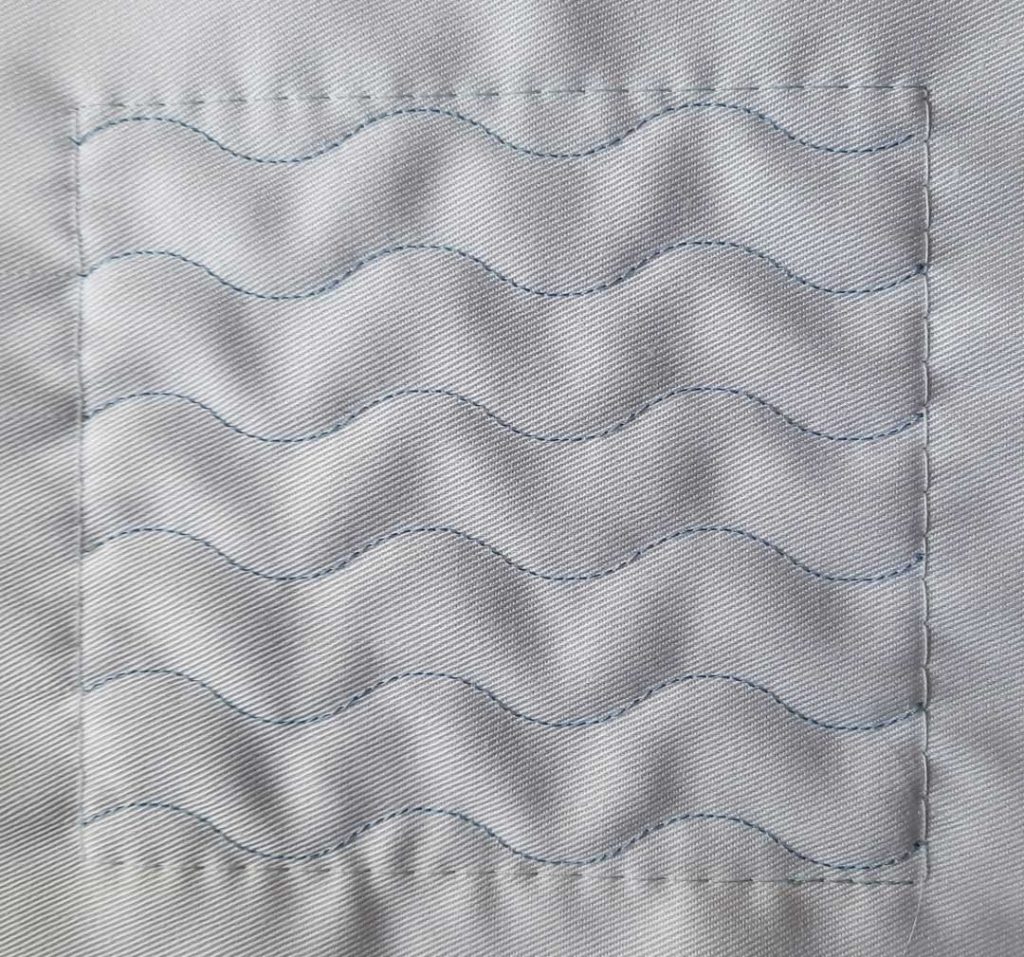
- Use a serpentine stitch to create wavy lines — arrange them in vertical or horizontal or diagonal rows to fill your hoop space.
- Write words with built-in alphabet letters to use as background stitching.
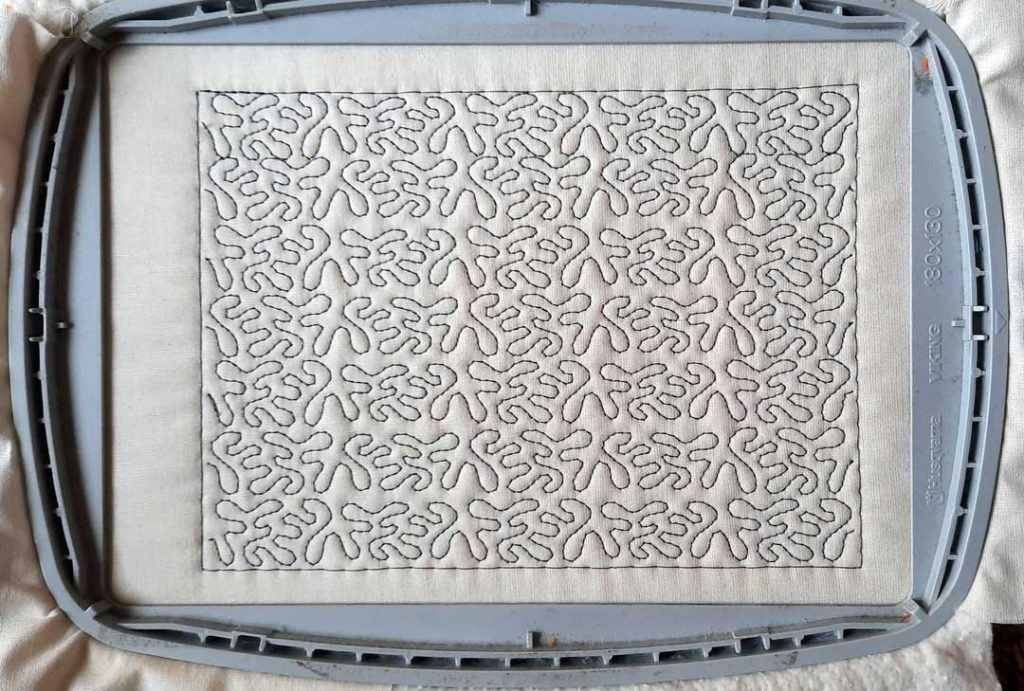
- If your machine has stitches that look like stippling, create rows of stippling using thread that matches your fabric and then add another design on top of that. (darker color thread was used in this sample so that it shows up)
If you are not sure if your embroidery machine can do this, do a Google search on “using decorative stitches in the embroidery hoop,” and you should find links on how to do it for a variety of machine brands. You can also do a Google search using the term “stitch stacking.” Your sewing machine dealer may also be able to determine if your particular model has the ability to do this technique.
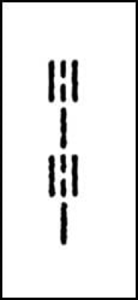 Check to see if your machine can create a hand look stitch (see image at right). The stitch symbol may look something like this. When stitched using the correct color threads, it looks like a row of small stitches sewn by hand. Thread the bobbin in a contrasting color so that the threads will show on the top of your fabric. Thread the needle with a thread color that matches the fabric or with clear/invisible thread. Select the stitch and try sewing a sample first. You may have to increase the needle tension so that the bobbin thread shows more. The stitch length may also need to be adjusted to get the effect you are looking for. They are great for creating lines of stitches and may be brought into your hoop to give the look of quilting by hand.
For more information on using decorative stitches in the embroidery mode on machines, check out the following sources:
- Quilting Using Decorative Stitches with Husqvarna-Viking Designer Epic
- Decorative Stitches with Babylock Solaris
- Brother Dream Machine – Stacking Decorative Stitches (video)
~Beverly Betz


