Fabric napkins are a fun way to add some style, color, or interest to your dining table, whether casual dining for the family or more formal affairs for guests. There’s a perfect fabric for all occasions, and they’re sew easy to make, even a beginner can create them. Once you start, you can’t stop!
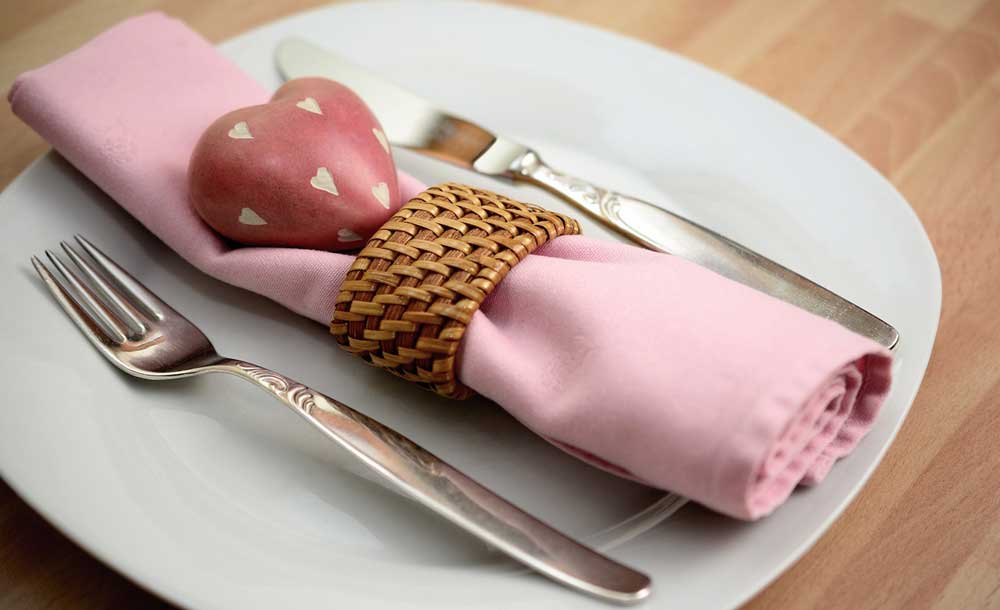
Napkins vary in size, depending on their use—from 12” squares for cocktail events up to 22” square for a generous dinner size. If you cut them 18” square, the economy plays in your favor as you can get four napkins from a yard of fabric.
If your fabric is loosely woven, add a bit of stability before stitching by using spray starch or starch alternative. On fancy fabrics, like lamé, use stabilizer when edge stitching.
On the Edge
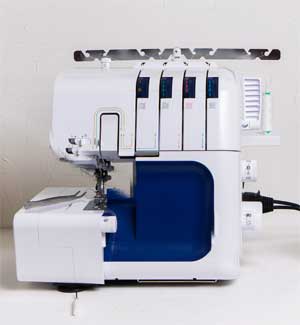 The key decision for napkin-makers is choosing an edge finish. There are many options, so let us count the ways.
If you have a serger, you can finish the cut edges, press them to the wrong side and topstitch in place. For an even quicker finish, press up the edge and tuck in a narrow strip of fusible web and press the hem in place. This fusible method is especially appealing for children who want to help, but may not have sewing machine skills yet. Basic pressing skills are all that’s needed to finish an overlocked edge.
Or, you can set your serger on the roll-hem setting and simply sew along all four edges, leaving a densely stitched single-layer edge.
Either way, it’s quick to serge continuously—when you’re done with one side, feed in the next napkin and keep on going. The, cut them apart later. This is a timesaver if you’re making quantities of napkins for a party or a craft sale.
If you don’t have a serger, press under a double ¼” hem on all napkin edges and topstitch in place. For a firmer edge on lightweight fabric, fuse the hems in place using fusible web tape prior to topstitching.
Corner Capers
If you serged the napkins edges, finish the corners by applying fray protector on both the napkin front and back corners. Once the liquid has dried thoroughly, clip the threads close to the corner.
For a folded hem, stitch continuously around the napkin perimeter, backstitching at the beginning and ending stitches. Clip the threads closely.
To reduce bulk at the folded corners of heavier napkin fabrics, trim the fabric at an angle before folding up the hems.
Fringe Benefits
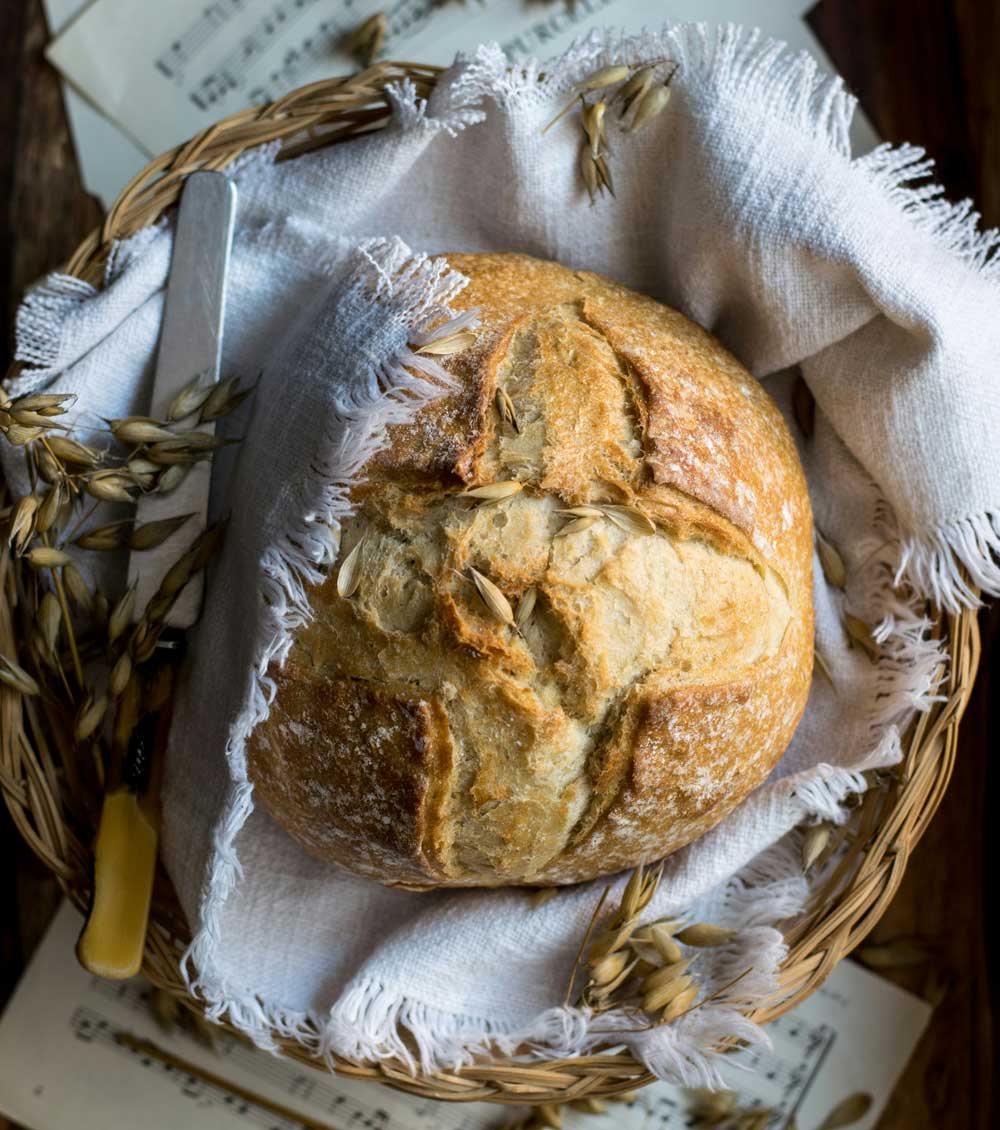
If you’re using napkin fabric with a prominent weave, like linen, mudcloth, etc., a fringed edge may be all you need for a finish. Be sure to cut the napkin squares on the fabric grain, then sew around the square the width of the fringe you want to create. Pull the fabric threads to just outside the stitching line. Trim the fringe evenly if needed.
Two Sides to the Story
Single-layer napkins are fun, but if looking at the wrong side of a fabric print is offensive to you, particularly if you’re doing fancy folds, make the napkin double instead. You can use the same fabric or a contrast fabric for the opposite side.
To make a double-layer napkin, cut two squares for each napkin—one from the outer fabric and one from the contrast. Place them right sides together and sew around the edges using a ¼” seam, leaving a small opening for turning. Trim the corners to reduce bulk, and turn the napkin right sides out. Press under the seam allowance at the opening edge and hand-stitch or fuse closed. Press the seam at the edge so neither fabric shows on the opposite side, then topstitch close to the edge. This stitching is also an option for closing the opening edges.
Thread Tales
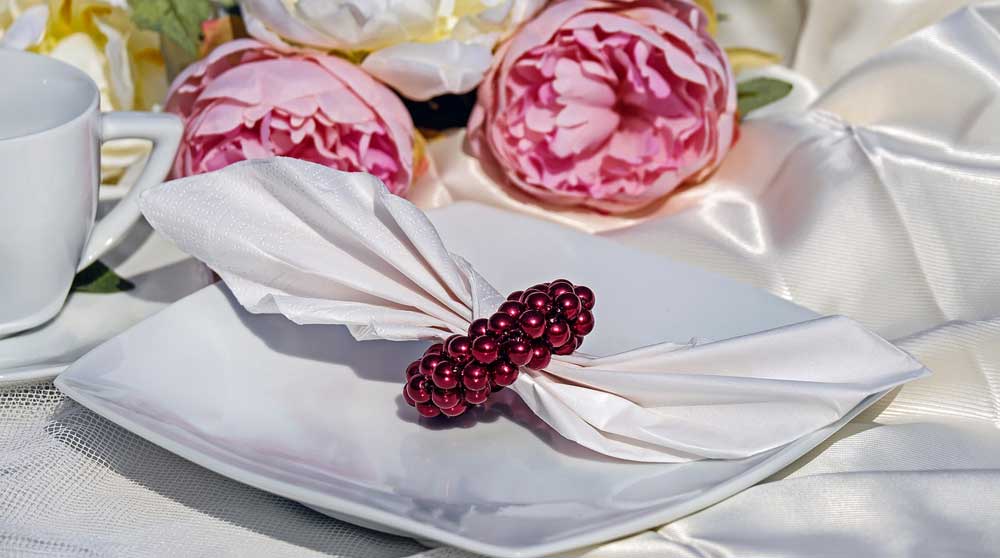
You can use many kinds of thread for the visible stitching on napkins with a serger. Rayon creates a shiny edge, while a woolly option creates a dense matte edge. Metallic can be used for a bit of bling.
For more thread prominence, topstitch hemmed edges using a decorative stitch instead of a straight stitch. One caution: Be sure to reduce the fabric bulk at the corners to avoid stitch distortion.
Whimsical Additions
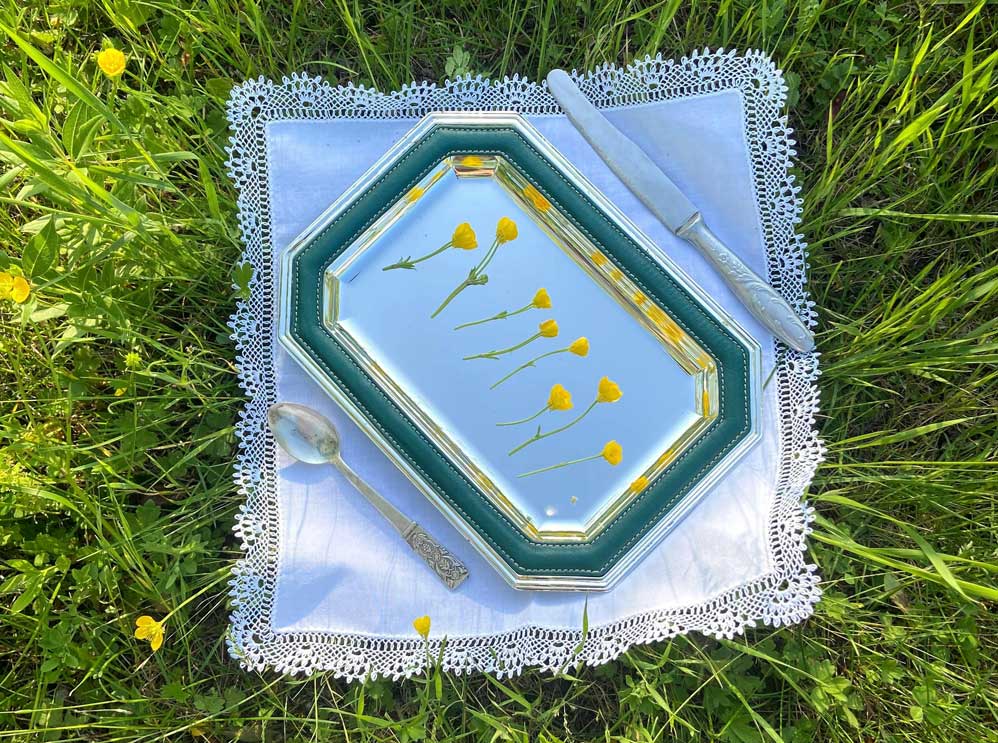
No one says that napkin edges have to be plain—add some rickrack, tiny ball fringe, lace or other trims extending from the fabric edges. If your napkins are double layer, attach the trim to one side first so the header is between the layers when the napkin is finished. On single-layer versions, simply lap the finished edge over the trim header.
~Linda Griepentrog is the owner of G Wiz Creative Services and she does writing, editing and designing for companies in the sewing, crafting and quilting industries. In addition, she escorts fabric shopping tours to Hong Kong. She lives at the Oregon Coast with her husband Keith, and three dogs, Yohnuh, Abby, and Lizzie. Contact her at .


