 Facings are a great way to finish edges—whether it’s down the front of a garment, around the neckline, or on armholes. By definition, a facing is simply a narrow fabric piece cut to the shape of the opening to encase the garment raw edges. However, you don’t normally leave the edge of a facing without any finishing as the fabric can fray and wear.
- For any finishing method except the last one listed below, attach interfacing as required to the facing piece(s) and sew any joining facing seams first—like shoulder or underarm.
- Press the seam allowances open. If the fabric is bulky, trim the seam allowances to ¼”.
- Once the facing is complete, then finish the edges.
So how do you finish facing edges? Let us count the ways…
Serging
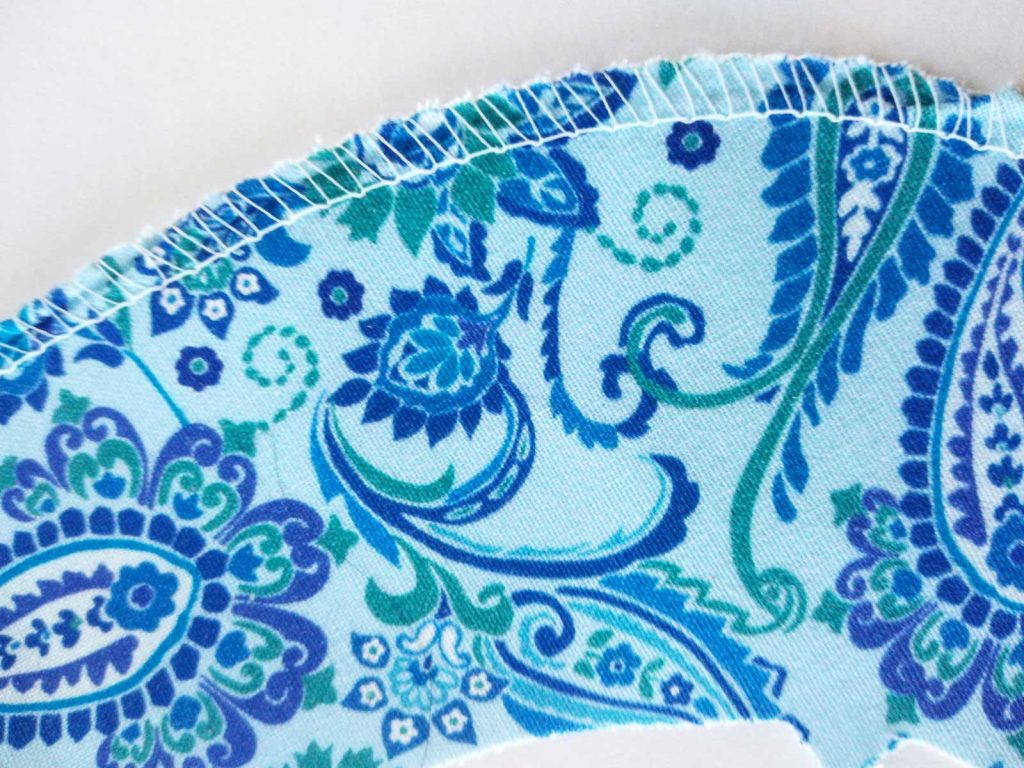
If you have a serger, it’s ideal for finishing facing edges. Easy and quick—just serge around the outer edge of the facing. The serger threads encase the raw edges of the fabric and leave a flat smooth perimeter.
Hemming
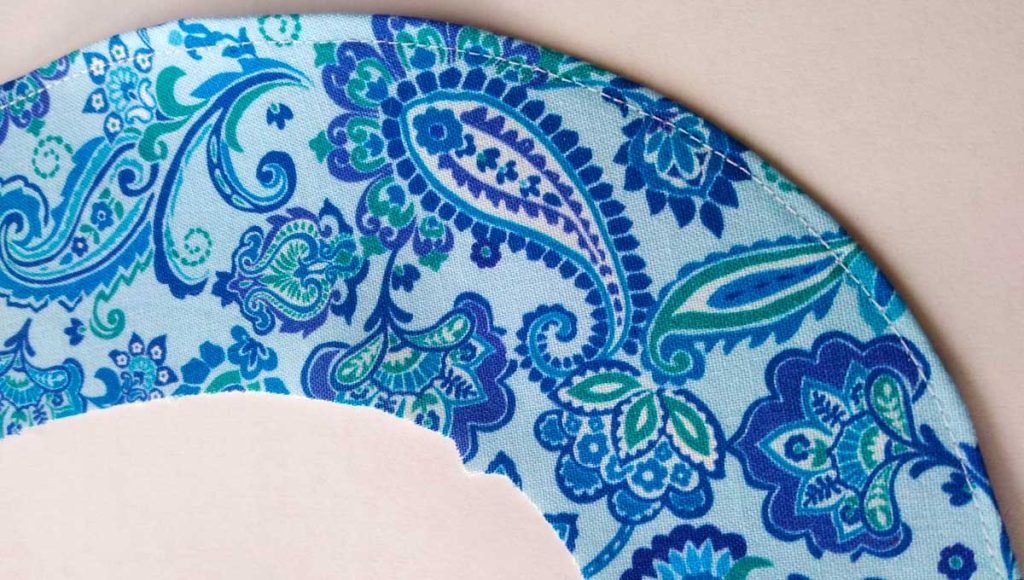
You can hem the outer edges of facings if you don’t have a serger. Simply press under the perimeter edge ¼” and stitch close to the fold. This creates a finished edge, but on some fabrics, it can add unnecessary bulk. Depending on the grain on the facing edge, turning under and stitching a hem can also cause distortion and rippling. On some fabrics, that extra layer of turned-under fabric can also create a ridge on the garment outside when pressing.
Stitch and Pink
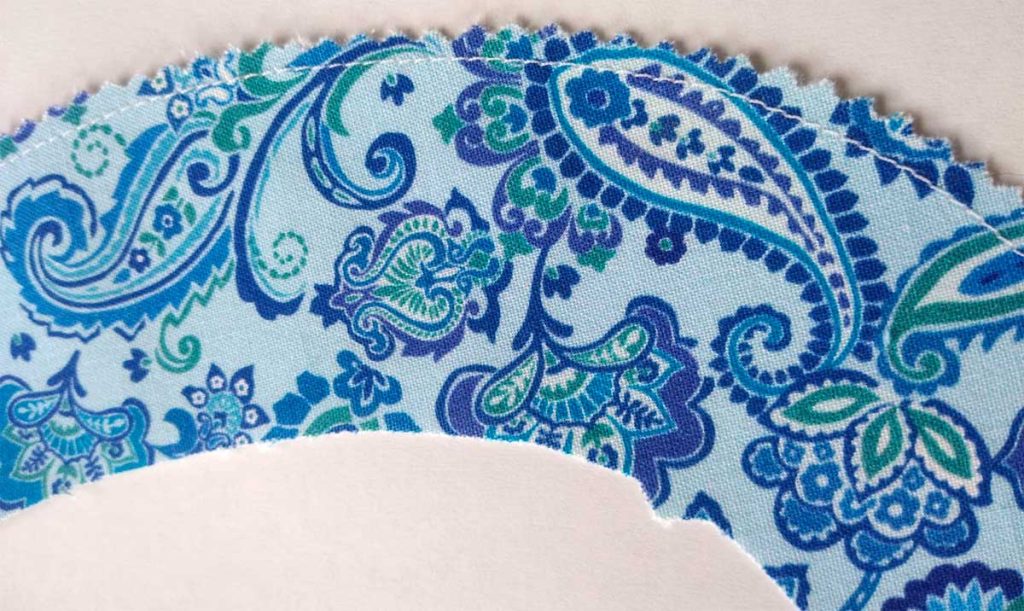
Adding a line of stitching around the facing perimeter, followed by the trimming with pinking shears creates a neat looking, flat-finish edge suitable for many fabrics. It’s ideal for knits and closely woven fabrics.
Binding
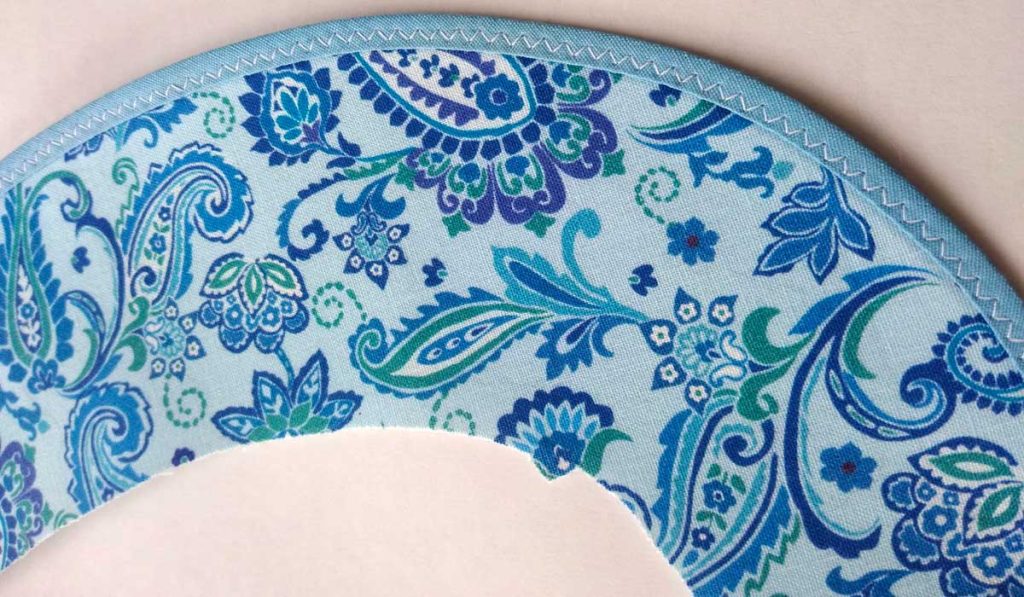
The outer facing edge can be bound, either with bias tape or with a bias strip of a lightweight fabric. If using bias tape, place the larger side under the facing and use a narrow zigzag to secure the edges.
On bulky fabrics, a narrow single-layer binding is made using fabric that’s lighter in weight than the garment fabric itself to avoid additional bulk—something like silk organza or lining fabric is ideal.
To finish a facing with a narrow fabric binding, cut enough 1”-wide bias strips to go around the facing outer edges plus 1” for each. Piece the bias strips together if needed and press seams open. Align one strip long raw edge with the facing edge and sew around the facing perimeter using a scant ¼” seam allowance. Flip the binding to the underside, press and stitch in the ditch of the seam to hold the underside in place. Trim any excess binding width close to the stitching.
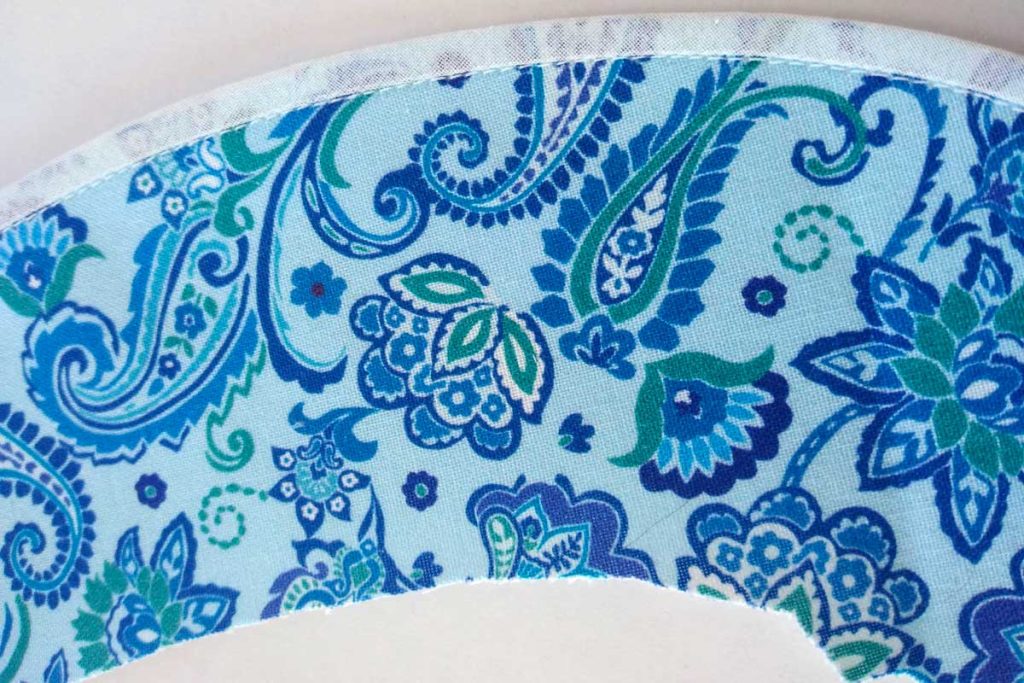
Sometimes facing edges (and seams) in unlined garments are bound in a contrast color for added interest.
Interfacing
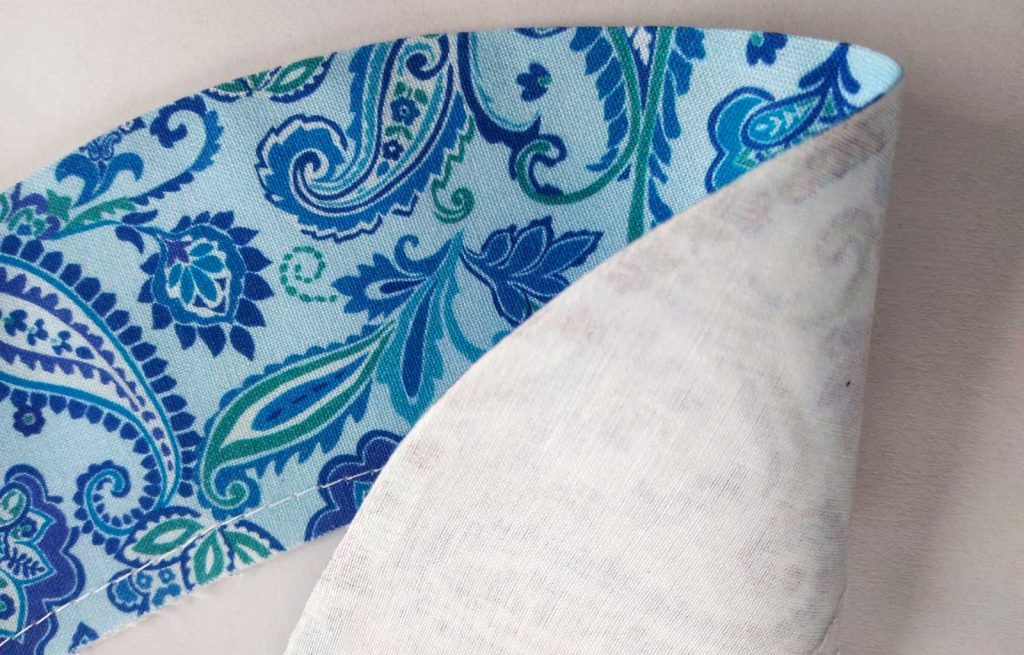
Many faced opening patterns call for interfacing to help the armhole, neckline or front opening keep its shape during wearing and construction. The interfacing also serves to help stabilize areas for further design details like buttons/buttonholes, toggles, etc.
Rather than adding interfacing as a separate construction step, you can use it to finish the facing edge. The interfacing can be fusible or sew-in depending on your fabric and the desired amount of stabilization needed.
To finish facings this way, cut the facing pieces out of both fabric and interfacing. Sew the seams (shoulder, underarm, etc.) as needed, separately in both the fabric and interfacing. Trim the seam allowances to ¼” in the interfacing layer. Finger-press the seams open if using fusible interfacing; otherwise press open with an iron. Place the matching fabric and interfacing layers right sides together and sew around the perimeter using a scant ¼” seam.
Turn the interfacing to the facing underside and press along the outer edge using the tip of the iron. If you’re using fusible interfacing, this process will fuse the edges together. Turn the facing interfacing side out and press. Again, for fusible interfacing, this will secure the interfacing to the fabric layer. For non-fusible interfacing, match the inner facing edges and baste around the opening.
Once the facing edges are finished, apply the facing according to the pattern instructions.
Raw edges? Is there ever a time when facing edges can be left raw? The answer is yes—if they’re hidden by an attached lining, there’s no need to finish the edges. Some sewers leave facing edges unfinished if the fabric is knit, as the edges won’t ravel. But, serging a knit facing edge, or even just pinking it, gives a nicer looking finish.
~Linda Griepentrog is the owner of G Wiz Creative Services and she does writing, editing and designing for companies in the sewing, crafting and quilting industries. In addition, she escorts fabric shopping tours to Hong Kong. She lives at the Oregon Coast with her husband Keith, and three dogs, Yohnuh, Abby, and Lizzie. Contact her at gwizdesigns@aol.com.


