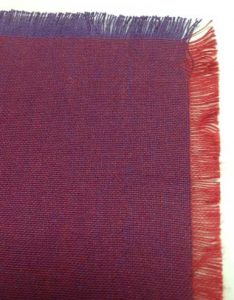
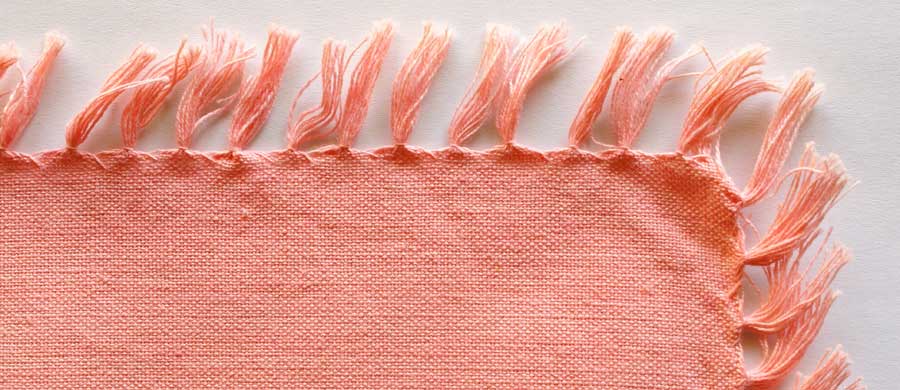
 If you’re looking for a fast and easy edge finish, there’s nothing easier than fringe! It works on single-layer placemats, scarves, patches and pockets, or with a little more effort, you can insert fringe into a seam or hem.
The results of fringing are not always what you expect, as some fabrics are woven with different color threads going lengthwise and crosswise, so you get totally different colors in one direction from the other. Denim is a good example, as white threads are usually used one way and indigo the other.
The Basics
Select a woven fabric (knits cannot be fringed using this technique). Fabrics like linen, burlap, gauze, wools and bouclés are ideal candidates. The looser the weave, the easier the fringing process.
- To create a simple fringe, be sure your project edge is cut parallel to the fabric grain. Sew a line of stitching where you want the fringe to stop, then start pulling threads up to the stitching line. The stitching thread can match the fabric or contrast with it.
- For easier removal, use a needle or a large pin to help separate the fabric threads and gently pull them across the fringed area. Note that if your project has a right-angle corner (like a scarf), there will be a gap in the thread fringe at the corners.
- If you want to knot the fringe, either singly or with thread groups, allow extra length for that process. Test-fringe a sample to see how much length you need for either a square knot or an overhand knot.
- For a top-fringed pocket, cut the pocket top on the straight grain and extend it the desired fringe length (no hem). For a fringed sleeve hem, determine the sleeve length, then extend the lower edge the desired fringe length, being sure to keep a straight grain edge.
- Single-layer scarves can be fringe-finished on all edges or just the ends, like on a muffler.
Inset Fringe
- Inserting fringe into a seam allows for more placement flexibility and allows for placing it on a curve as well.
- To make a fringe strip, cut a straight grain strip the desired width of the fringe, plus the requisite seam allowance. Stitch and fringe as noted above. On very loosely woven fabrics, layer two strips for a denser fringe.
- Use the fringe strip as you would a piping, basting it along one layer of the seamline with the fringe facing the bulk of the project. Then top with the second layer of the project, and sew just inside the basting line. When you turn the project right side out, the fringe will extend beyond the seamed edge.
- For long fringe strips, simply abut the ends of multiple fabric strips as needed. If you need a bulkier fringe, layer two strips atop each other and treat as one layer.
Design Tip: inset fringe can be made from matching or contrasting fabric.
 Trim Tactics
If desired, you can add a ribbon or trim along the stitched edge of fringe as an accent, whether it’s single layer or inserted into a seam.
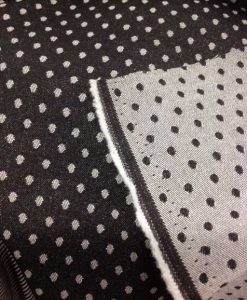
Don’t forget to check the selvage of your fabric, as some have fun fringes that can be used as is, and they already match!
~Linda Griepentrog
Linda is the owner of G Wiz Creative Services and she does writing, editing and designing for companies in the sewing, crafting and quilting industries. In addition, she escorts fabric shopping tours to Hong Kong. She lives at the Oregon Coast with her husband Keith, and two dogs, Yohnuh and Abby. Contact her at gwizdesigns@aol.com.


