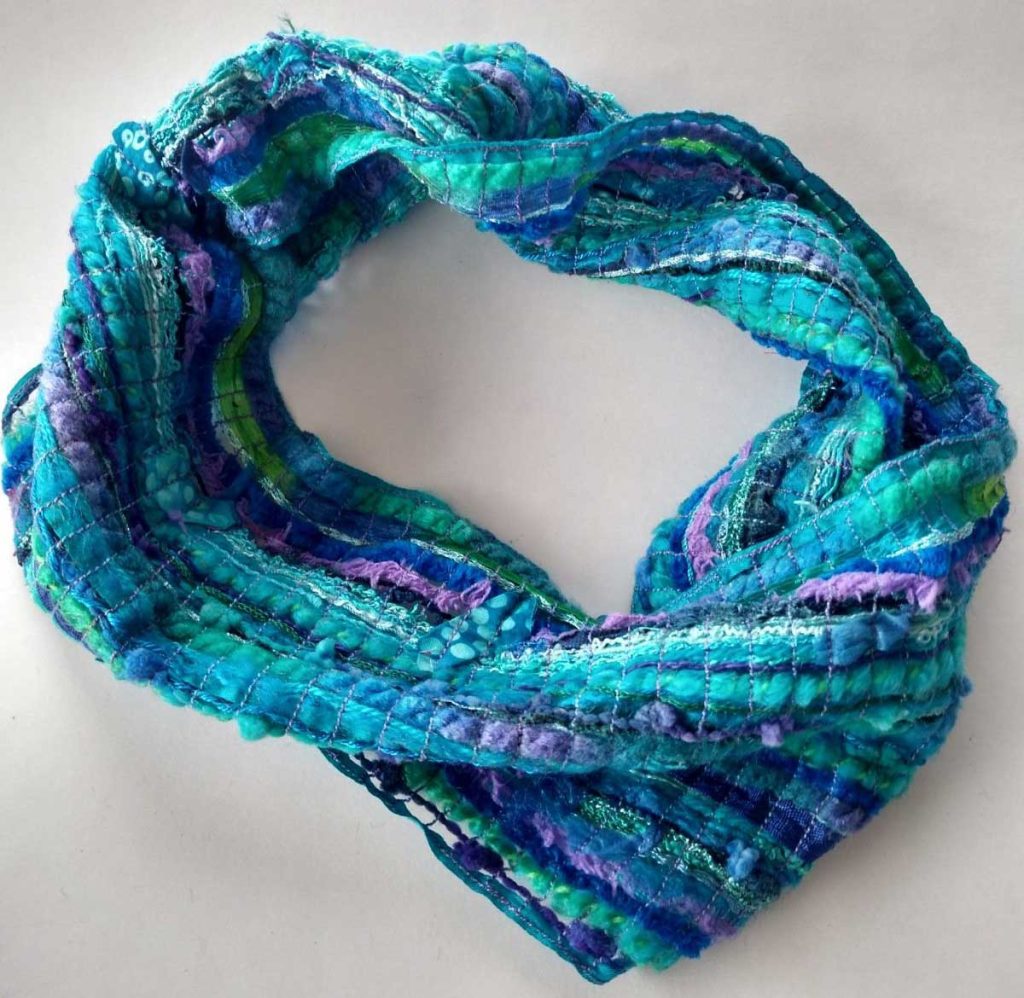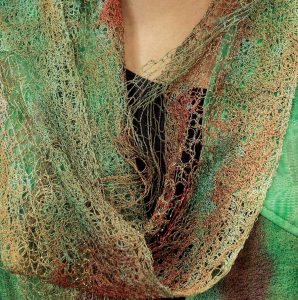
If you love fabric, there’s also a good chance that you love fibers of all kinds—yarns, novelty threads, ribbons, trims, cords, etc. Assuming that’s the case and perhaps you have some of those things in your stash, making your own scarves is a fun way to showcase a medley of those fun fibers.
Here’s what you need:
- Two pieces of water-soluble stabilizer in the length and width you want your finished scarf. Fringe can overhang the length of the stabilizer. Self-adhesive types make the process easier.
- Assorted yarns, threads, ribbons, trims serger chains and/or fabric bits to fill the stabilizer size. The patterning can be random or planned, dense or sparse, depending on the desired finished look.
- Thread for stitching. Lots of options—embroidery thread, all-purpose thread, metallic thread, novelty thread, etc.; solid color or variegated.
- Temporary spray adhesive if your stabilizer isn’t adhesive backed.
About the Stabilizer
Water-soluble stabilizer comes in several styles and weights—some are clear and film-like (think kitchen plastic wrap), others are more paper-like. For this project, the clear or slightly opaque stabilizers provide better visibility than the denser ones. Unless you plan dense stitching, the lighter weight ones work fine.
- Some stabilizers are self-adhesive, meaning you can peel away a paper backing to expose the sticky side.
- To make any water-soluble stabilizer sticky, use an allover temporary spray adhesive.
- Water-soluble stabilizer came up to about 20” wide, depending on the brand and the packaging. For this project, that width is more than generous. Some water-soluble stabilizers are actually marketed as toppers for embroidery, but they will work fine for this project.
Design Notes
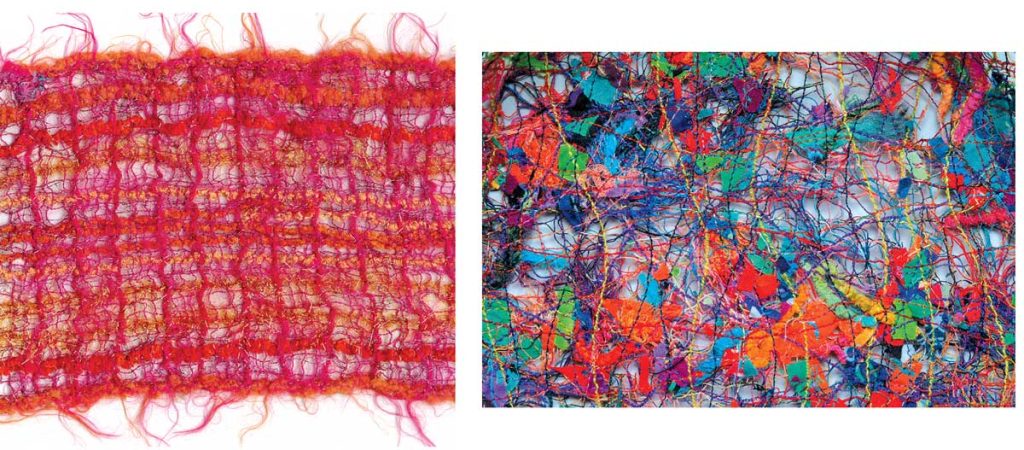
Fabric strip add-ins will fray less if they’re cut on the bias. But, if you like a frayed look, cut them on the straight grain. You can even fringe them before securing.
- It’s not required to have ribbons, trims and yarn—you can simply create a scarf using stitching all over the stabilizer. If you opt for this technique, use a single layer of heavier stabilizer.
- You can use multiple types and colors of threads to stitch together your scarf.
- Want a bit more texture in your scarf? Incorporate wool yarn—it can shrink when you’re rinsing out the stabilizer and make a most interesting surface texture.
Making the Project
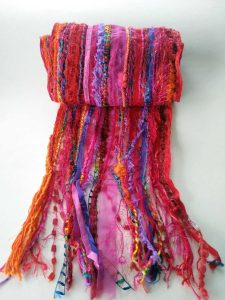 Lay out one length of stabilizer on a large table. Remember, the stabilizer should be the length you want the finished scarf, excluding any fringe. If your stabilizer is self-adhesive, place that side up.
- If your stabilizer isn’t self-adhesive, spray the exposed surface with temporary spray adhesive. It’s a good idea to cover your work surface with paper before layout, to protect from overspray.
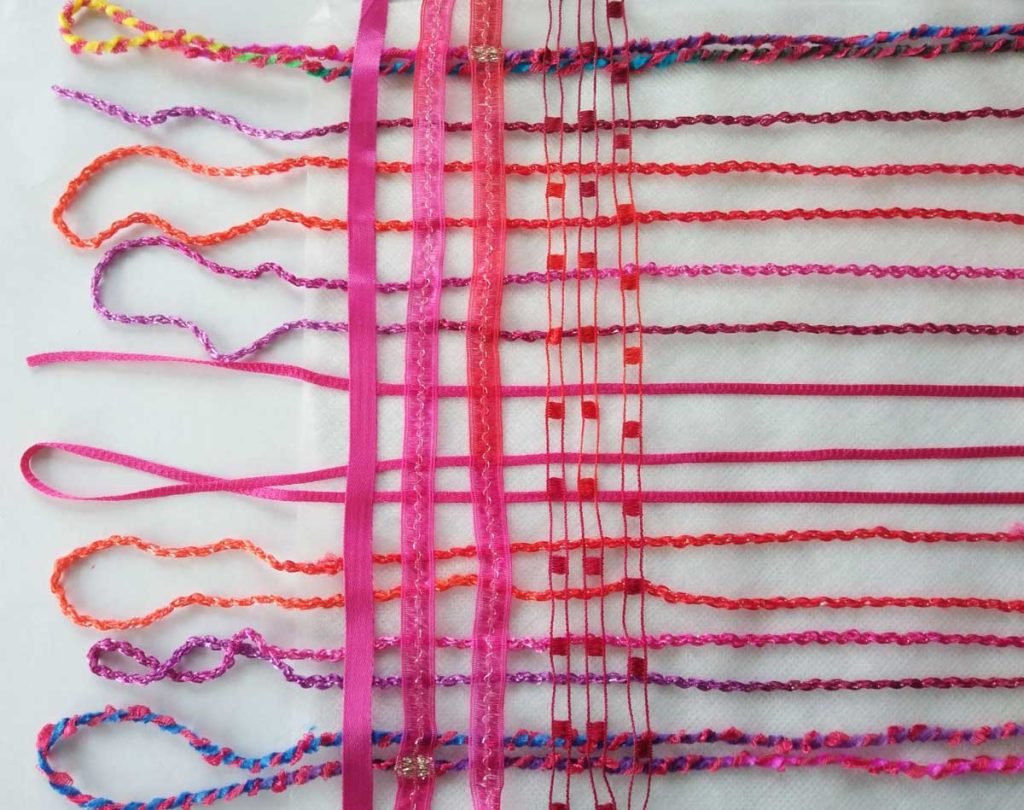
- Cut the yarns, threads, etc. to the finished scarf length and position them on the stabilizer in a pleasing pattern. To keep the scarf shape, use a sturdy ribbon or trim along the outer edges. The design can be free-form and the strands can overlap, twist, etc. or they can be placed parallel to each other, or in a grid pattern depending on the desired look. You can throw in some fabric bits, stranded sequins or beads too. {pic of yarns laid out}
- If you want the scarf ends to be fringed, extend the length of the strands beyond the stabilizer length the desired distance on both ends.
- Spray the remaining length of stabilizer with temporary spray adhesive (if it’s not self-adhesive) and place that piece face down on your arranged fibers. Finger-press the layers together to encase all the yarns.
- Stitch the layers together. For the best stability of the finished scarf, stitch every ¼” or so. Stitching lines can go horizontally, vertically, diagonally and combinations of those, created either free-motion or using the presser foot. Just be sure to catch all the yarns in at least one direction. If you added beads or sequins, stitch near or over them carefully to avoid breaking a needle.
- Sew continuous lines of stitching, without breaking the thread at the scarf ends. This technique is much faster and there are fewer thread ends to deal with. You can secure all the embellishments and keep going until you finish covering the entire surface with thread.
- Once you’re satisfied with the look of the scarf, thoroughly rinse away the stabilizers following the manufacturer’s instructions. More than one rinsing may be needed.
- Lay the scarf out flat on a towel to dry. Trim and knot the fringe if needed.
~Linda Griepentrog is the owner of G Wiz Creative Services and she does writing, editing and designing for companies in the sewing, crafting and quilting industries. In addition, she escorts fabric shopping tours to Hong Kong. She lives at the Oregon Coast with her husband Keith, and three dogs, Yohnuh, Abby, and Lizzie. Contact her at gwizdesigns@aol.com.


