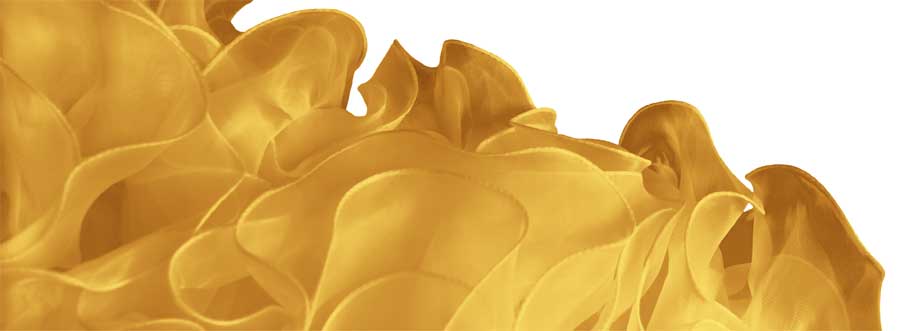
Normally, fishing line would be found in the tackle box or with rods and reels in the garage, but why not try bringing a spool of it into your sewing room to create awesome ruffled edges and hems with your serger? The secret is encasing the fishing line in the stitching to create undulating edges with aplomb.
Ruffled edges are ideal for eveningwear, costumes and skirt hems. This technique works best on bias edges and on the crosswise of knit fabrics, but it will also work on lengthwise or crosswise edges to a lesser extent.
What kind of fishing line?
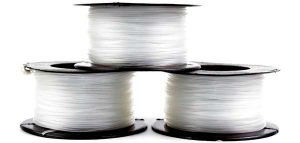
Fishing line comes in a variety of weights, types and colors, but for sewing purposes look for a clear, monofilament line between 12 and 60 weight. The larger the number, the thicker the line. If you’re buying one specifically for sewing ruffles, 25-30 is a happy medium, though you might want a lighter weight for thin fabrics like chiffon.
Although not required, check to see if your serger has a beading or other foot that has a top center guide that the fishing line can slide through.
It’s important to test-stitch before you begin serging on the actual project, as this process can be a bit tricky. If you have trouble with uneven feeding and squirmy fabric, add some water-soluble stabilizer under the fabric and serge through it as a temporary aid to even feeding.
- Set your machine for a rolled hem setting. Each machine differs slightly, so consult your owner’s manual for specifics.
- Leave a 12” tail of fishing line, then begin stitching over only the fishing line. After you’ve serged for about an inch, lift the foot and place the edge of your fabric wrong side up under the line, then continue stitching. It’s helpful to actually serge about ¼” inside the cut fabric edge rather than trying to align the monofilament with the actual fabric edge. Hold the line to guide it along the seamline, but don’t stretch the fabric. The line must rest between the needle and the cutting blade as it’s very important not to cut it.
- Serge slowly encasing the fishing line as you stitch. If you accidentally cut into the line, you’ll need to stop, remove some stitches and begin again with a new portion of line, so make every effort not to nick it and maintain one continuous piece around the entire hemline or ruffle edge.
- When you reach the end of the edge you’re working with, leave another 12” tail of fishing line. Remove the project from the serger and gently stretch the encased fabric edge for maximum ruffling. Thread some of the fishing line tails back into your stitching, or if it’s a soft, flexible line, tie a knot to secure.
Tip: Be careful pressing over the fishing line, as some of it is nylon and will melt easily.
For more information on serger sewing, see the Serger videos in the Members Only area.
~Linda Griepentrog
Linda is the owner of G Wiz Creative Services and she does writing, editing and designing for companies in the sewing, crafting and quilting industries. In addition, she escorts fabric shopping tours to Hong Kong. She lives at the Oregon Coast with her husband Keith, and two dogs, Yohnuh and Abby. Contact her at .


