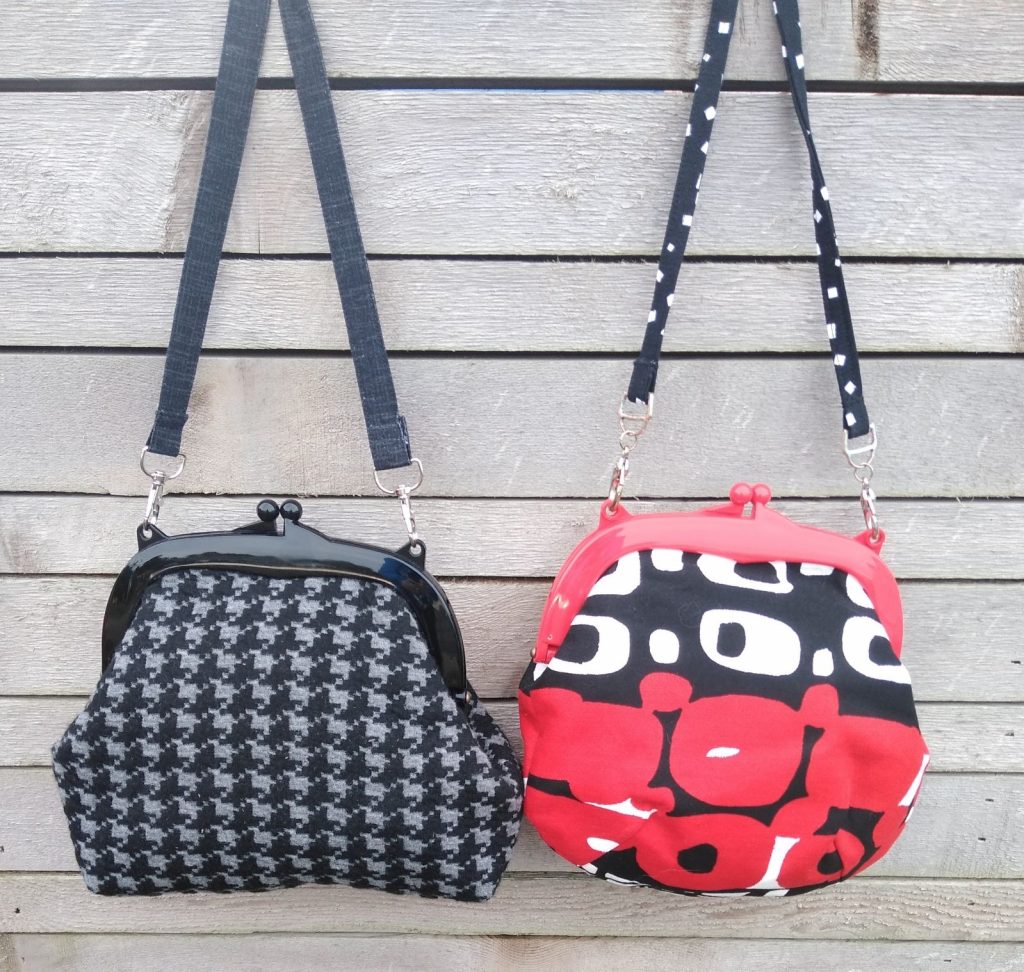
 As sewing enthusiasts, most of us make a lot of bags in our lifetime—from totes to backpacks and beyond. Most may be soft or lightly structured, but few are actually shaped by frames. So, let’s take a look at some accent frames and how to use them.
Types of Frames
Frames provide the external structure for a bag and allow it to support the weight of its contents. Some provide for shoulder strapping and others simply frame a clutch.
Available in many shapes and sizes kiss-lock frames get their name from the interlocking knobs or other shapes that provide the closure for the bag. These frames come in plastic, wood or metal and they can be curved, squared or otherwise shaped at the upper edge.
Frames come in many sizes, from tiny coin-purse versions to larger luggage-style options.
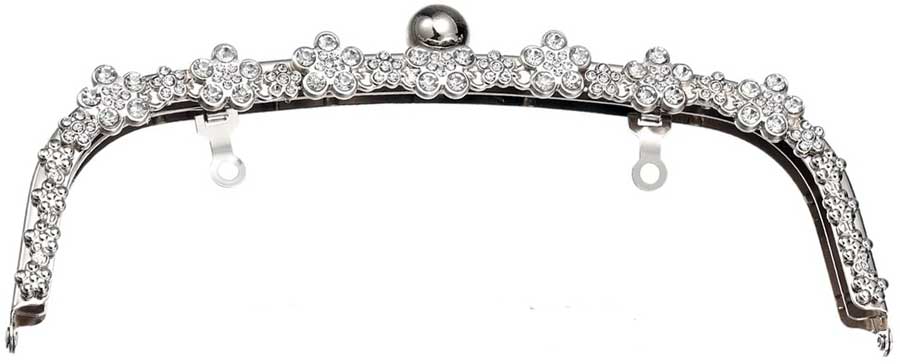
There are simple metal frames, shiny or matte, or they can be more elaborate with filagree work or bedecked with jewels. Some frames have small loops to attach straps or chains, others have hinged loops that fit down into the bag so it can also be used as a clutch. Some metal frames have novelty shaped handles built in for closure in lieu of kiss locking closures.
When shopping from any of our Amazon links, we may earn a small commission — at no additional cost to you — if you make a purchase.
All purse frames have a channel between the outer and inner frame portions. This is where the top edge of the finished bag body slides in and is secured.
Attachment Styles
Sew-on frames are perhaps the most common type of frame and they come with small holes along the channel opening for hand stitching the bag to the frame. You can attach the bag body using a running stitch, backstitch or a decorative hand embroidery stitch, and you can even add beads to help hide the stitches if you prefer.
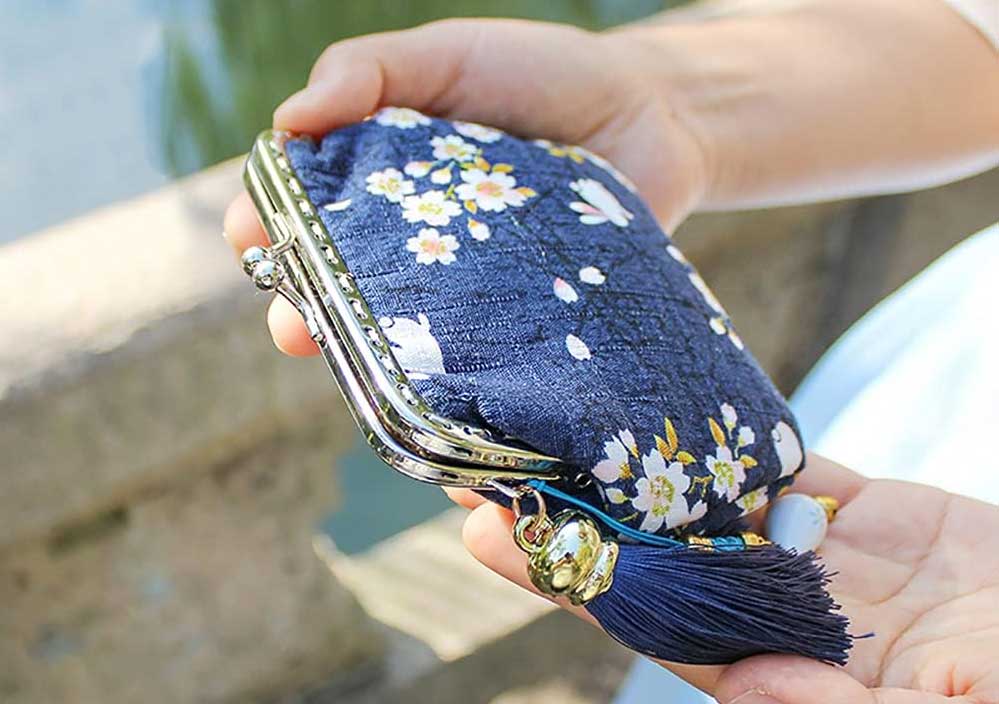
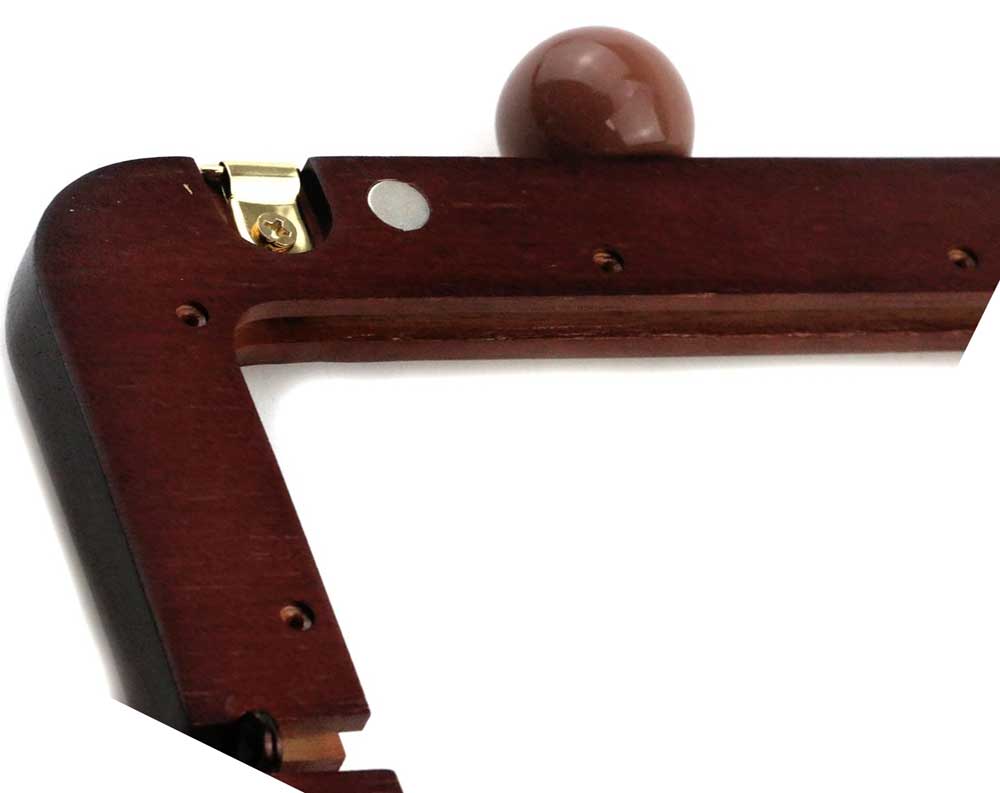
Screw-on frames attach the bag body with tiny screws on the frame inside, invisible from the outside. The bag body simply slides into the channels and is held in place when the screws are tightened. Glue can be added for additional hold prior to insertion.
Glue-on frames rely totally on adhesive to hold the bag body in place. Depending on the fabric your bag is made of, the channel may be wider than the fabric thicknesses, so you can insert a small cord to fill the gap. Be sure to follow the manufacturer’s instructions for type of glue and application, as errant glue can damage a frame. With this type of frame, it’s important to be sure both sides of the upper bag edges are glued securely to both the frame front and back for maximum strength.
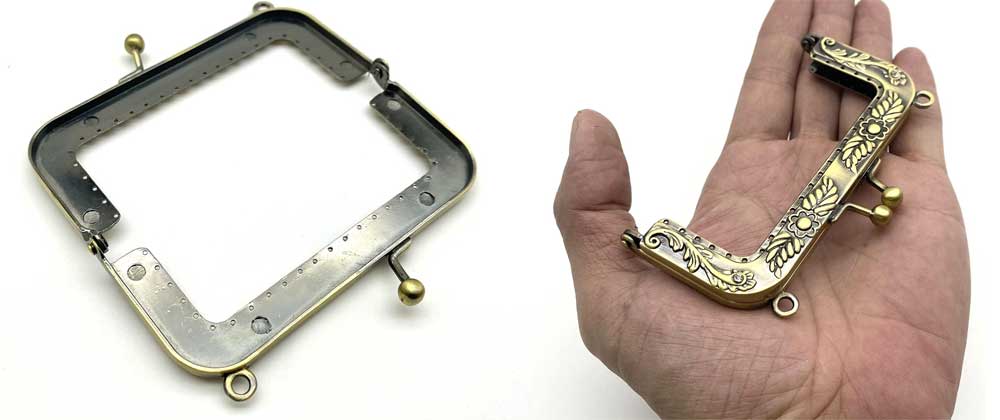
Crimp-on frames must be clamped once the bag body upper edges are positioned, as that’s what holds the fabric in place. Purse crimpers or flat-jaw pliers are required for a secure squeeze and some kind of protection is needed between the tool and the metal frame to avoid damage—a fleece scrap works fine to avoid scratches. Some frames have inside teeth for better gripping, and other manufacturers recommend adding glue before crimping.
How to Attach Frames
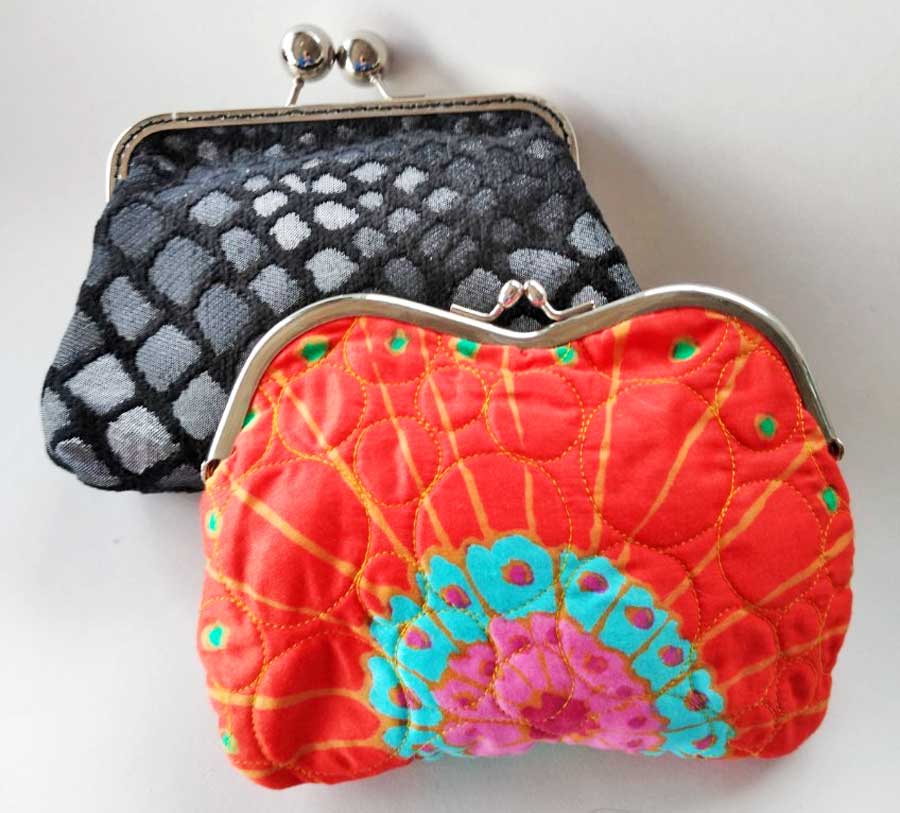 Most purse frames come with a pattern for the bag body, so follow the manufacturer’s instructions to make the bag body. This process will create a finished upper edge, ready to mount to the frame.
- First, find the center of the frame and the bag body upper edge. Mark it with tape or a thread.
-
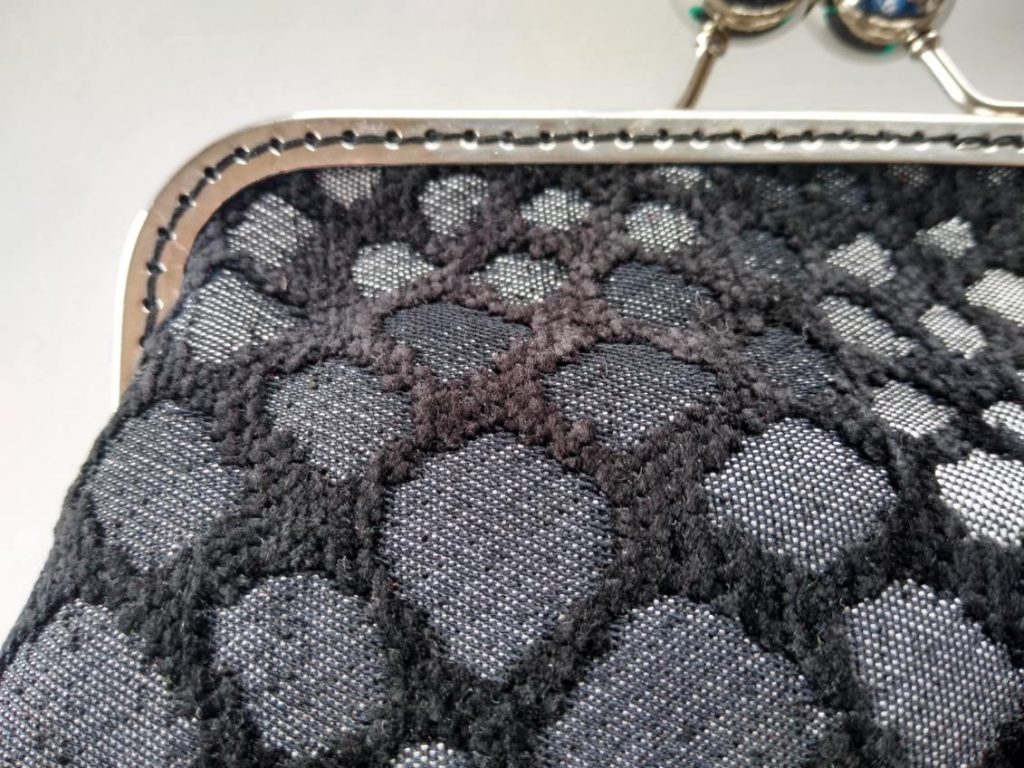
Detail view of sew-on frame. Open the frame hinges as far as possible to expose the channel where the bag upper edge will go. For most frames, you’ll want to run a very thin line of glue in the channel. Begin inserting the bag body matching the center points. Use a small screwdriver, stiletto or skewer to push the upper edge all the way into the channel. Continue from the center outward in the same manner until you reach the hinge area of the frame and clamp in place, protecting the metal frame with fabric scraps. Repeat for the second half of the same side. For some bags, the frame is shorter than the bag edge, so push in a few gathers evenly spaced. If the channel seems to have extra room, add in a string or tiny cord to fill the gap and glue in place.
- Wait for the first half of the bag frame to dry completely, then repeat the process for the second half.
- If you’re working with a clamp-on or screw-on frame, continue with that process. For a sew-on version, stitch through the frame holes.
~Linda Griepentrog is the owner of G Wiz Creative Services and she does writing, editing and designing for companies in the sewing, crafting and quilting industries. In addition, she escorts fabric shopping tours to Hong Kong. She lives at the Oregon Coast with her husband Keith, and three dogs, Yohnuh, Abby, and Lizzie. Contact her at .


