


Foot Fun
You probably have lots of presser feet for your machine(s), but truth be told, we use only a few of them regularly: straight stitch foot, zigzag or satin stitch foot, and the zipper foot. What about all those others lingering in the accessory box? Let’s take a look at one rather funky one—the fringe (or tailor tack) foot.
This unique foot has a vertical bar in the middle. When you sew a wide zigzag, the elevated loops slide off the back of the foot. Check with your dealer for a machine-specific one or look for a generic version that will fit.
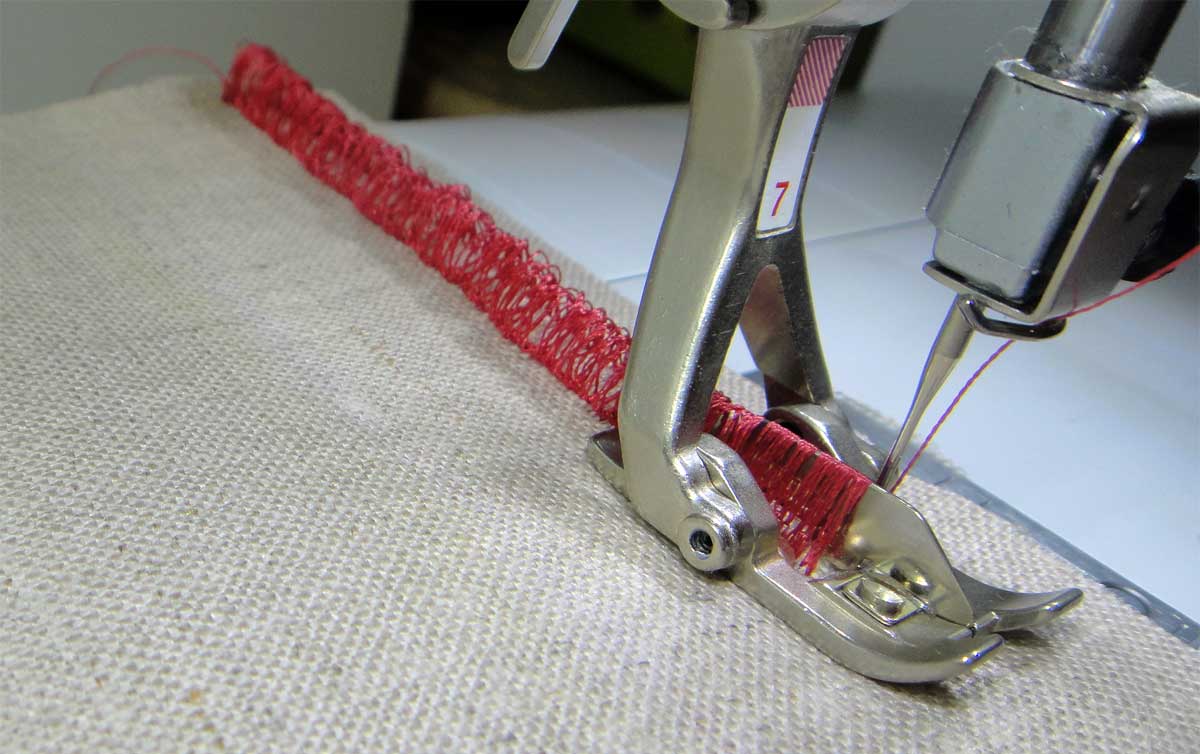
This foot was originally designed for machine tailor tacks—those tiny thread groupings that mark darts and other design details on a garment. But creative types have gone beyond the tailor tacks for some creative uses and hence the alternate name for this foot—fringe foot.
Tailor Tacking
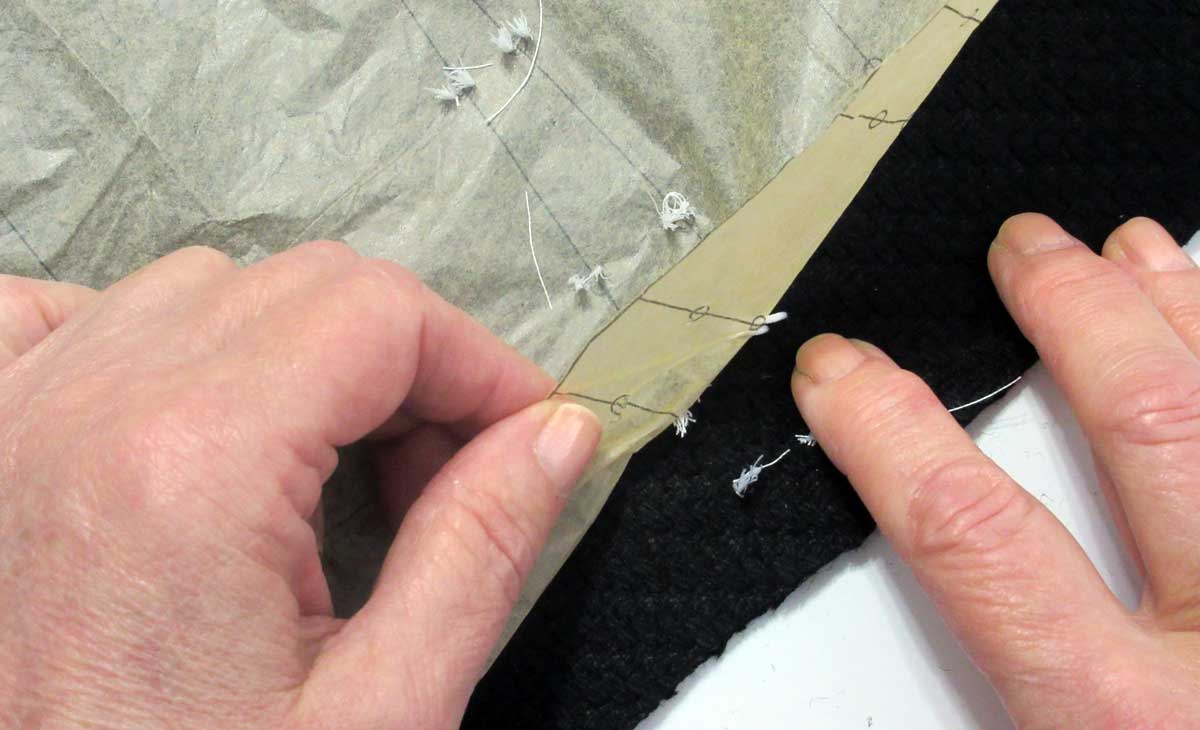
To use this foot for marking, simply sew through both layers of the cut garment pieces and the paper pattern using a wide zigzag and a very short stitch length. Sew four or five times to mark dots. Gently pull the paper up and separate the garment layers, then clip the threads between. The threads clearly mark the details and stay in until they’re sewn, then they’re easily removed.
Bridge Seam
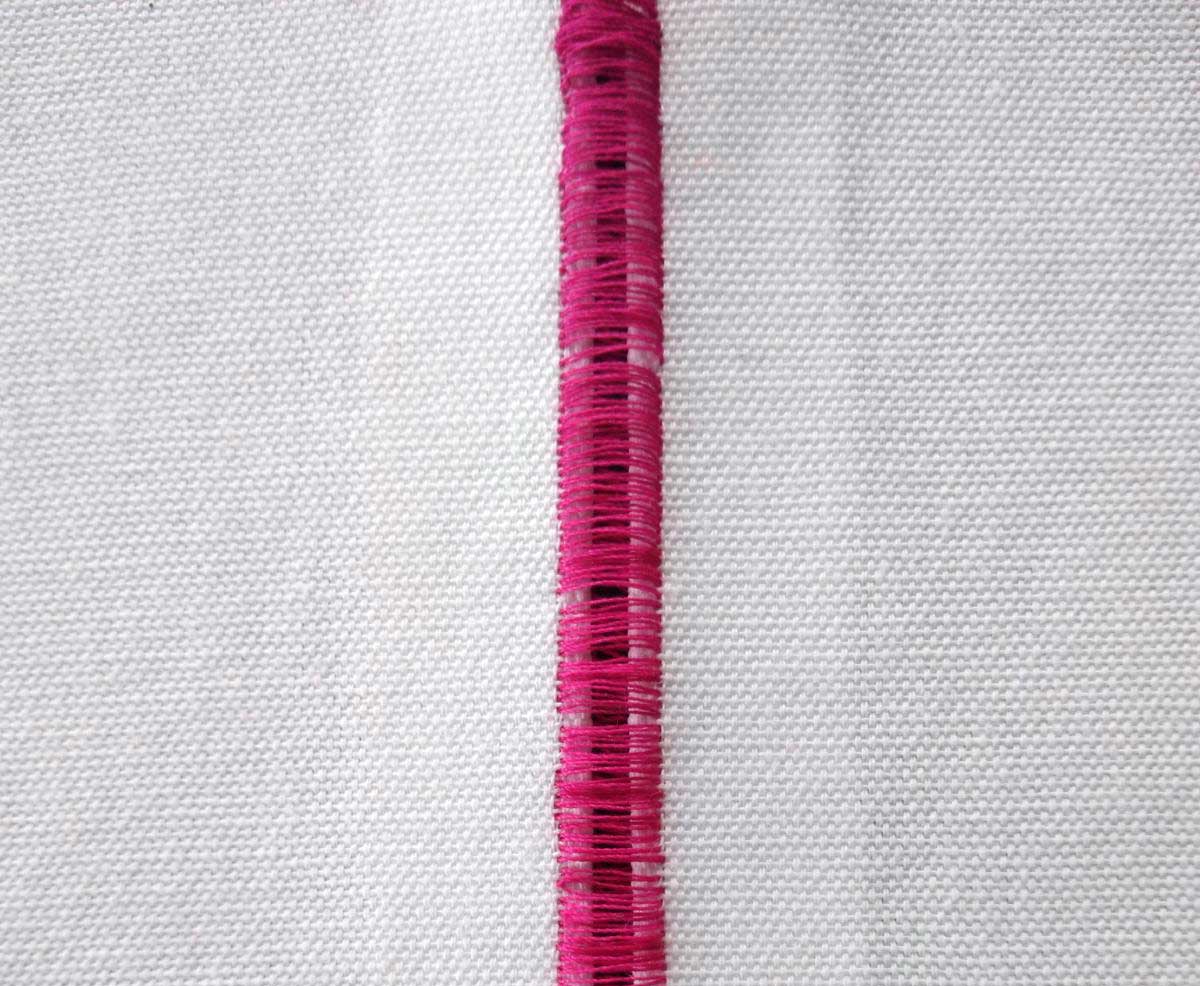
This specialty foot can be used to create a decorative seam. Loosen the upper thread tension and set the machine for a wide zigzag with a short length (test-stitch). Place the garment pieces right sides together and sew along the seam line. Once the seam is sewn, gently pull the layers apart and press the seam allowances open. The thread loops are now flattened and span the seam edges to create a narrow opening. The seam can be left that way, or you can topstitch each side for added stability. This type of seam is primarily decorative and shouldn’t be used in areas of high stress.
Faux Fagoting Decorative Stitch
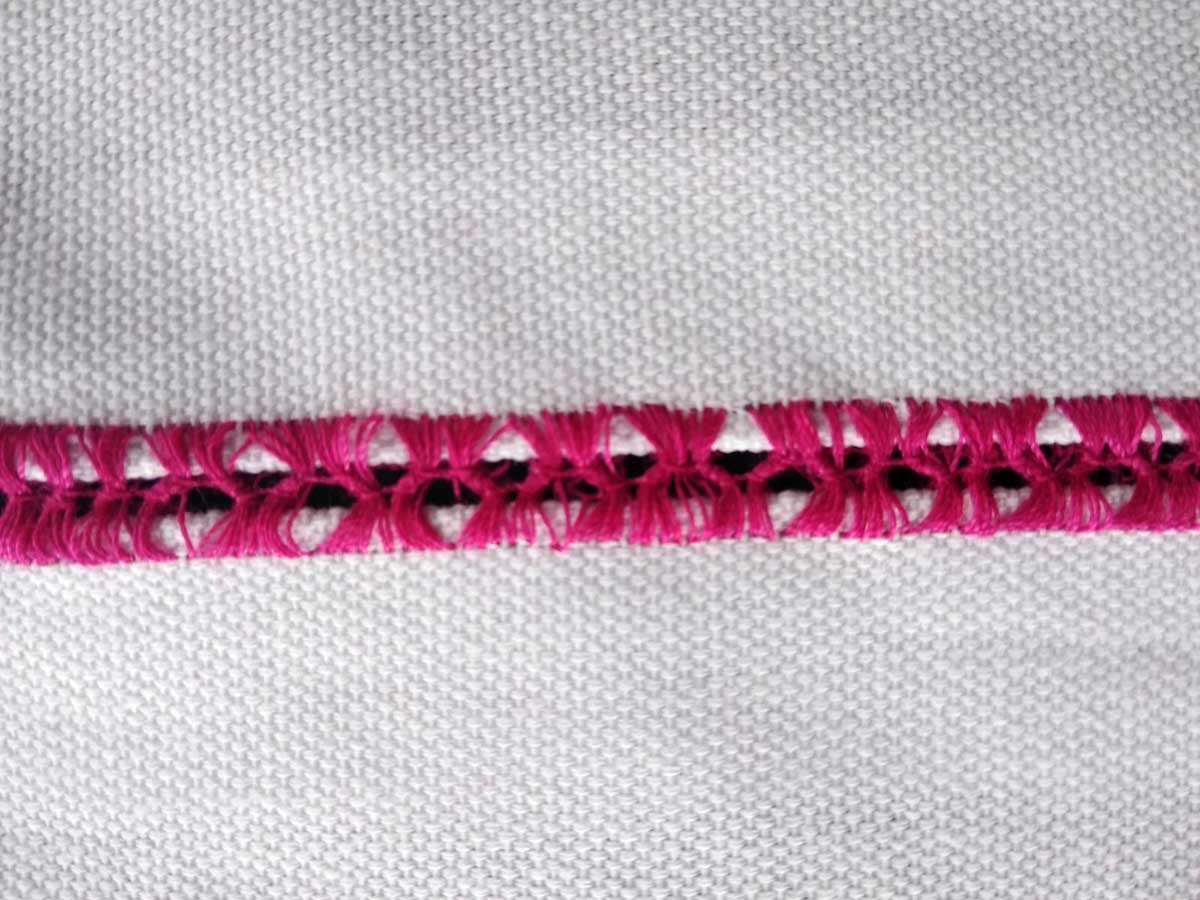
If you’ve sewn the bridge seam, don’t stop there—add another decorative touch. Switch presser feet to a straight stitch or all-purpose foot and set the machine for a straight stretch stitch. This goes two stitches forward and one stitch backward, creating a prominent straight stitch. Hold both sides of bridged stitch flat and sew down the center, being careful not to catch the fabric edges. As you sew, the backward and forward motion of this stitch groups together the bridge stitches into little “bundles.”
Border Issues
The bridge stitch, whether bundled or plain, makes a perfect center for creating a wider border. Sew a wide decorative stitch on each side of the openwork, using your mirror-imaging function for symmetry. The decorative stitch should barely touch the bridge stitches.
Fun Fringes
This foot can be used to make either eyelash fringe (cut on one side) or looped fringe, either on a fabric base or on the project edge. When sewn on fabric, multiple rows can be sewn side by side to create a loopy texture (think lion’s mane), or the looped stitches can be used to outline an appliqué.

When sewn as an edge finish, the fringe (either cut or looped) can be combined with a decorative stitch.

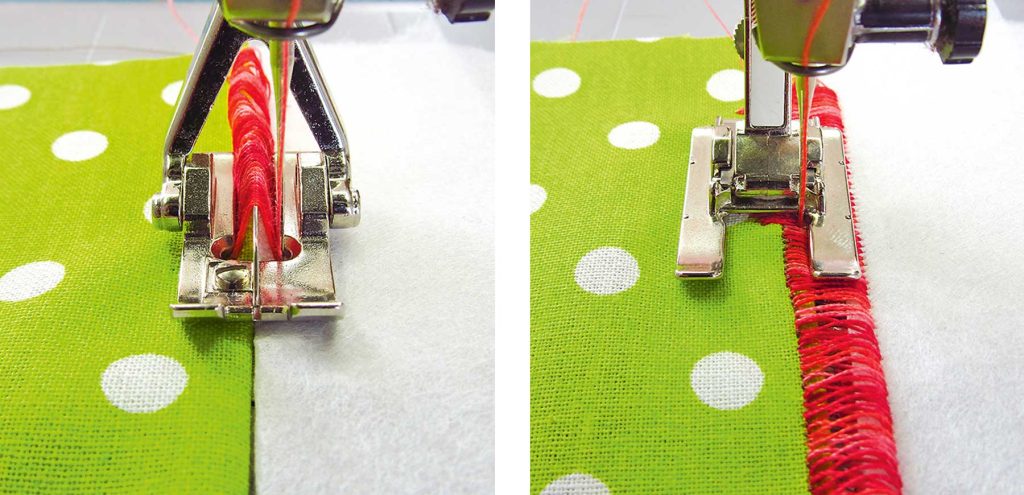
Set up your machine for the widest zigzag and hand turn the wheel to be sure the needle clears the bar. Use a contrast thread in the bobbin. Set the stitch length to the desired density and test-stitch to be sure the loops easily slide off the back of the bar. Sew the fringe line, then change presser feet and sew along one edge anchoring the stitch loops. From the wrong side, pull out the contrast bobbin thread and use a pin to pull the fringe loops to the right side. The loops can be left as-is, or cut to make eyelash fringe.
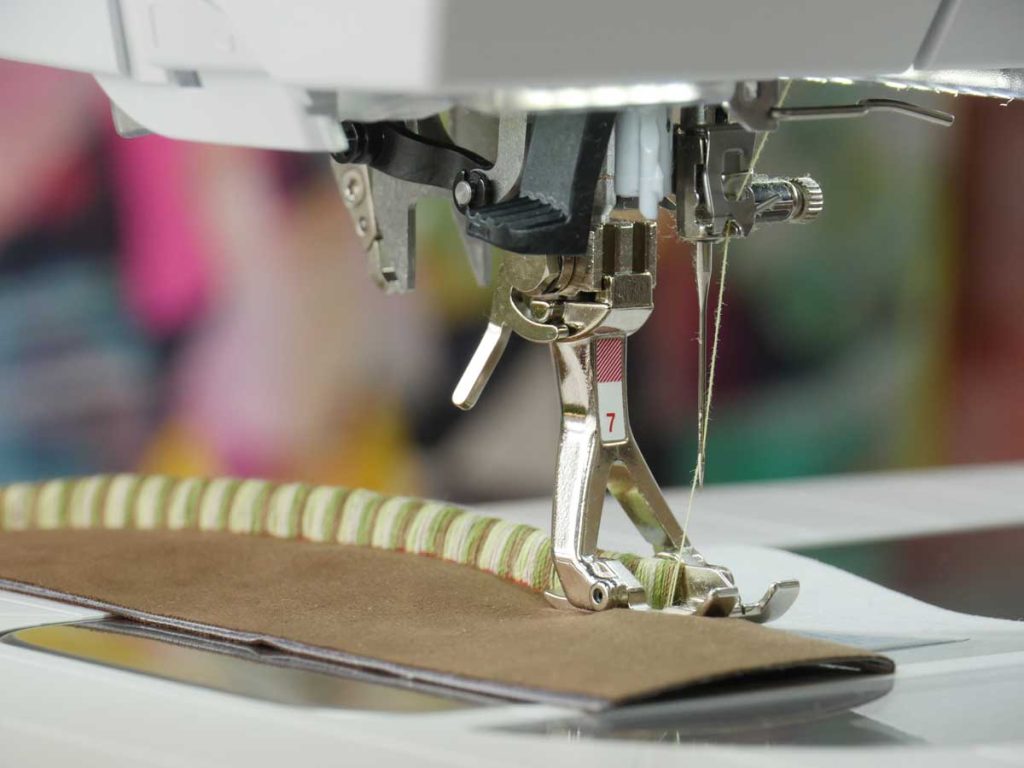
To sew a fringed edge, use the same machine set-up, but place a piece of removable stabilizer along the finished project edge. Sew the fringe catching the stabilizer on the right edge. Straight or decoratively stitch the fringe edge in place, remove the bobbin thread, then remove the stabilizer. The fringe can be left looped or cut.
Heavy Weights
You can use a slightly heavier thread weight, either solid or variegated. But, be sure to test-stitch first to be sure that the stitch density and heavier thread will allow the thread loops to easily slide off the back of the vertical bar—otherwise, you get an unsightly jam-up. Adjust either for smooth stitching.
Most of the images in this article were provided compliments of Bernina.
~Linda Griepentrog is the owner of G Wiz Creative Services and she does writing, editing and designing for companies in the sewing, crafting and quilting industries. In addition, she escorts fabric shopping tours to Hong Kong. She lives at the Oregon Coast with her husband Keith, and three dogs, Yohnuh, Abby, and Lizzie. Contact her at gwizdesigns@aol.com.
