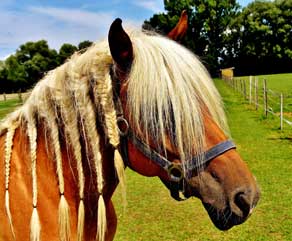
What do horses and braids have to do with sewing?
 Now that we’ve got your attention, let’s talk about this uncommon notion called horsehair braid!
Historically, it was made from the stiff hair of a horse’s mane and tail, and then from cotton and linen, but today’s version is made from nylon or polyester fibers.
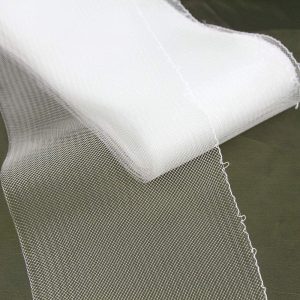
Horsehair braid is a stiff, bias woven mesh used to provide structure and body to special occasion and wedding dresses, as well as costumes. Available in multiple colors in widths ranging from ½” to 6”, it is sold either by the yard or packaged in pre-cut lengths on the notion wall. Colors and wide widths may be found at millinery supply companies or online.
You’ll find horsehair braid on hems to add flounce to a full or circular skirt, in puffed sleeves for a little oomph, and internally to maintain shape and structure in fitted evening gown bodices. In addition, you may see horsehair braid on wedding veils, as large bows either on hats and fascinators, or shaped into wedding pew bows. You may also see it on many kinds of ruffle edges.

ASG may earn a small commission from your purchase, at no additional cost to you.
This crinoline-like trim comes in two weights—soft and heavy—and it is also available with a built-in gathering thread for shaping. The latter is sewn along one edge only and is pulled to ease the tape around curves, like on a circular skirt hem where the hem circumference edge is longer than the horsehair facing being turned inward.
Whether you put the horsehair braid on the inside or outside is a matter of preference and style—the choice is yours, either as a hidden structure or see-it trim. On sheer fabric, like netting, tulle and organza, the horsehair will show through if it’s on the inside, so some designers opt for placing it on the garment right side instead.
Handling
Because it’s a woven bias strip, horsehair braid should not be cut widthwise as it tends to disintegrate and unravel with even minimal handling, so choose the finished width you need.
Horsehair braid will stretch and if it’s distorted during the application, you can have some unsightly ripples and wrinkles, so be careful not to keep it flat, without stretching, during an application. It also narrows if stretched, further complicating the potential distortion.
The cut end of horsehair braid is quite prickly as all the fiber ends are exposed, so before using it, encase the cut exposed end in a scrap of fabric or bias tape to prevent the uncomfortable poking while wearing the garment. For hems, finish just the overlapping end, but for sleeves or other uses where both ends are exposed, encase both ends.
Hemmin’
There are two options for hemming with horsehair braid—use it as a facing or encase it in the garment fabric hem. Either way, the function is the same—to add body and structure to the edge.
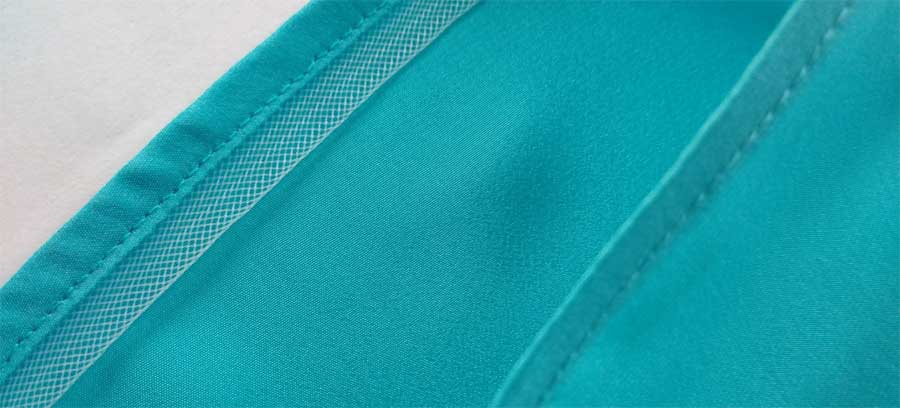
To use narrow horsehair braid as a hem facing, place it along the cut hem edge right side and sew ¼” from the edge. Turn the braid and the seam allowance to the inside, then topstitch the braid in place.

If the garment has a circular hemline, choose a wider braid with a built-in gathering thread at the upper edge. Follow the process above, but when you turn the braid to the inside, gently pull on the gathering thread to shape the braid’s upper edge to fit the skirt. Topstitch the braid lower edge in place, then invisibly hand-stitch the upper edge of the shaped braid in place around the skirt. Depending on the span, it may be sufficient to only tack the braid upper edge at the skirt seams.
To place the trim on the outside of a hem, repeat either of the above techniques, but place the braid on the garment wrong side and then turn it to the right side and secure.
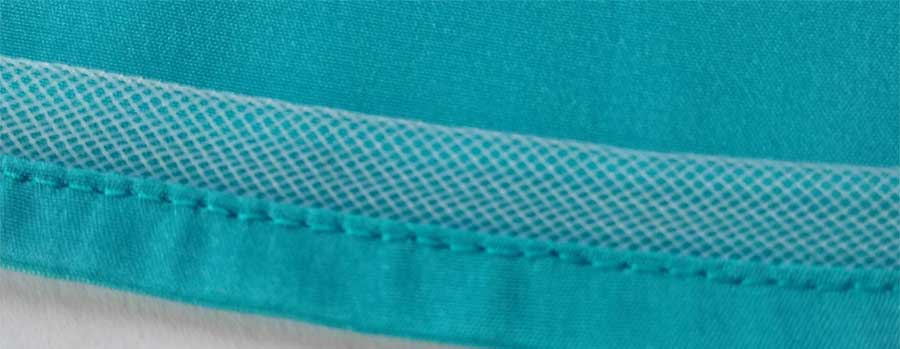
To encase the braid, place it on the wrong side of the skirt hem, aligning the edge with the cut hem edge. Sew ¼” from the edge, then turn up a double hem, encasing the braid inside. Either topstitch or hand-stitch the hem in place.

Sleeves
Horsehair braid is often used on sleeve caps to add extra body and pouf to puffed sleeves. Insert the sleeve following the pattern directions before adding the braid. Cut a length 1 ½ times longer than the area where it will be applied (often notch to notch in the upper sleeve). If your braid does not have a built-in gathering thread, add one along one side. Pull up the gathering thread to the desired fullness and secure. Finish both ends of the braid to avoid discomfort. Place the gathered edge along the upper sleeve seam allowance and stitch in place through the seam allowance layer only.
~Linda Griepentrog
Linda is the owner of G Wiz Creative Services and she does writing, editing and designing for companies in the sewing, crafting and quilting industries. In addition, she escorts fabric shopping tours to Hong Kong. She lives at the Oregon Coast with her husband Keith, and two dogs, Yohnuh and Abby. Contact her at .


