If you’re a quilter, perhaps cutting out all those tiny precise pieces for your appliqué work might not be one of your favorite tasks—you’d rather get going to complete the design. I sure feel that way, and alas, someone heard my plea.
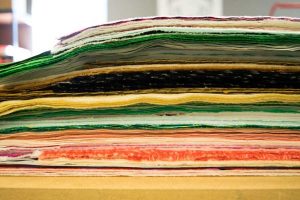
Recent advances in the quilting realm have brought us the advent of laser-cut designs. Whether it’s an intricate appliqué motif with zillions of pieces, or a more traditionally pieced work, precision cutting is key to fit and the overall look.
And, as an added bonus, the fabrics have been pre-selected for you, so there’s no scrambling to find just the right piece for your design. Appliqué pieces are pre-fused as well.
Did you know? Laser cutting has been used for years in the ready-to-wear industry where garments are cut in production quantities. It provides superior accuracy for factory sewing.
How does it work?
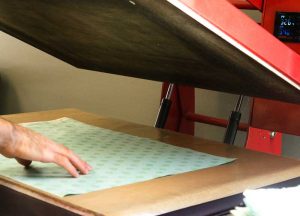
For appliqué designs, fabrics are backed with the fusible web prior to cutting, so when you get the pieces in your kit, they’re ready to have the backing paper peeled off and the designs fused in place. But, how do you know where to put them? There’s a printed guide for the pieces, so pretty foolproof.
When you get the kit, simply open the pattern placement guide and either trace it onto your base fabric if it’s a dark color, or if it’s a light color, position the fabric over the guide and you’ll be able to see the lines through it. A light box or sunny window is helpful when tracing onto dark colors.
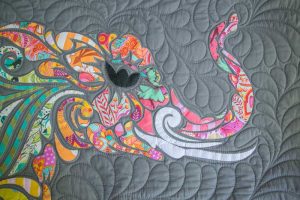
Place your marked base fabric onto a pressing surface, peel off the backing paper on each piece and position it in place on the background. It’s akin to completing a jigsaw puzzle. If you have trouble peeling off the backing paper, use a pin to get it started at one edge.
Pressing Matters
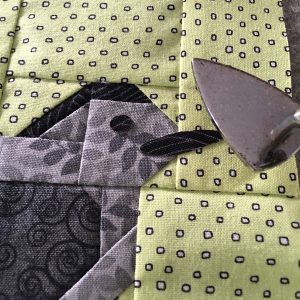
When all the pieces are positioned, follow the manufacturer’s instructions to fuse them in place. If you don’t have a large enough pressing surface for the entire design, fuse one section at a time. Be careful—if you’ve marked with a heat-sensitive pen, don’t remove markings in an area you haven’t fused yet. Using a small craft iron can be handy, as it’s easier to secure tiny corners and work in small areas at a time.
Some companies recommend using a pressing cloth when securing pieces to protect the iron from errant fusible. Press both sides of the design to fully secure the pieces.
Finishing Touches
Once all the pieces are fused in place, your design work is completed. There’s no need to stitch around each piece (unless you really want to). Just move on to adding borders, quilting and binding. Easy peasy!
Building Bridges: Sometimes small and delicate pieces are connected to either larger fabric pieces or to a fabric frame to keep them from getting damaged, so they appear not fully cut. If that’s the case and you get pieces with bridges, simply carefully cut the connection points away from the larger base fabric to create the piece size/shape needed for your design.
Pieced Designs
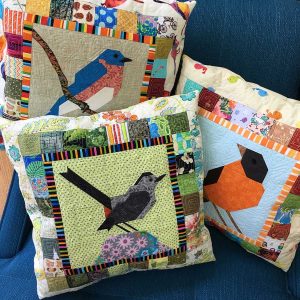
Some laser cut kits are not for appliqué, but for traditional piecing instead. The accuracy of laser cutting ensures that the pieces will fit together with precision.
With these types of kits, there will be a guide included showing a piece number and shape, and both will be referenced in the assembly directions. There may even be a notch into the seam allowance to indicate the upper edge of the piece in the construction process.
Laser-cut pieced designs may also include some fusible-backed pieces for features appliquéd on the surface, like animal eyes, feet, etc.
~Linda Griepentrog Linda is the owner of G Wiz Creative Services and she does writing, editing and designing for companies in the sewing, crafting and quilting industries. In addition, she escorts fabric shopping tours to Hong Kong. She lives at the Oregon Coast with her husband Keith, and two dogs, Yohnuh and Abby. Contact her at gwizdesigns@aol.com.


