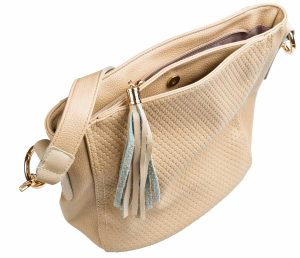
 If you’ve noticed the details on your favorite handbag or tote, it’s very likely that the flap closure or pocket is secured with a magnetic fastener. These handy pull-aparts are easy to operate, reliable and they’re compatible with all bag fabrics.
The magnets come in both round and square shapes, in sizes ranging from ½” to 1” and they are available in a variety of colors and thicknesses, depending on the brand.
Purse closure snaps come in four parts—the upper and lower snap sections (male and female) that are visible in the completed installation, and two metal washers that go under those sections to support and anchor the pieces. The washers have slots in them to indicate the proper positioning under the pronged outer sections.
Location, Location
- When applying magnetic fasteners to a bag, be sure to apply the male portion of the snap to the flap lining portion before the bag flap pieces are joined so that the innards are hidden.
- Apply the female portion to the bag front right side before the lining is applied.
Behind the Scenes
It’s imperative to interface the area where the snaps will go. If your pattern doesn’t call for this, simply fuse a 2” square of interfacing to the wrong side of the snap placement area on both sides of the closure areas. A layer of fusible fleece can also be used if fabrics are lightweight.
Use the slotted washer as a guide to mark the slot locations on the interfaced areas (1). There may be a center closure, or multiple closures, depending on the bag style.
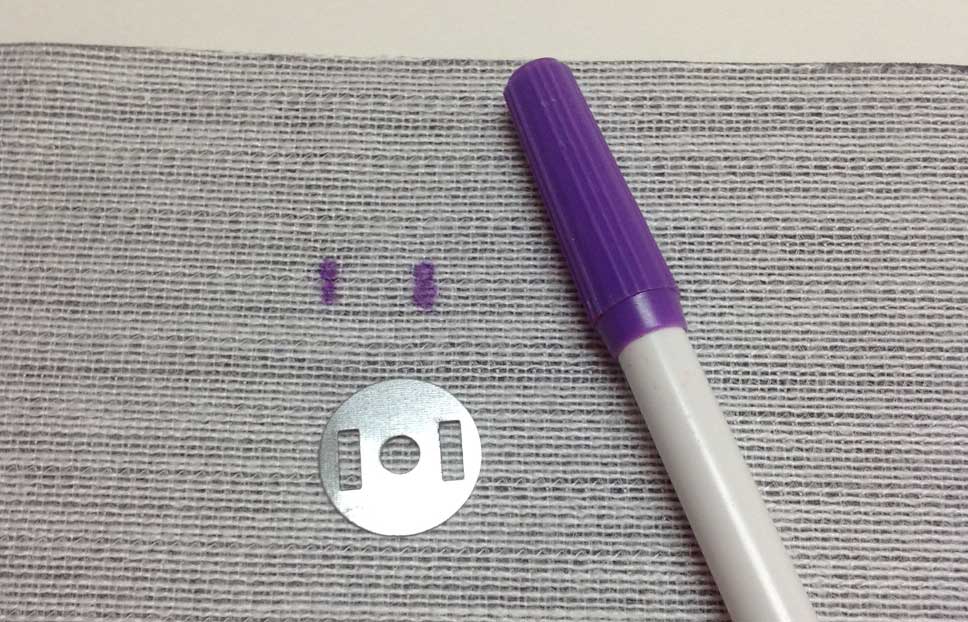
Use a seam ripper or sharp scissor points to make very small slashes at the markings through all layers. The slashes should be smaller than the markings so that they fit snugly over the snap prongs. If your fabric is ravelly, coat the slits with seam sealant and allow to dry before continuing.
From the fabric right side, insert the prongs of the appropriate snap fastener half through the slits to the wrong side (2).

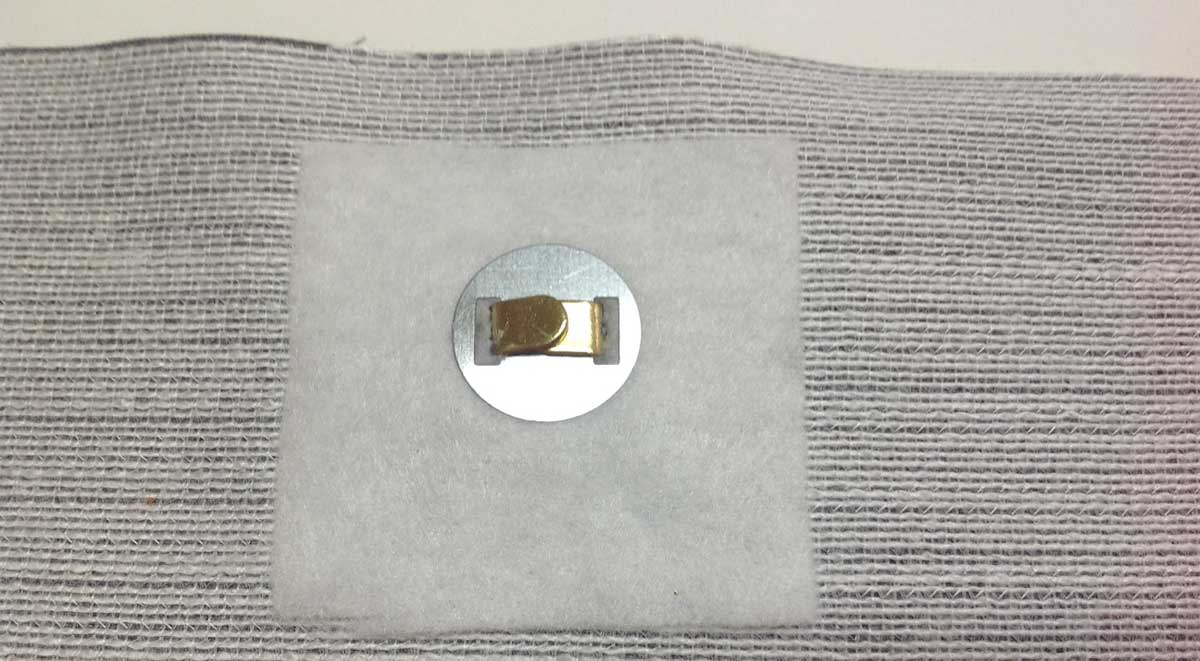
To reinforce the closure, make corresponding slits in a piece of fleece, vinyl or stiff interfacing and place the piece over the prongs (3).
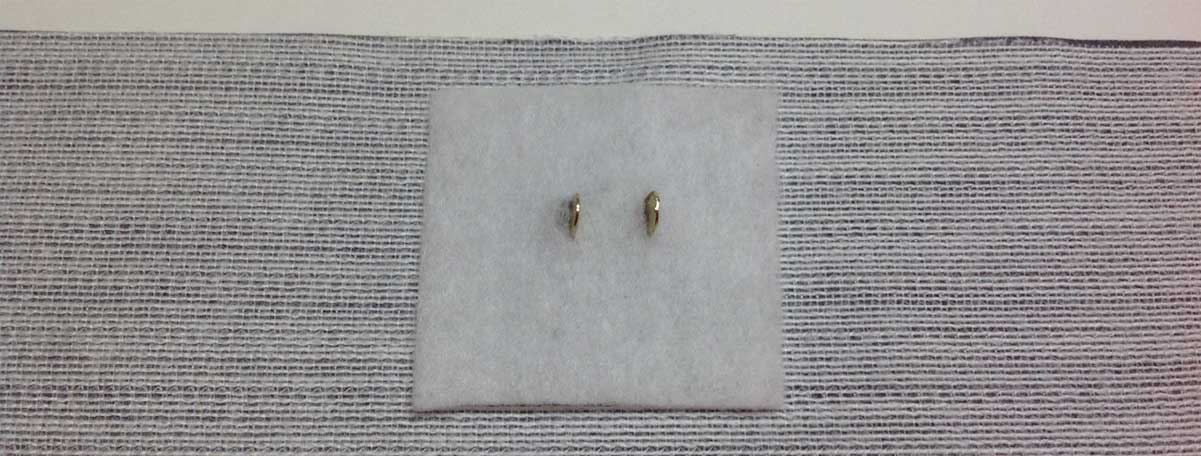
Push the washer securely onto the prongs, then bend the prongs inward or outward (4, 5). Note that bending them outward creates a slightly flatter closure since they’re not on top of each other. To get a flatter surface, use pliers or the flat end of a screwdriver to bend the prongs.
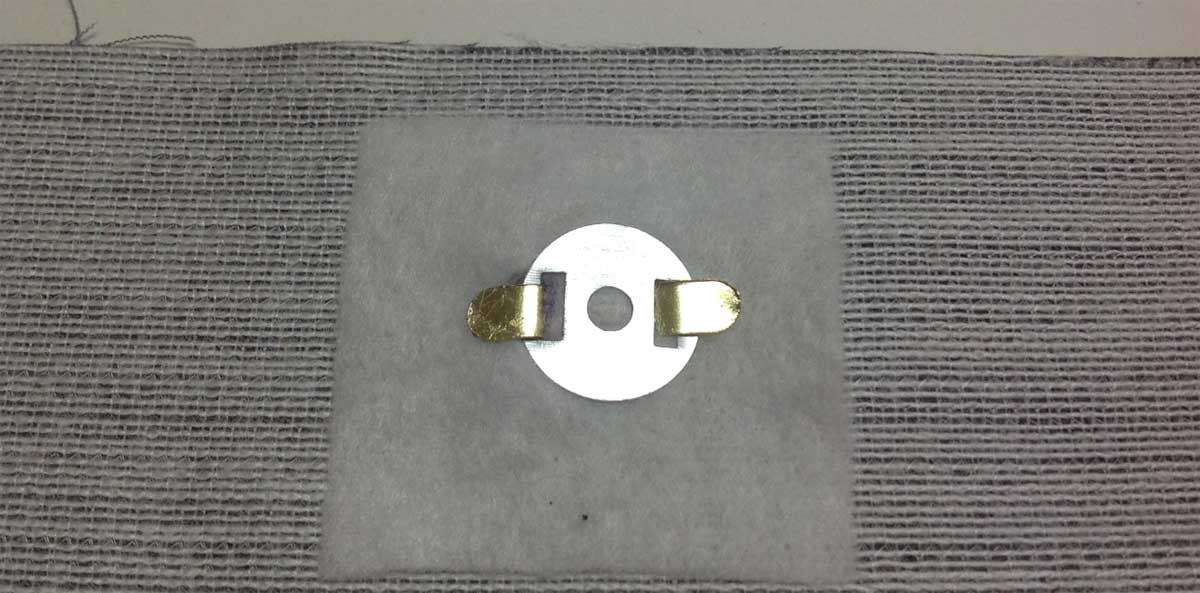
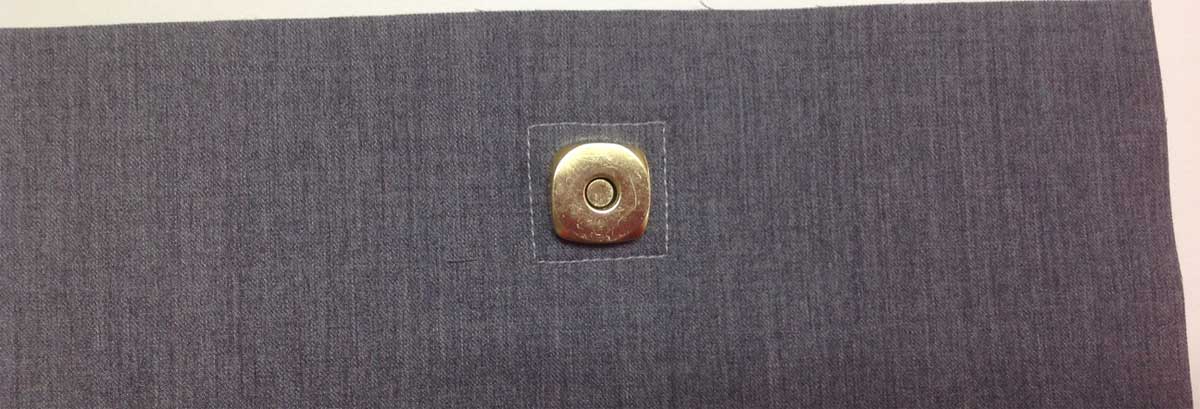
If desired, stitch a square or circle around the closure through all the bag layers (6).
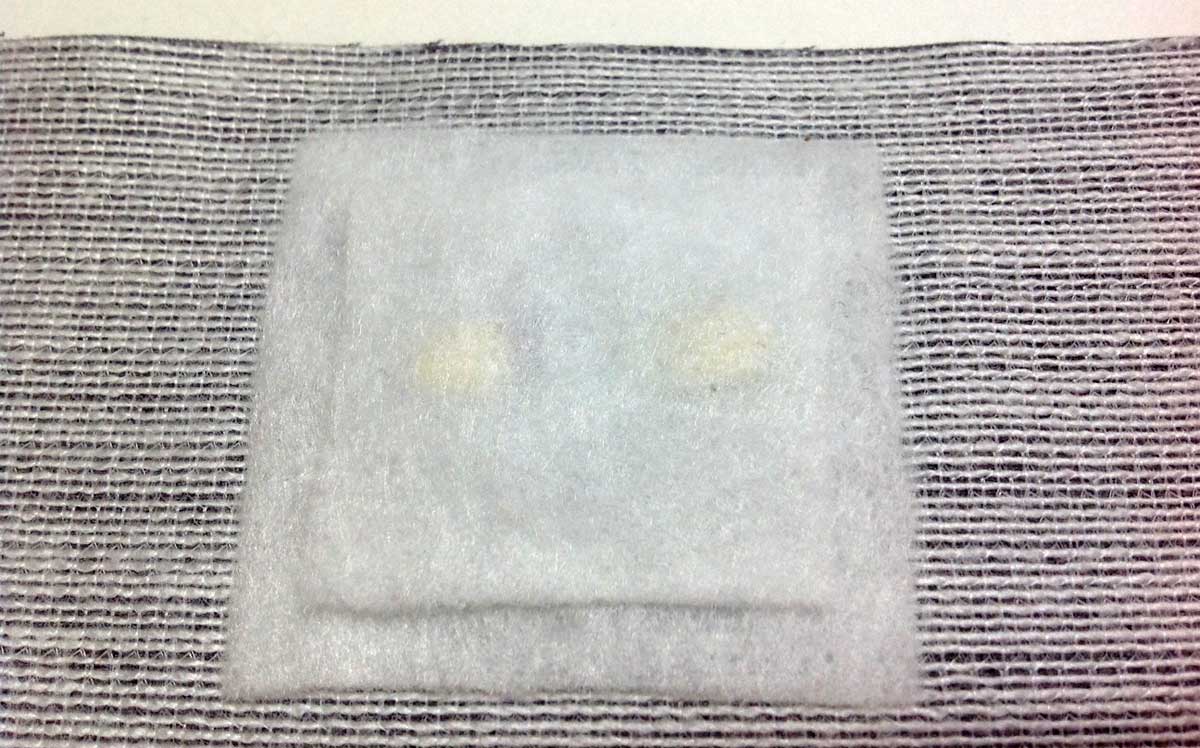
To prevent imprinting of the pronged area onto the bag right side after pressing, fuse a small rectangle of fleece over the back of the snap area to cushion it from the outer fabric (7).
Forces to be Reckoned With
Depending on the strength of your magnetic fastener, one half may have a tendency to adhere to the throat plate of your machine while you’re trying to stitch. Simply pick it up off the machine bed and hold that section while continuing to stitch.
These hidden magnetic snap closures can be accented with buttons over them for a decorative look on the outside.
Sew-on Closures
In addition to the pronged closures mentioned above, there are also sew-on magnetic closures. These are applied to the right side of the bag front and to the flap lining. Reinforcing behind these closures as noted above is recommended to help ease the stress and wear and tear from repeated opening and closing.
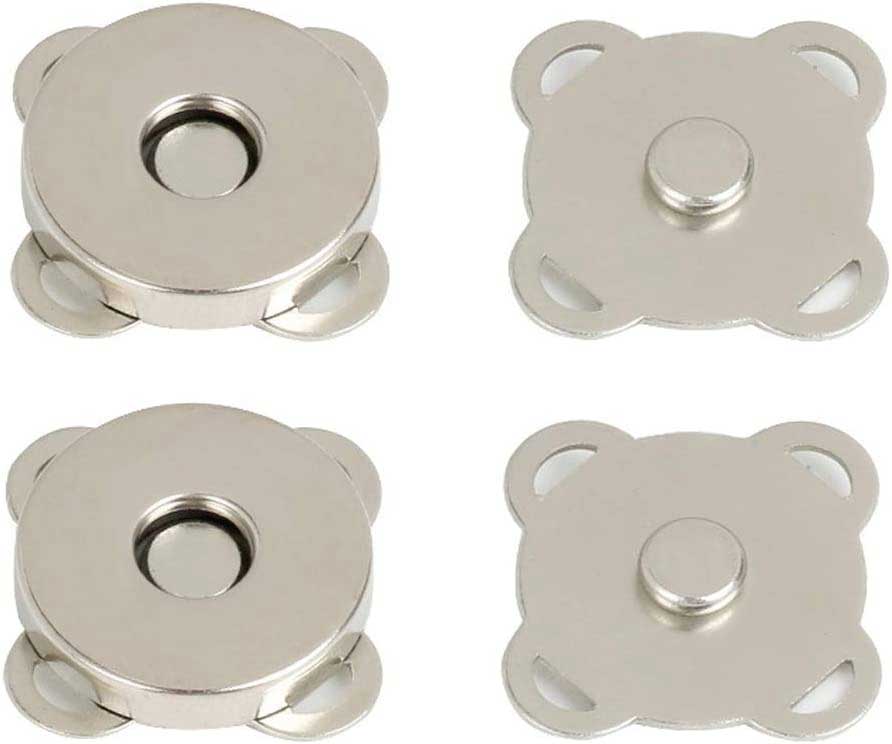
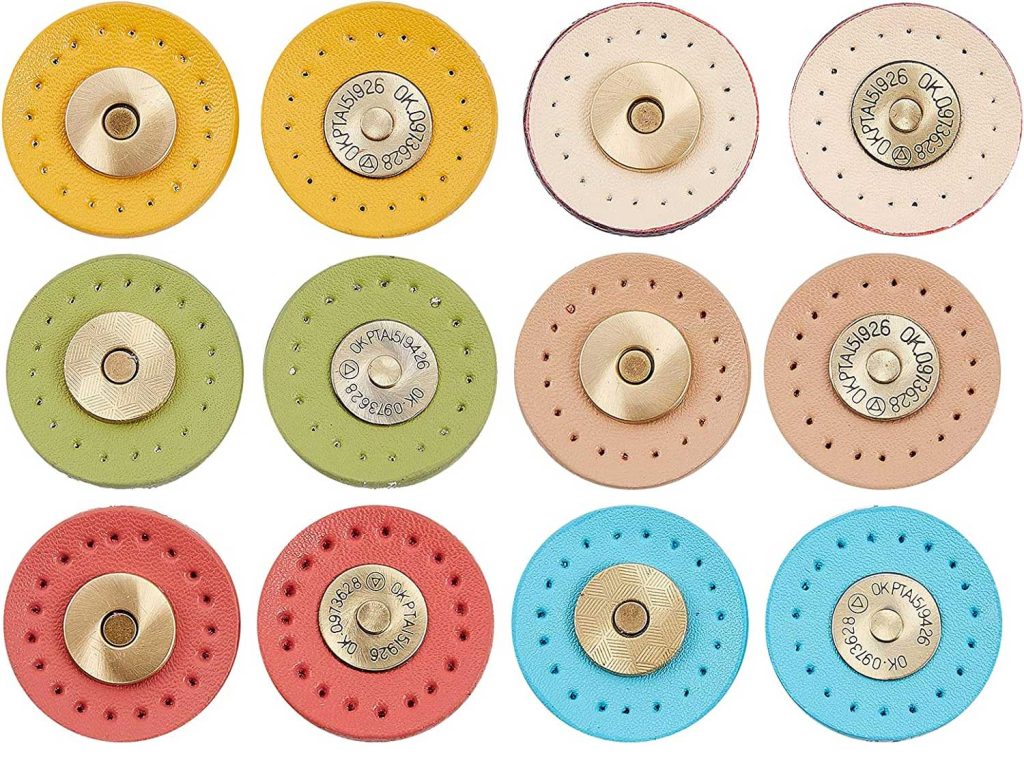
Looking for something a little more decorative? Some decorative sew-on magnetic closures have leather accents with pre-punched holes for stitching.
~Linda Griepentrog is the owner of G Wiz Creative Services and she does writing, editing and designing for companies in the sewing, crafting and quilting industries. In addition, she escorts fabric shopping tours to Hong Kong. She lives at the Oregon Coast with her husband Keith, and three dogs, Yohnuh, Abby, and Lizzie. Contact her at .


