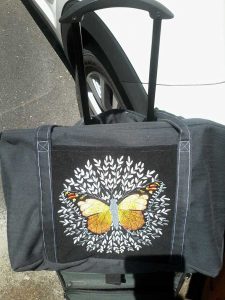
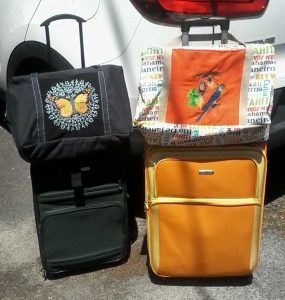
 After being cooped up at home for over a year, everyone is anxious to travel again, even homebodies like me. In anticipation of an in-person ASG conference, I decided to make a luggage tote that fits on the handle of my rolling suitcase. To get exactly what I wanted, I made my own pattern for this project which was quick and easy—just perfect for me. I especially like the boxed ends and the simplicity of how it could be achieved. I’m including my own instructions below, but if you prefer a commercial pattern, one of my favorite conference instructors, Linda McGehee from Ghee’s, has the L-Bag pattern with multiple sizing, helpful tips, and excellent instructions. While there, also check out the variety of novelty zippers she sells that make the bag really pop.
Luggage Tote Instructions (pdf)
Let’s Get Started
For this project, I used 4 sheets of 8.5 x 11 copy paper to make the pattern, and included a sleeve on one side to slide over the handle of my luggage. Although there is basic geometry involved in the design, making the pattern required no measuring or angles to calculate, just simple paper folding.
I chose a heavy-weight home-dec fabric that I had in my collection for the bag. The right side of the fabric felt like a medium-weight denim, and the wrong side had a rubberized backing. While it appeared strong and durable and did not require lining, it was also sturdy enough to support the contents of a packed bag while still remaining flexible to stuff under an airplane seat.
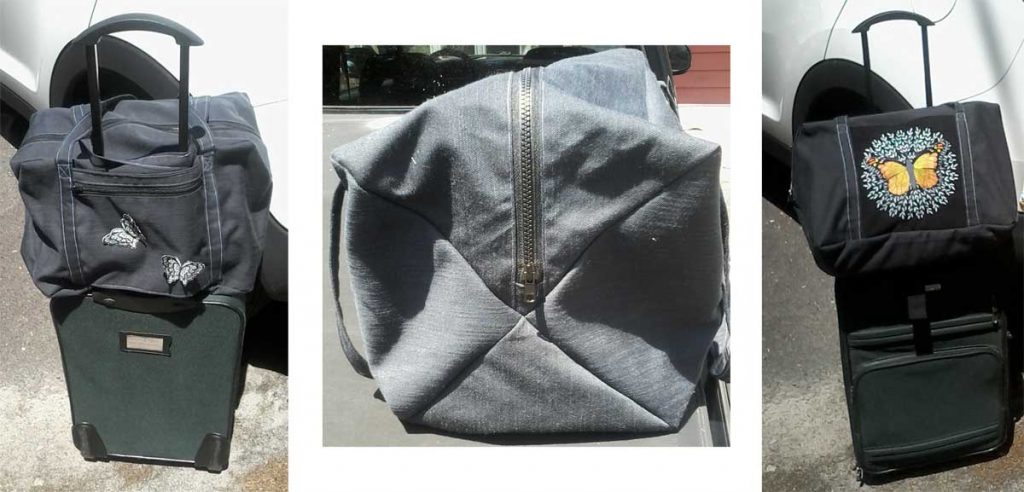
I added an embroidered pocket on one side of the bag that was held in place by the handle straps that go up the sides of the bag. The pocket design was a Monarch butterfly from Embroidery Library. For the sleeve that slips over the luggage handle, I included a zipper on the outside of the sleeve, with a solid piece of fabric for the back side. This created an additional zippered pocket for more security. Free standing 3D butterflies were used on the sleeve and were made with a butterfly design from my Brother embroidery machine that was stitched on using a double layer of mylar with a heavier cutaway stabilizer sandwiched between the layers of mylar. This provided enough stiffness that the butterflies could be bent slightly to give the 3D effect. The butterflies were cut close to the stitching, leaving an ever so slight margin of mylar, then were securely hand-stitched to the outside of the sleeve pocket by going around the stitches of the body (and not the wings). The technique would not withstand the abuse of luggage handlers, but is fine for a carry-on.
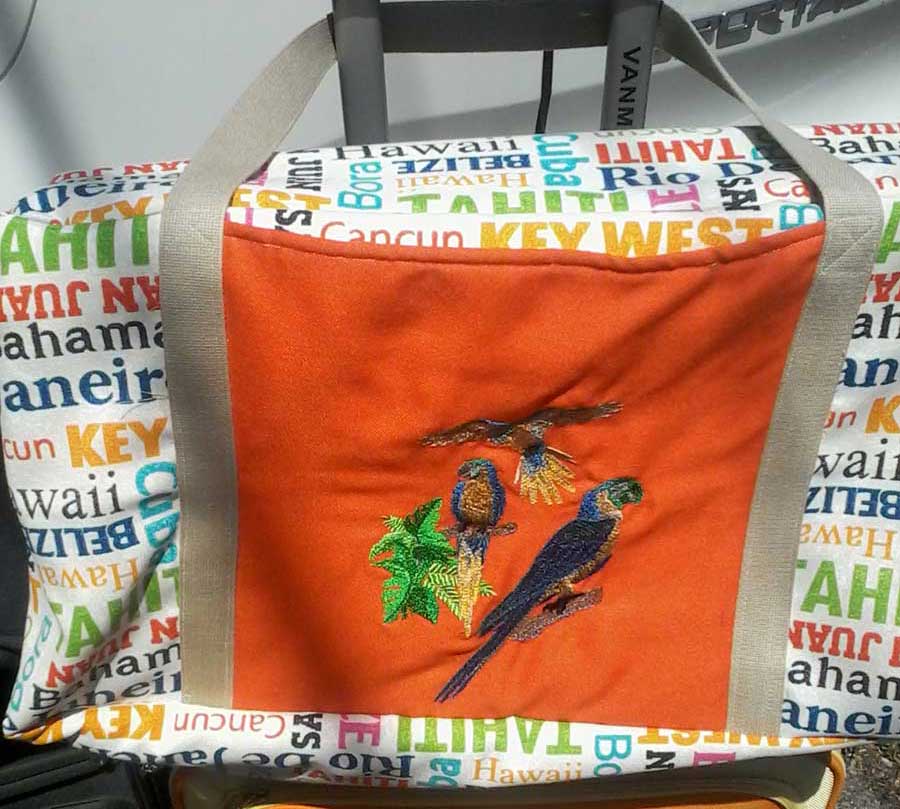
Webbing is the best choice for handles, but with none available at midnight when I wanted to sew, I made the handles from the bag fabric. It ended up a little too thick for my liking, so future bags will be made with the webbing. Sewing through the 4 layers of the handle, the double layers of the pocket, plus the side of the bag did not make my trusty old Singer happy. It plowed through, but not without a few complaints. I used webbing for the second tote.
Ready to Travel
 I love the design of this bag! It is streamlined for getting those flat, squared ends of the bag perfect every time. Excluding the embroidery and the fabric handles, the entire bag can be constructed in about an hour. And while it makes for a great travel bag, it also works well for carrying sewing supplies to retreats, meetings, or anytime more space is needed than my trusty purse provides. I hope you will give this one a try.
~Rosemary Fajgier


