Nothing causes quilters more angst than getting perfect points on their blocks. With multiple small pieces often combined into a single block, keeping points and seams aligned can be tricky, but there are a few tricks that help with the task. If you’re not a quilter, never fear, these same principles can apply to garment sewing where seams come together and opposing parts need to align. Think about a pieced bodice, a yoke/bodice joining, or an artful pieced jacket.
Point to Point
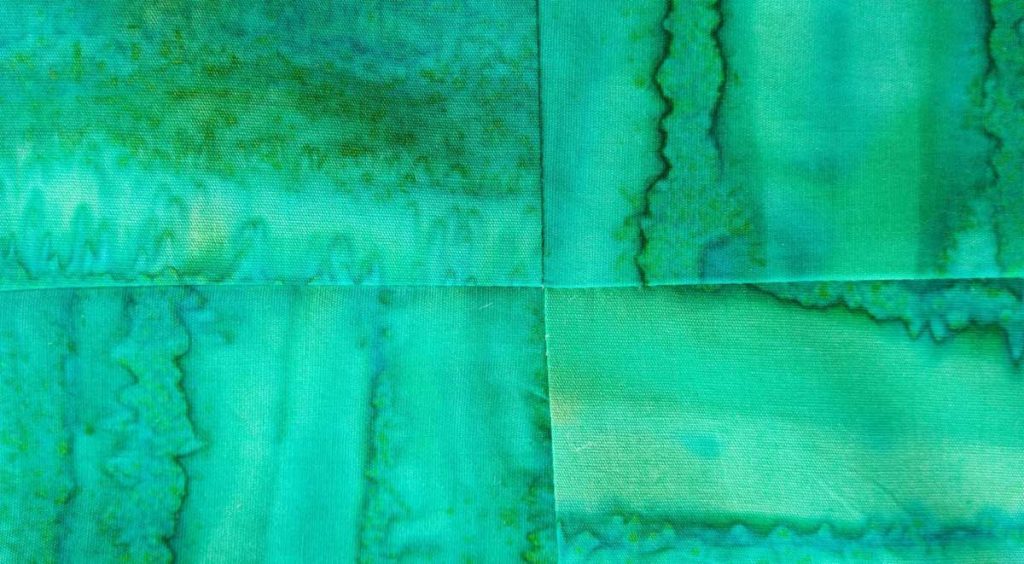
Lining up adjacent seams is easier if the opposing seam allowances are pressed in different directions. For example, on the upper half of a 4-patch block, press the seam allowances to the left; on the lower half of the block, press the seam allowances to the right.
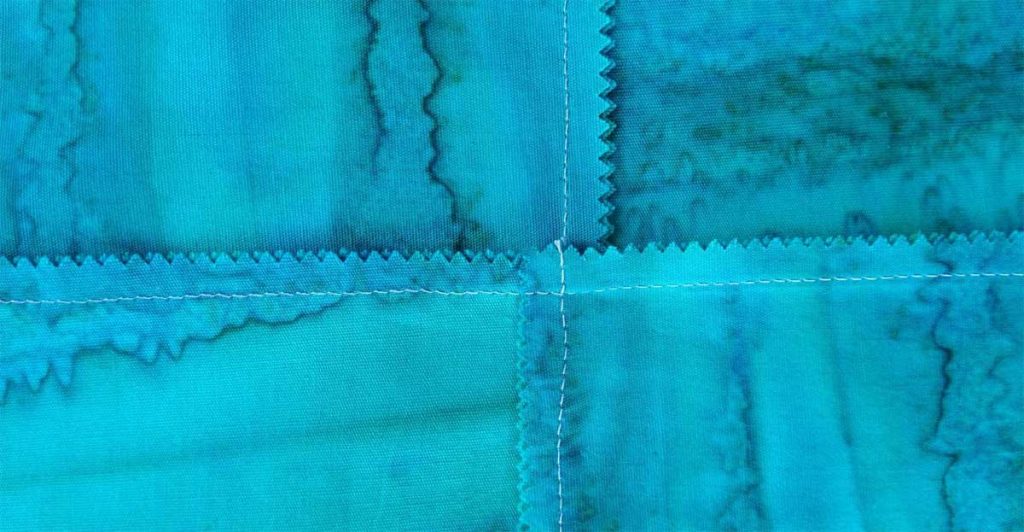
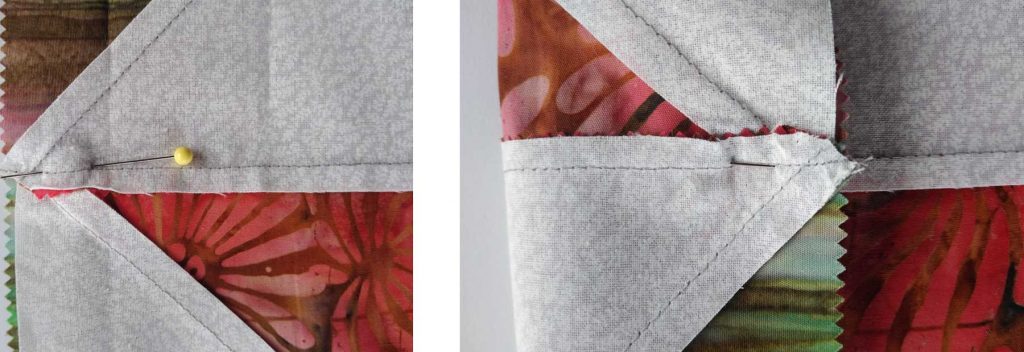
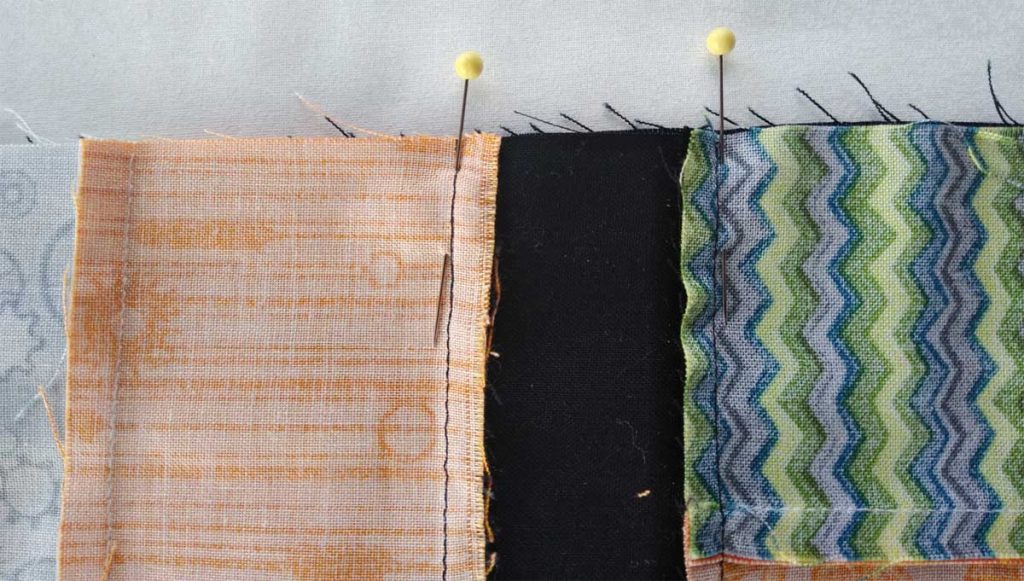
When the sections are placed right sides together, the sewn seams will be on top of each other and the seam allowances will nest together for a perfect match. Place a pin through the sewn seam so that it falls in the same place on the lower layer and then stitch, removing the pin as you come to it. Most machine manufacturers do not recommend stitching over pins.
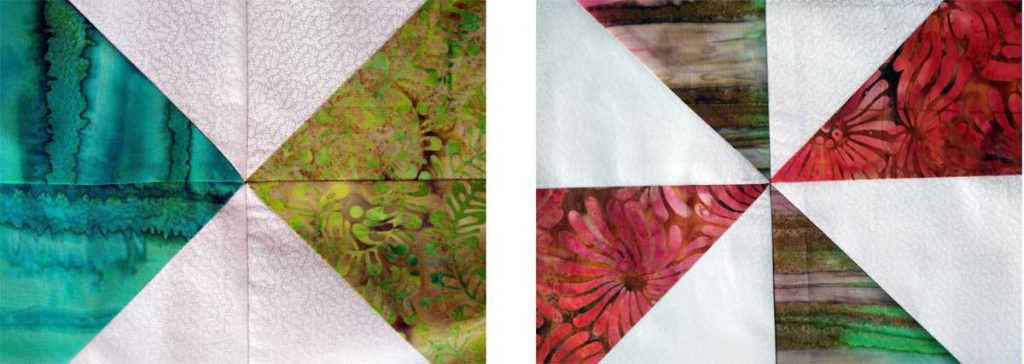
This same process works for stitching together half-square triangle blocks. Press seams for adjacent blocks/rows in opposite directions so the seam allowances will nest during the joining process. Place a pin through to match the seams, then stitch, and you should come out with a perfect match {B-1, B-2}.
To test before stitching, fold back the seam allowances and check for the point match.
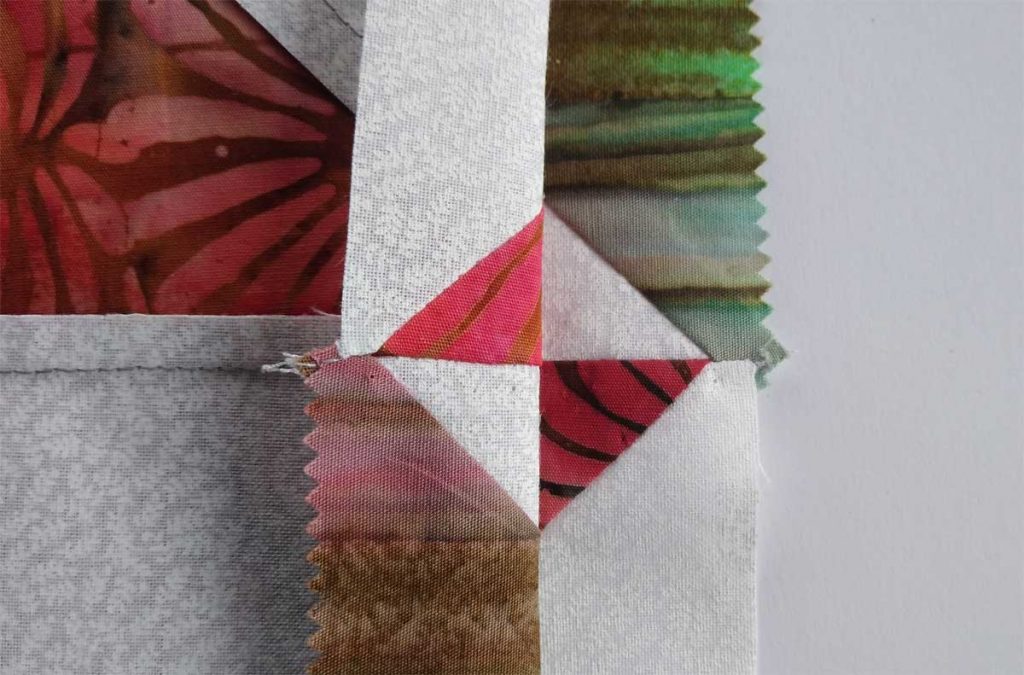
Some quilters prefer to press seams open instead of to one side. In this instance, careful pinning if required for matching points as there isn’t the nesting seam allowance advantage.
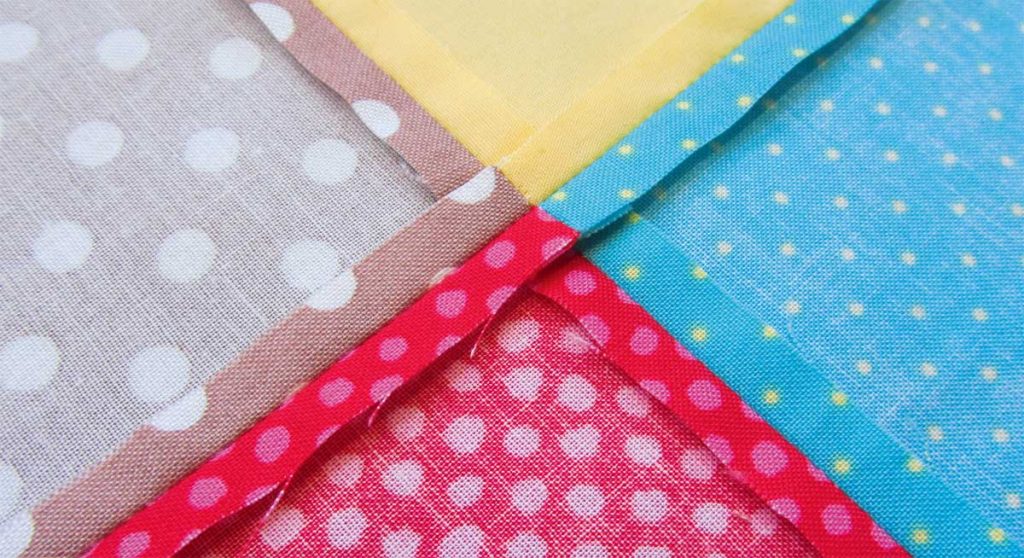
What if?
What if your points or seams don’t match? In most instances, taking out a few inches of the seam on either side of the mismatched seam allows for some readjustment and easing to realign the seam matching, then you can just restitch the open area.
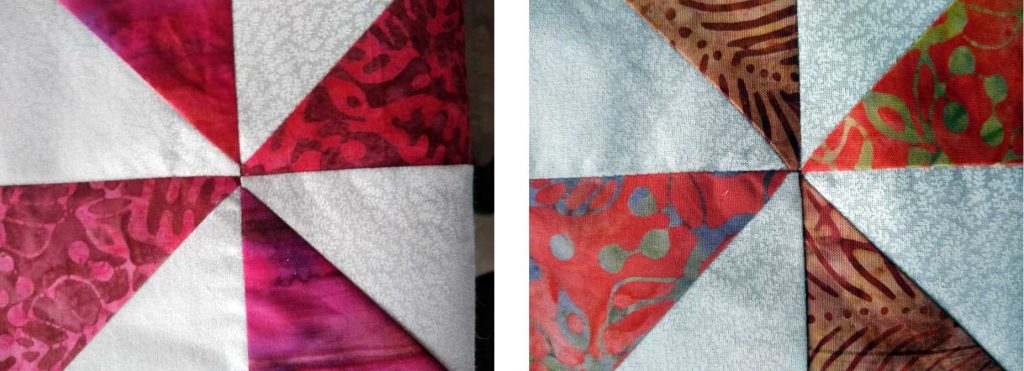
If you’re comfortable leaving the mismatched seam, an easy way to camouflage it to simply tie the quilt at the corners. The yarn ties will hide the seam matching issues and no one will be the wiser. It won’t win you any awards in a quilt show, but it may still be a great quilt to please a child or loved one.
Sashed Seams
Many quilt patterns have strips placed between rows of blocks. These strips, whether vertical or horizontal, are called sashing. Many quilt patterns have sashing strips in both directions; if so, sew the vertical strips between the blocks first, then add the horizontal ones between the rows.
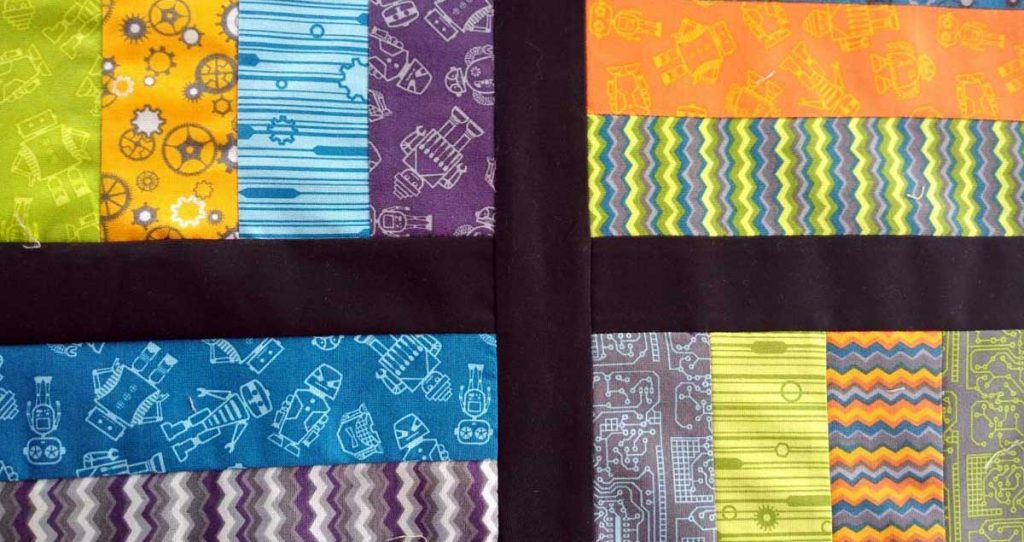
Getting blocks lined up on both sides of the sashing strip is much the same as aligning within the block or row, except that there’s now a strip between the rows.
To keep things aligned, sew a row of blocks to one side of the sashing strip, matching center points. Then fold down the sashing strip onto the blocks and mark the adjacent seamline locations on the wrong side of the sashing. Mark at each vertical sashing strip location across the quilt top width.
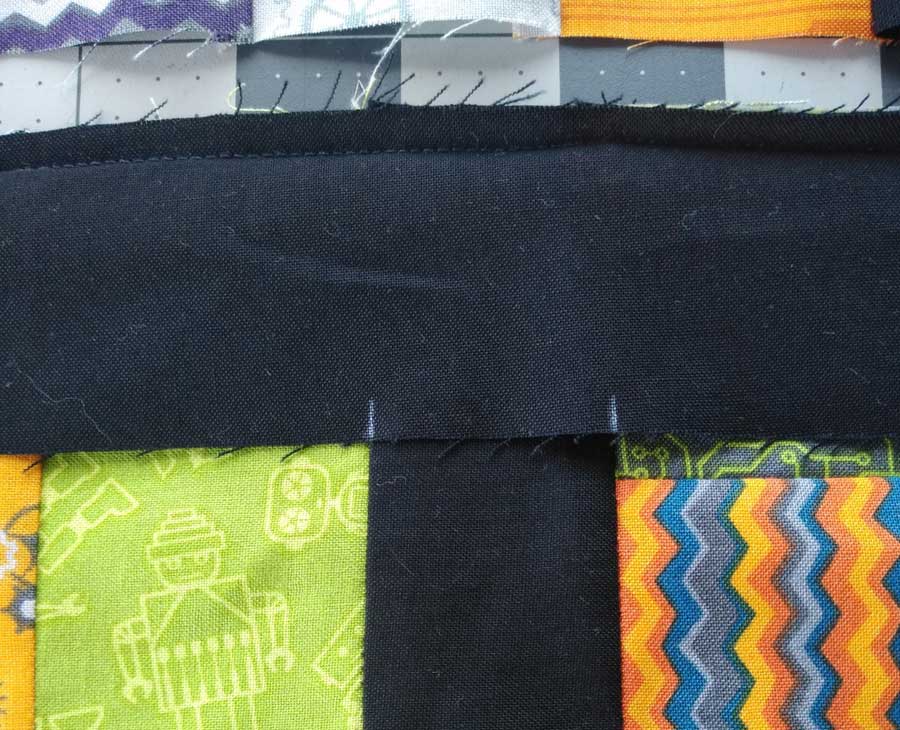
Pin the next row of blocks in place, matching the vertical sashing seams to the marks across the quilt width. Stitch, removing the pins as you come to them and voila, perfectly aligned blocks.
~Linda Griepentrog
Linda is the owner of G Wiz Creative Services and she does writing, editing and designing for companies in the sewing, crafting and quilting industries. In addition, she escorts fabric shopping tours to Hong Kong. She lives at the Oregon Coast with her husband Keith, and two dogs, Yohnuh and Abby. Contact her at .


