Most of our sewing positions seams on the inside of a garment or project, but there are times when you may want to showcase a seam on the outside of your creation. Why, you ask? Seams can be fun!
Inside Out
Traditional seams are sewn right sides together and the resulting seam allowances are on the inside of the garment but turn that around for some fun. Try stitching the seams wrong sides together so that the seam allowances are showcased on the outside. For a very casual look, leave the edges raw.
You can choose to topstitch the seam allowances open flat with a straight or zig-zag stitch.
For added pizzazz, use a contrasting decorative stitch. For easier decorative stitching, use a narrow strip of fusible web to hold the seam allowances in place. For even more fun use decorative scissors, like pinking, scallop or wave, to trim the exposed seam allowance edges.
If you prefer, instead of pressing the seam allowances open, press them to one side and topstitch.
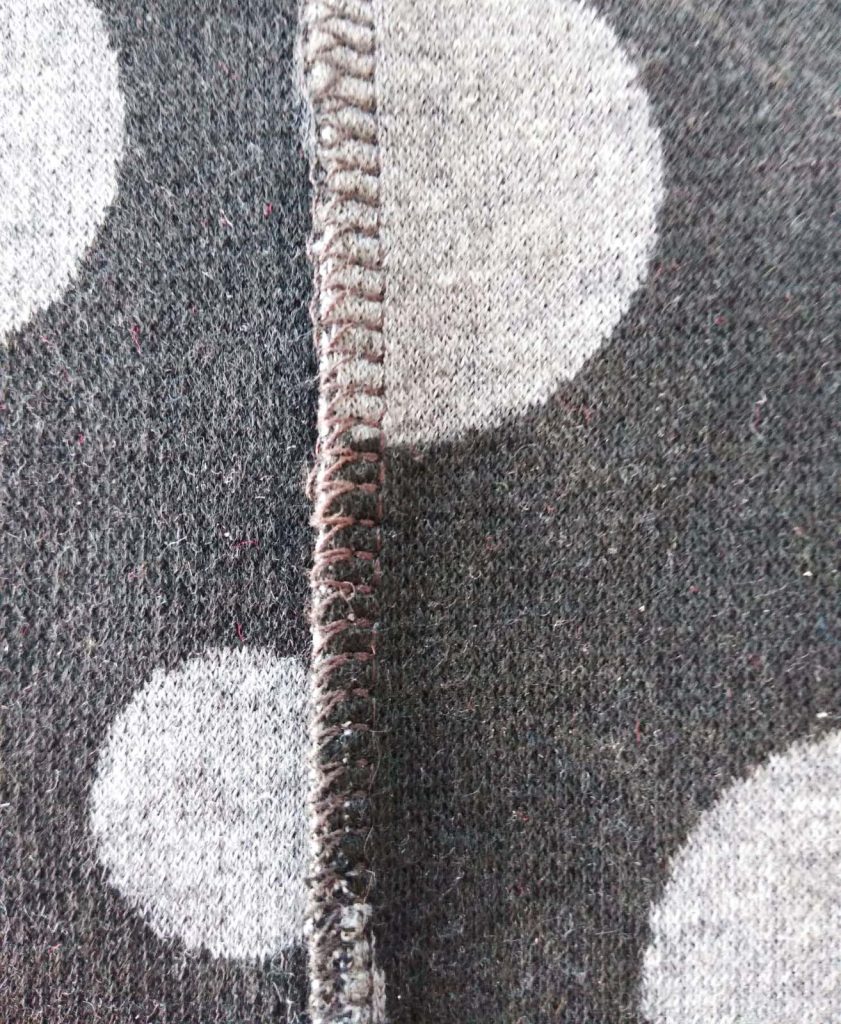
Seam allowances can also be finished with serging, using either matching or contrasting thread colors {pic}. For a more decorative look, use a novelty thread or yarn in the loopers.
This technique is especially fun if the wrong side of the fabric looks significantly different from the face side. Denims, double knits, double-wovens and fleece are good candidates for outside seaming. Lightweight leather also works, showcasing the sueded side to the outside.
Abutted Seam
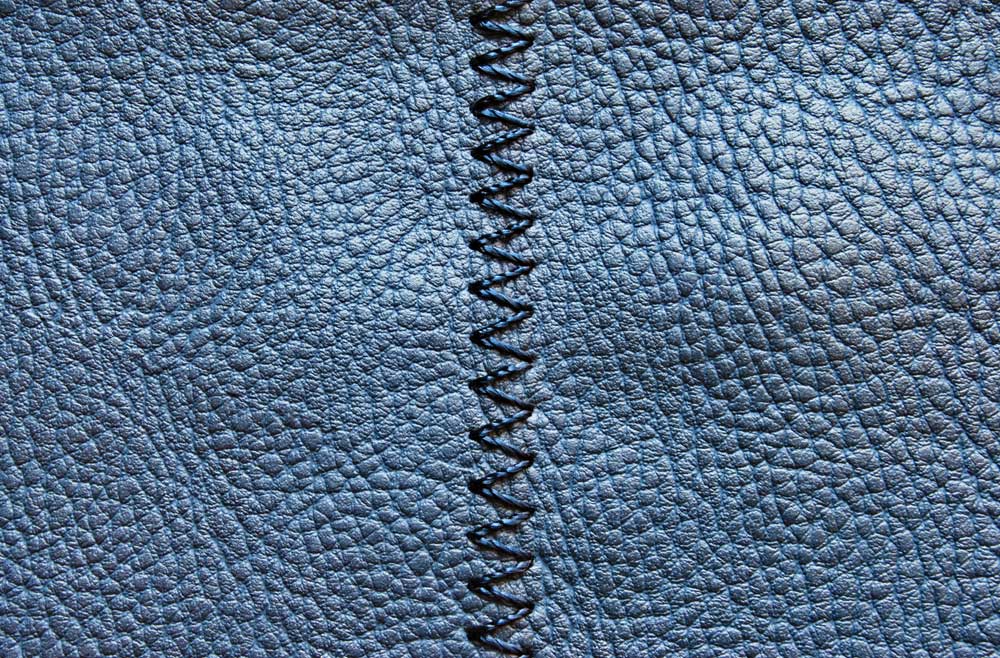
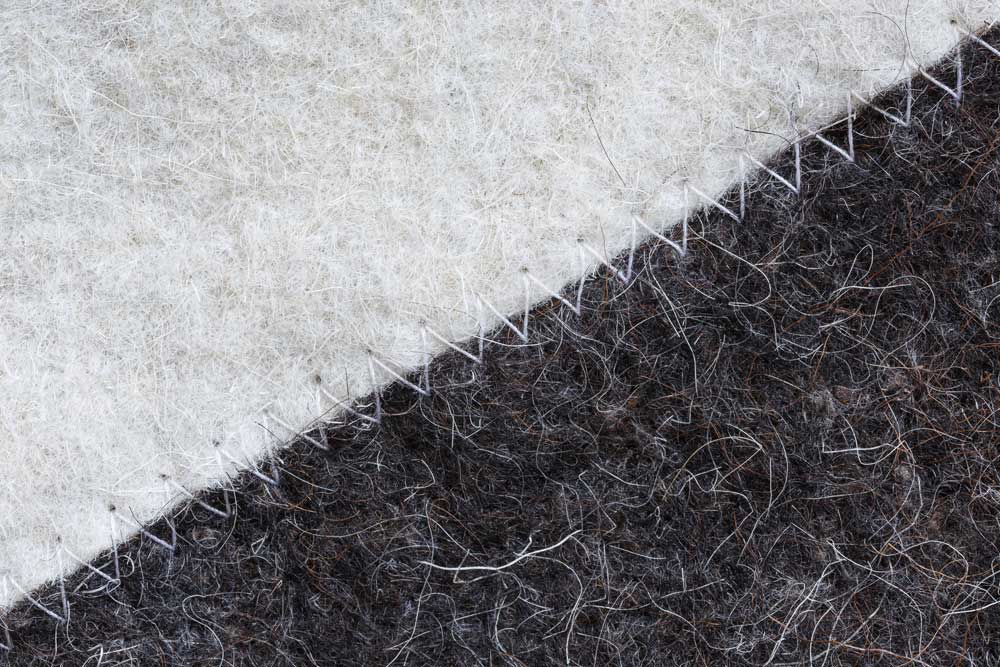
Non-woven fabrics, such as faux leather or suede, faux furs and some knits work well with this flat seam, as do some heavy wools like melton. To create an abutted seam, trim the seam allowances of adjacent seamlines, then push the edges together and join with a zigzag or three-step zig-zag stitch, or even a decorative stitch that spans the two edges. It’s important for strength that the selected stitch catches both edges securely.
For a little extra strength, fuse a narrow strip of lightweight interfacing under the abutted edges prior to stitching. This also helps keep stretchy fabrics from distorting and rippling during the stitching process.
You can use this seam finish with woven fabrics as well, simply press under the seam allowance edges rather than trimming them off. Then, abut the folded edges for joining.
Lapped Seam
Instead of stitching a conventional seam, a lapped seam is created simply by lapping one section over an adjacent one and stitching in place. A lapped seam is ideal for non-wovens, leather, felted fabrics, boiled wools, etc. where fraying isn’t an issue.
To create a lapped seam, trim the entire seam allowance from the overlapping layer only. Using a removable marker, mark the seam allowance line on the right side of the underlap layer. Place the trimmed layer over the bottom layer and topstitch in place using one or two rows of stitching. You can either stitch twice, or use a double-needle to create the parallel stitching lines. The underlayer can be trimmed to reduce bulk if desired.
To make this process even easier, use a narrow strip of fusible web between the layers to keep them in place for stitching.
For a bit of pizzazz, trim the overlapping seam allowance edge with decorative scissors before stitching, or use one of your machine’s decorative stitches for the stitching lines. If the seam is in a stress-free area, a single line of stitching can suffice.
Which way should the seams lap? They can lap whatever way you prefer, but traditionally, front goes over back at side seams and shoulders, armholes go over sleeves, and left back goes over right back.
Strapped Seam
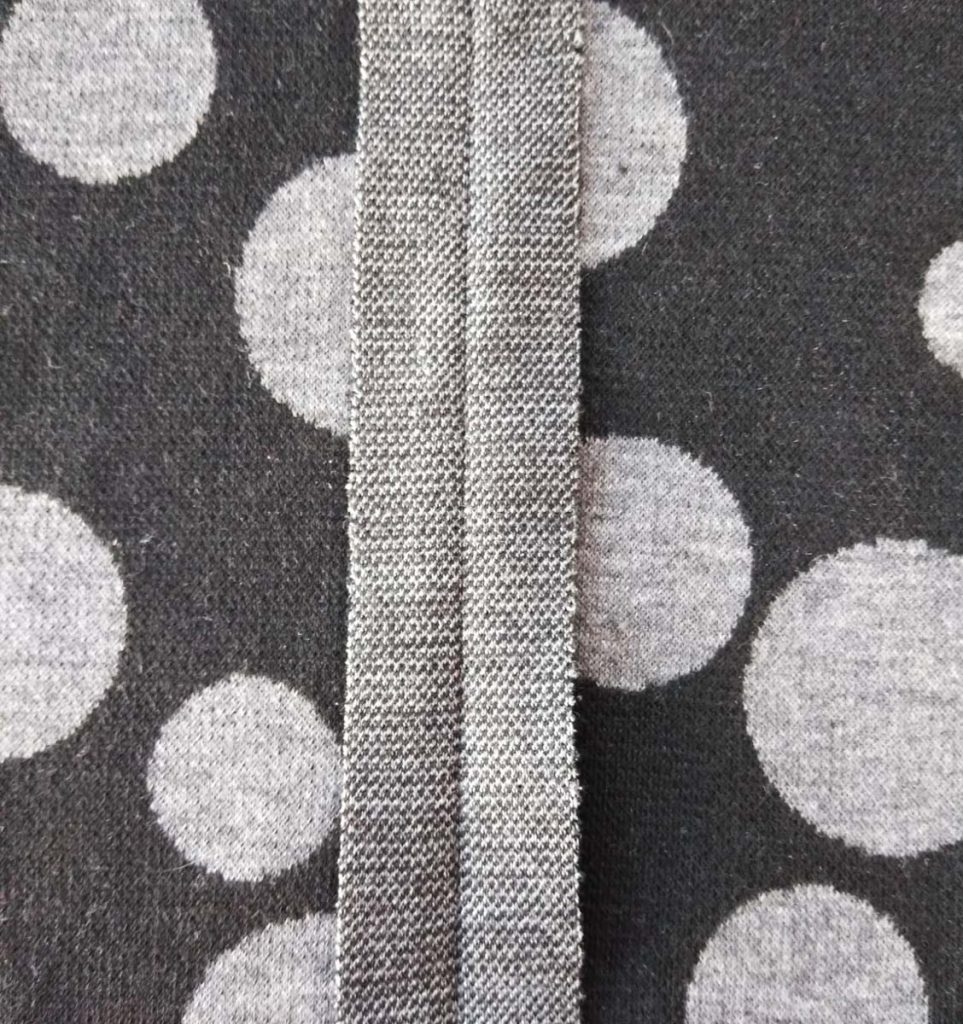
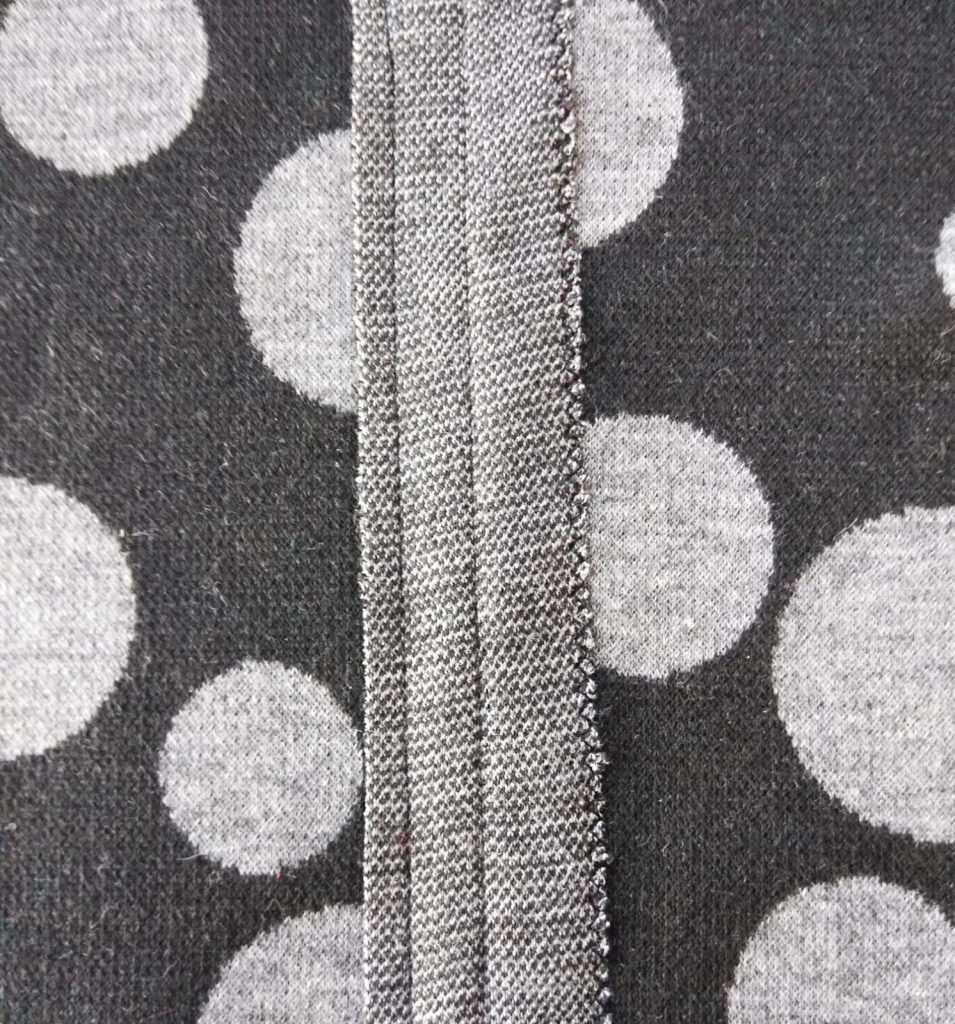
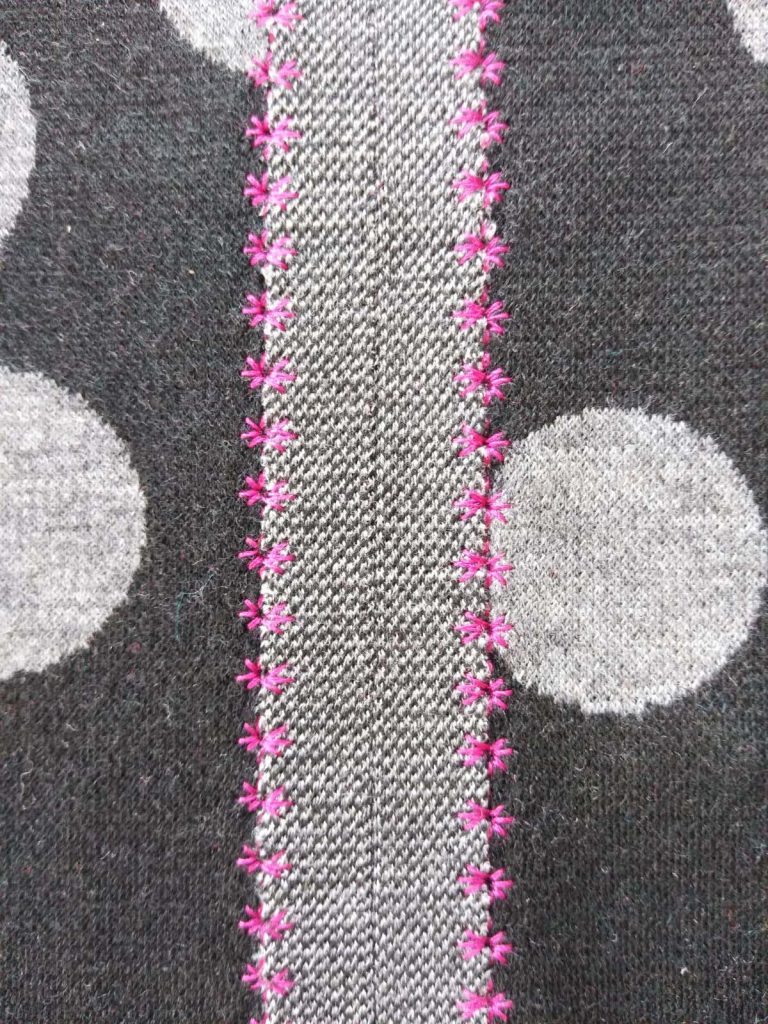
A strapped seam is sewn wrong sides together, then the seam allowances are trimmed and pressed open. Another piece of fabric or trim (contrasting or matching) is centered over the seamline and topstitched in place. The seam allowances are totally hidden by the strapping, so the garment inside is simply flat and finished.
This type of seam is a great way to add reflective trim on outerwear, add ribbon or a contrast fabric, as long as the addition is wider than the pressed-open seam allowances. The strapping strip edges need to be finished before applying if the fabric frays. Options for finishing include decorative scissor cutting, decorative stitching or serging, or choose a pre-made tape trim.
Strapped seams are often found on faux leather garments or those made from heavy wool, melton or felted fabrics, as this finish creates a flat seam that can also be decorative.
All these seam finishes can be used on reversible garments, so you can double the fun!
~Linda Griepentrog is the owner of G Wiz Creative Services and she does writing, editing and designing for companies in the sewing, crafting and quilting industries. In addition, she escorts fabric shopping tours to Hong Kong. She lives at the Oregon Coast with her husband Keith, and three dogs, Yohnuh, Abby, and Lizzie. Contact her at .


