Nothing can add more pizzazz to a table setting than some fun fabric napkins. Whether you choose a whimsical quilting cotton, a solid linen, an ethnic print, or an elegant home décor fabric, napkins add a colorful accent.
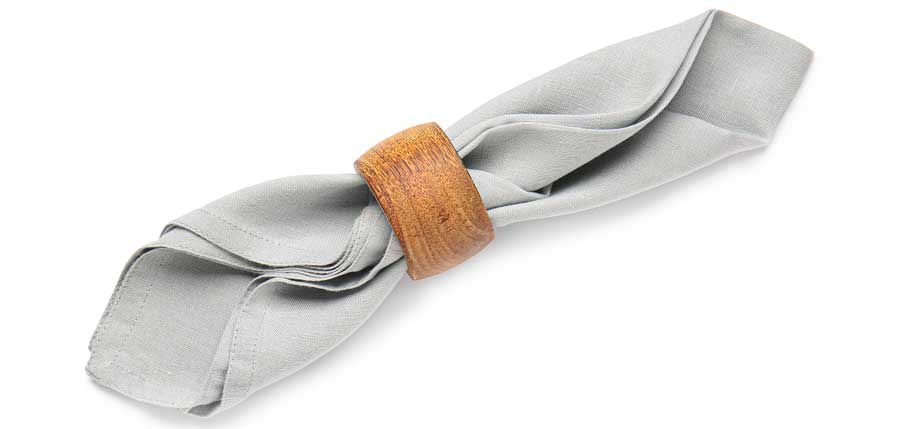
There are several ways to finish the edges of your napkins, and we’ve talked about some previously in this article. Today’s napkin edge focus is on an easy mitered hem finish for single- and double-layer napkins.
Fabric napkins can be many finished sizes, from a 12” cocktail version to a full 24” dinner cover-up. Most napkins are square, though there’s the occasional round version thrown into the mix for a holiday tree fold.
It goes without saying that you want to choose a washable fabric for a napkin that you plan on really using for meals…cottons are great, polyester is fine for a sheen, or perhaps real linen for texture.
Depending on your fabric width and napkin size, figure how many you can get across and the total number needed before you figure yardage. From 54”-wide fabric, you can cut three 18” squares across the fabric width; from 42”-wide fabric, you can cut only two across the width. Keep in mind that using this hemming method, you’ll lose 2” of napkin size from the cut square size.
Hemmed napkins with mitered corners
Once you’ve cut the napkin squares, press under ¼” on each napkin edge. Then press under a ¾”-wide hem on all edges (1).
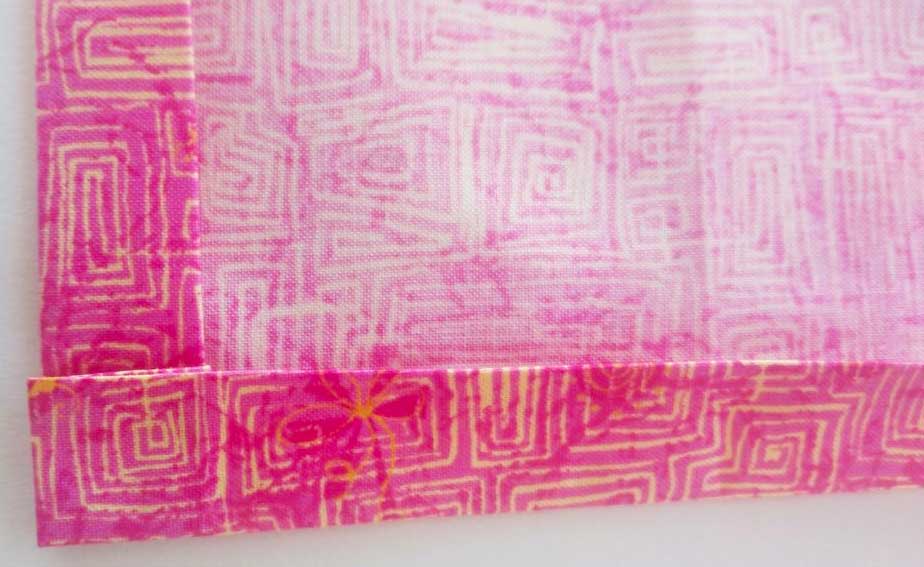
Fold adjacent napkin edges right sides together keeping the narrowly pressed edge folded. This forms a sharp point (2).
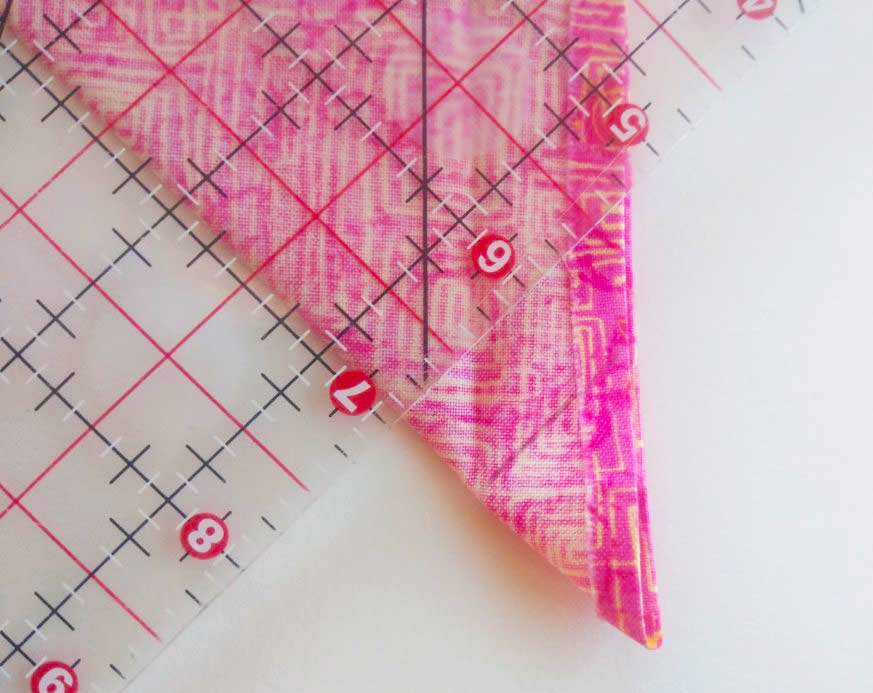
Using the 45° marking on a ruler, draw a line diagonally across the corner. Stitch on the line (3).
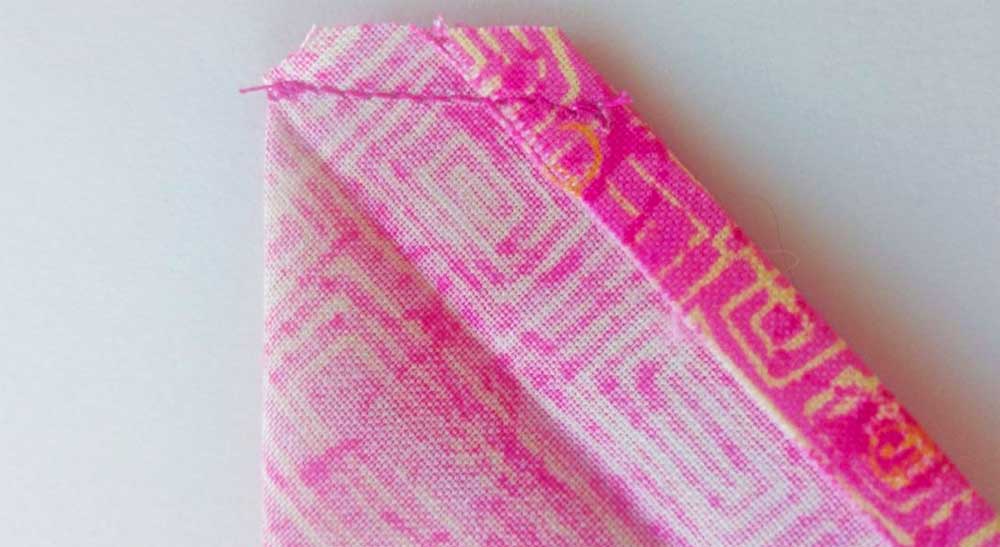
Trim the excess point fabric ¼” from the stitching line, trim the corner diagonally, and finger-press the seam allowance open (4).
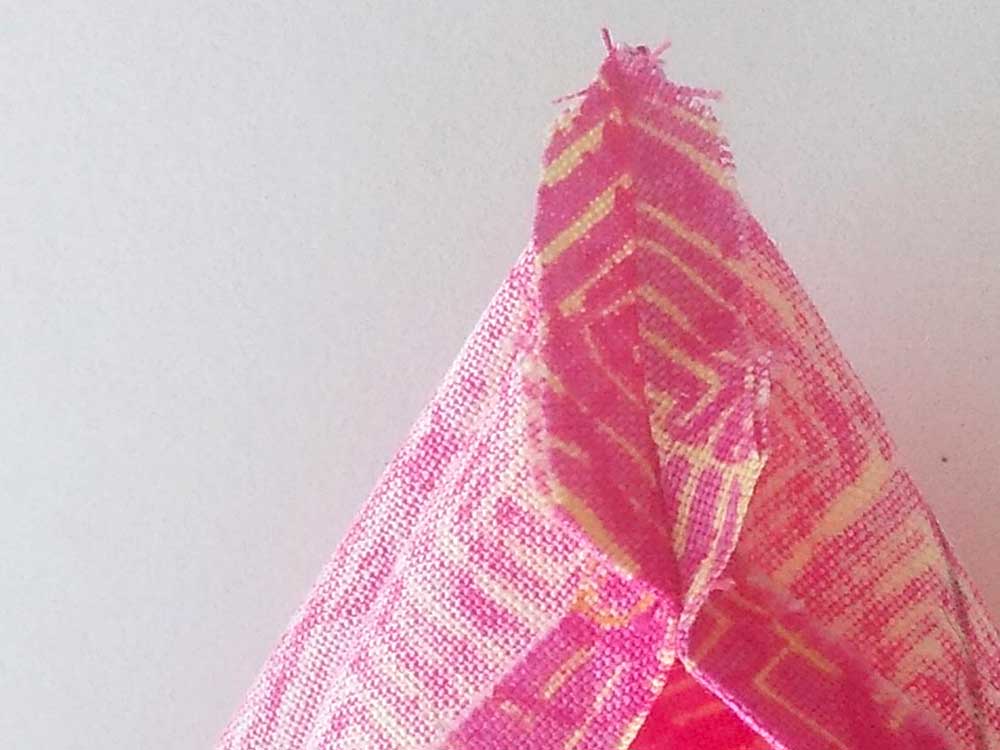
Turn the hem to the napkin wrong side and press the squared corner (5). Use a point presser if needed to sharpen the corner. Repeat for each corner of the napkin.
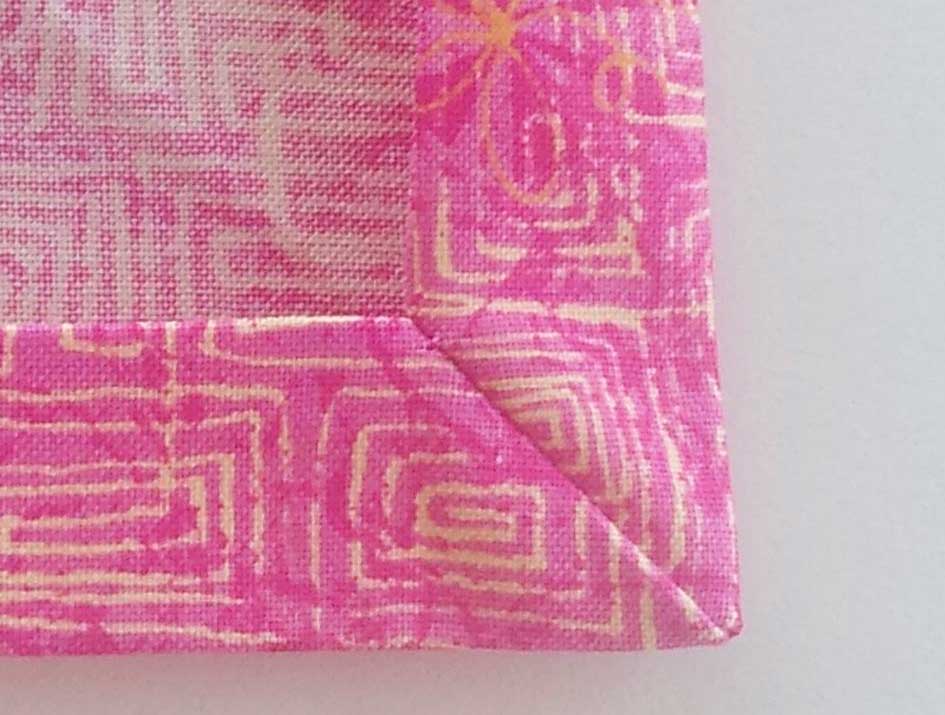
Topstitch the folded hem edge in place around the napkin (6, 7). This can be done with matching or contrasting thread, using a straight or decorative stitch. If you prefer an additional row of stitching, edgestitch the napkin.
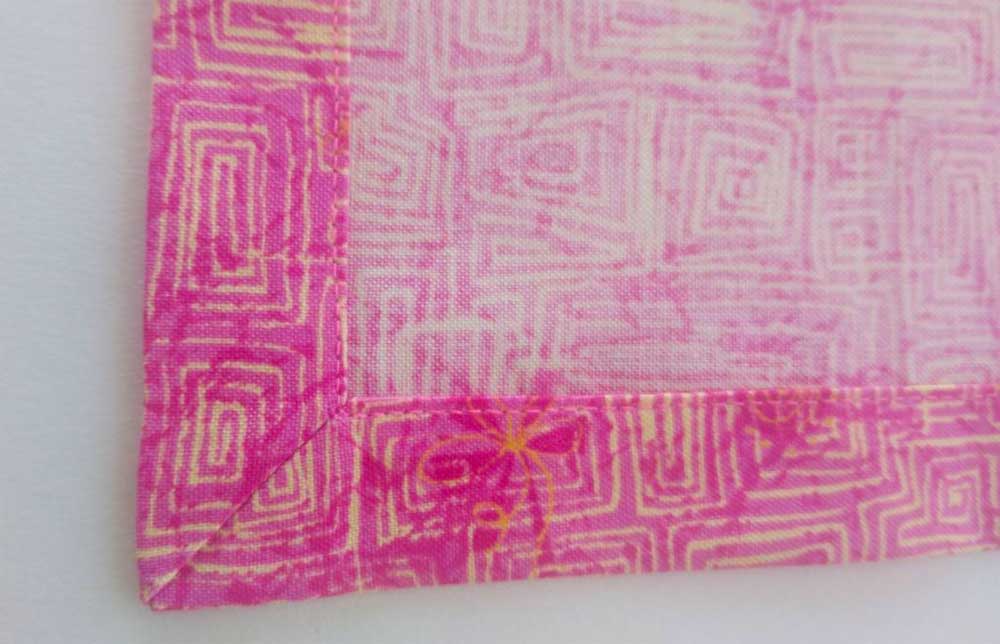
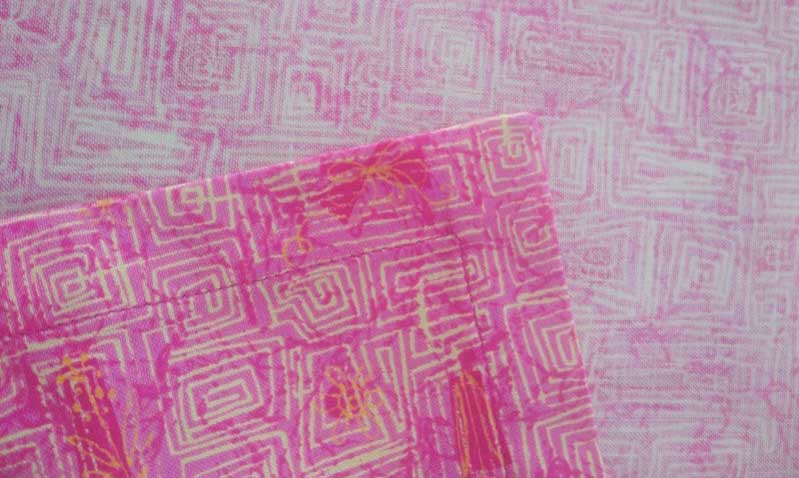
Repeat for each napkin you’re making. If you prefer not to have stitching showing, fuse the upper hem edge in place with a narrow strip of fusible web.
On the double
If you want your napkin to be double sided, cut a coordinating fabric square 2 ¼” smaller than the original square size.
Follow the directions above, but before you topstitch the hem in place, place the coordinating fabric square inside the hem on the wrong side of the napkin and smooth in place (8).
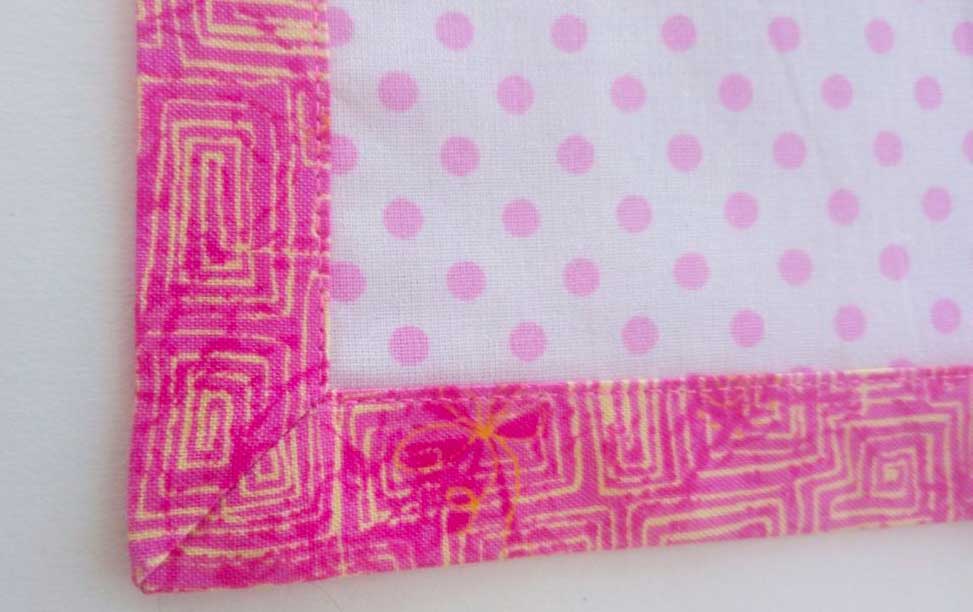
Once the second layer is smoothed in place and hems are repositioned, topstitch the hem edge through all the layers.
Making a double-sided napkin is a great way to hide the underside of a printed fabric that may not be as pretty as the right side, plus it adds a bit of body and contrast to the napkin.
This same mitering technique can be used on other right angles as well, like collars, slits, pockets, table runners, quilt tops, etc.
~Linda Griepentrog is the owner of G Wiz Creative Services and she does writing, editing and designing for companies in the sewing, crafting and quilting industries. In addition, she escorts fabric shopping tours to Hong Kong. She lives at the Oregon Coast with her husband Keith, and three dogs, Yohnuh, Abby, and Lizzie. Contact her at gwizdesigns@aol.com.


