Banks do it…utilities do it…credit card companies do it, and now you can do it in your sewing room as well! What is it? Going paperless.
With more and more sewing patterns available online in PDF format, you can have instant gratification without a trip to the local fabric store to get the latest offering. But, maybe the tedium of printing out all the pages, aligning guide marks, and taping the multitude of pieces together into a cumbersome giant paper offering isn’t one you relish. And of course, then you have to figure out how to refold all the pieces for storing for future use.
But, there is another way—projection sewing! Instead of printing, taping, etc., you simply project the pattern pieces directly onto your fabric and cut. The digital pattern file is stored in your computer for reuse anytime you want it.
What do you need?
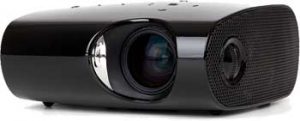
Projector
 First you need a projector mounted over your cutting surface. The projector can be ceiling mounted or it can be attached to a tripod, photo boom or some other kind of photo stand so that the projected image faces your cutting surface.
When you’re looking for a projector, check the image resolution, as the higher the resolution, the sharper the image will appear on your fabric. Check that it offers a remote, so you don’t have to climb up to the ceiling to make adjustments, like focusing. Also make sure that the projector can be operated in a vertical orientation as not all are designed to vent correctly in that position. Note the lumen output, as this determines the brightness. If your sewing room is brightly lit, look for a higher lumen setting.
Another important setting to check when purchasing a projector is the “throw”. This is the distance from the projector lens (not the ceiling) to your cutting surface to determine the clarity of the image. A short-throw projector is suitable for 3-8 feet, which encompasses most sewing situations.
When installing the projector, or placing it in a temporary holder, it’s imperative that the lens is level as well as the cutting table below it, to avoid distortion.
 Connection
Because the PDF pattern file is in your computer, tablet or phone, you need to have a way to get it to the projector. Some projectors are wireless, others require a cable connection, others require alternate means of interfacing, so check that information before purchasing to ensure compatibility.
Pattern
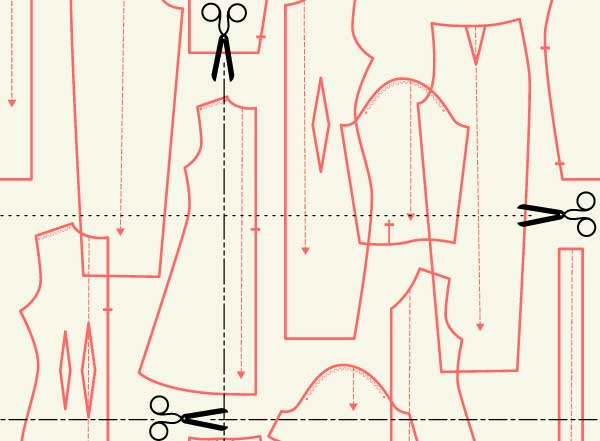
Any PDF pattern can work for projecting, but there are companies that make pattern files specifically designed for projection. These offer the pattern pieces in their final layout, with grainlines all going in the same direction, ready for cutting. There may be multiple pages to the pattern file, depending on what the project is and the size. If your fabric is directional, double-check that the tops of all pieces are going in the same direction, otherwise you’ll need to adjust before projecting.
Getting Ready
Before you project the pattern pieces onto your fabric, it’s imperative to calibrate the projector so that the patterns show up at the proper size. Some projectors offer a calibration guide that you can project and synch with your gridded cutting mat to ensure the sizing, but those guides are also available online and with some PDF patterns. Usually there’s a 1” and 2” square to align with the mat grid, and some have keystones in the corners to ensure that there’s no distortion along the outer edges of the image. Once this process is complete, note the projector’s zoom setting needed for future pattern work.

You need to be proficient with Adobe Acrobat Reader (or other PDF app/program) to be able to rotate pattern pieces that may need to be changed for the layout, and to hide any layers of the pattern for all the sizes that you’re not using. If you’re projecting onto dark fabric, you may want to change colors (under Acrobat’s Accessibility options) so that the pattern lines show as white or a bright color on the fabric.
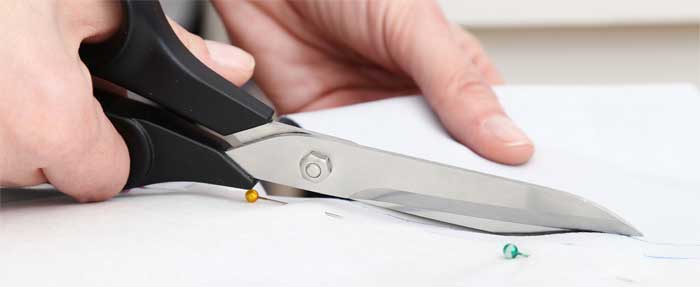
When any of those changes are complete, it’s time to hide the calibration grid, lay out your fabric and project the pattern. Align the fold with any projected fold line and be sure the edges of your fabric are squared to the cutting mat lines. If your fabric is slippery, you might want to use pattern weights to hold it in place during cutting. Then, simply cut out all the pieces along the projected lines. If there’s more than one page of pattern pieces, you’ll need to reposition the fabric for the subsequent layouts.
The big question—What about alterations?
Many of us don’t fit perfectly into a single pattern size, but you can still use projector sewing. If you have complex alterations for fit, such as shoulder or armhole changes, it’s best to project your pattern pieces onto large sheets (or a roll) of paper, cut out the pieces and make the necessary changes manually.
But, if you simply need to toggle between two sizes, it’s easy. For example, if you need a size 14 on the top and a 16 on the bottom, leave both size layers visible for projection and gradually taper between the sizes.
If you need to lengthen or shorten the pattern interior (like waistline length), that can be done while cutting. Using a removable marker, mark the designated lengthen/shorten line projected on the image just outside the cut line. As you’re cutting the pattern out, stop when you get to that line and slide the fabric in the direction needed so that the image is the requisite amount away from the cutting line end.
It’s just as easy to add length to the bottom of a pattern piece as well, just be sure to leave enough space on the fabric beyond the initial projected line, then slide the fabric to allow for the image placement at the requisite addition. Slide the fabric the opposite direction to shorten at the hemline.
For more information:
- Simple Life Pattern Company
- Little Ragamuffin
- Projectors for Sewing Facebook Group
- Projector Central – search this site for projector information or to use the Find a Projector search function to search for a projector to meet your needs.
- Check YouTube for numerous videos on paperless sewing topics, calibration and projector settings
~Linda Griepentrog
Linda is the owner of G Wiz Creative Services and she does writing, editing and designing for companies in the sewing, crafting and quilting industries. In addition, she escorts fabric shopping tours to Hong Kong. She lives at the Oregon Coast with her husband Keith, and two dogs, Yohnuh and Abby.


