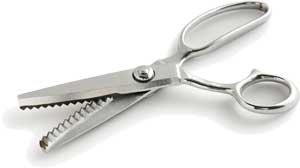
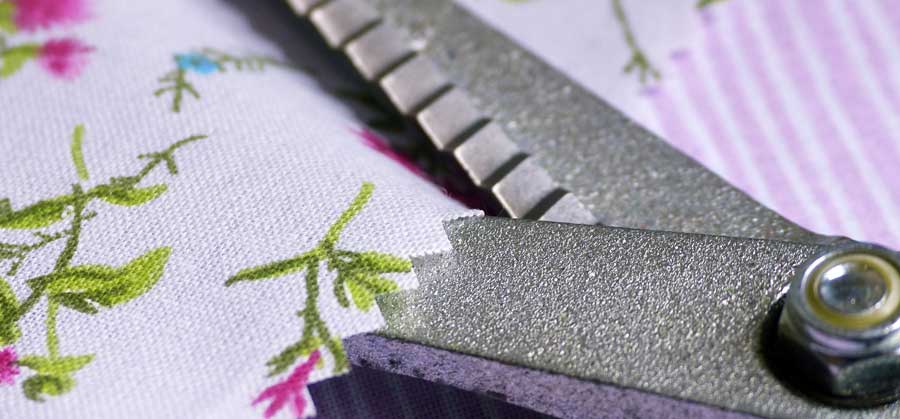
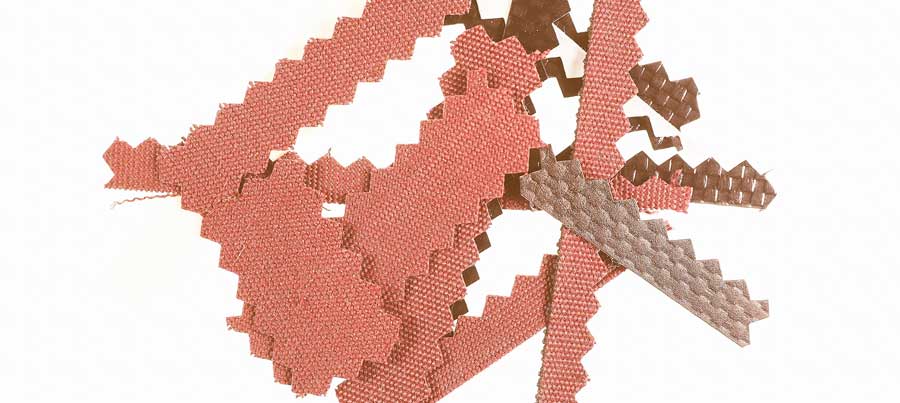
 Chances are good that if you’re serious about your craft, you have multiple pairs of scissors and shears in your sewing tool arsenal, and that may include at least one pair of pinking shears. These specialty shears have blades that cut fabric in a mini-zigzag or sawtooth pattern instead of just a straight line like most shears. But, how do you use these funny-looking shears?
Pinking Shear Savvy
The primary purpose of these zigzag-tooth shears is to trim fabric and keep it from fraying. When you cut a straight-grain line with the shears, each of the little zigs and zags has bias edges, and bias doesn’t fray or ravel under normal conditions. So, probably the most common use is to trim seam allowances to help keep raveling in check on the inside of a garment. They can also be used on hem and facing edges. When using pinking shears as an edge finish, there is no additional bulk (like stitches or binding) so the seam edge remains flat.

In addition to creating a less bulky seam finish, the edge configuration helps prevent imprinting on most fabrics. What’s imprinting? When you press a seam open, or press both seam allowances in the same direction, the seam allowance edges create a “drop-off” point and the difference in thickness can show on the outside of the garment. This is called imprinting, as there’s a slight indentation along the pressed edge line. Using pinking shears on the seam allowance softens it and reduced the more prominent drop-off edge.
But what if you want to sew your seam with wrong sides together instead? Yes, you can trim the seam allowances with pinking shears and have the little zigzags showcased on the outside of the garment instead (usually sewn down with a row of straight stitching). In this scenario, the wrong side of the fabric shows, so be sure it’s OK to be seen—a perfect technique for double-faced fabrics.
During construction, pinking shears can be a handy way to reduce bulk in an inside or outside curve, such as a collar or neckline. Traditional construction has us clipping outside curves, notching inside curves, and trimming seams, but using pinking shears to trim a curve seam both notches and clips in one operation allowing for a smooth curve after final pressing.
Pinking shears can also be used to create decorative edges on non-fraying fabrics. Fleece, boiled wool, non-woven faux suedes (like UltraSuede), felt, vinyl and leather are ideal candidates for a simple pinked edge finish. The pinking can also be combined with a row or two of straight stitches, or even decorative stitch accents.

Pinking shears can also be used to finish appliqué edges, especially on non-ravelling fabrics. That saves turning under edges, or encasing the edges with stitches. Following that same principle, pinking both edges of a strip can create a trim band suitable for strapping a seam. The strip can be sewn on, or fusible web applied before trimming with the pinking shears yields a fusible trim band.
Guidelines
Pinking shears can be used to cut one or two layers at a time, depending on the fabric weight. So, finish seam allowances singly or together depending on how your shears work with a particular fabric—keyword: testing. If the shears tend to chew the fabric, cut only a single layer at a time.
Because these specialty shears are cutting little teeth, it’s a good idea to align the teeth as you cut for a continuous look. Note that some brands of shears have one blade longer than the other so the zigzags can’t be cut all the way to the end. In addition, the zigzags may not go all the way to the hinge point. But, either way, cut with long strokes and align subsequent cuts to form complete and continuous zigs and zags.

Care and Feeding of your Pinking Shears
- Like most scissors and shears, pinking shears need a drop of oil occasionally in the hinge area for smooth operation. Keep the oil off the blades so that it doesn’t damage your fabric, and wipe away any excess before use.
- Keep the blades free of lint for the sharpest cut.
- Do not use pinking shears on paper or to actually cut out your projects. Cut the project with regular shears, then use the pinking shears for finishing.
- Store pinking shears in a case or fabric pocket to protect the blades from damage and take care to avoid dropping them.
Look-alikes
In addition to pinking shears, other decorative-edge shears are also available with scallop or wave blades. They can be used in the same manner but are more often used for decorative edges.
Novelty rotary cutting blades are also available in pinking, scallop, or wave configurations.
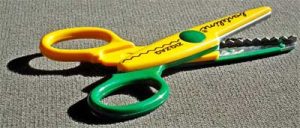
 If you wander into the scrapbooking department, you may see paper edgers—these small scissors are designed for use only on paper and cardstock, not for fabric. The blades on these edge finishers may look like pinking, scallops, waves or more elaborate trim options, but they will not cut most fabrics cleanly.
~Linda Griepentrog
Linda is the owner of G Wiz Creative Services and she does writing, editing and designing for companies in the sewing, crafting and quilting industries. In addition, she escorts fabric shopping tours to Hong Kong. She lives at the Oregon Coast with her husband Keith, and two dogs, Yohnuh and Abby. Contact her at gwizdesigns@aol.com.


