Even if your stitching is perfect and the fit divine, pressing is a step that can make the difference in whether a garment looks ho-hum or professionally finished. Proper pressing helps to set seams without puckers, create clean folds, remove wrinkles and construction imprints or ridges, and assure there are no shine or iron marks on the outside of the project. Understanding how to press different fabrics and garment features with the correct equipment and pressure is a critical step in sewing.
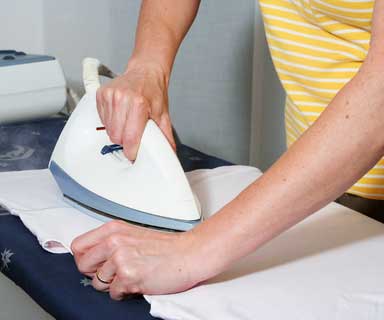
PRESSING OR IRONING? The key distinction between pressing and ironing lies in the technique. Ironing involves gliding the iron across the fabric to smooth out large areas quickly, while pressing requires you to lift the iron and press it down onto specific sections. This controlled movement minimizes stretching or shifting, which is especially important for garments that need precise shaping, like tailored suits, collars, or pleats. The pressing technique preserves the fabric’s integrity, especially on delicate or textured fabrics, where excessive friction could cause damage.
Pressing Different Types of Fabric
Different fabrics require specific pressing methods to maintain their quality and shape. Here are a few guidelines for common types of fabric:
 Cotton: Cotton can withstand high heat and steam, making it relatively easy to press. Use a hot iron with steam, and press seams open on both sides to get crisp edges.
- Linen: Linen is similar to cotton but tends to wrinkle easily. Pressing linen requires a high heat setting with plenty of steam, and it should be pressed slightly damp for best results.
- Wool: Wool fabrics should be pressed with low to medium heat and a pressing cloth to avoid creating a sheen. Using steam is essential, but be sure to lift the iron instead of sliding it to avoid flattening the fibers.
- Silk: Silk requires a delicate approach. Use a low heat setting and press on the wrong side with a pressing cloth to prevent damage and maintain its luster.
- Synthetics: Synthetic fabrics like polyester should be pressed with a cool iron, as high heat can cause melting. Avoid steam on synthetics, as it can create water spots.
Although we might like to have every pressing tool on the market, the budget usually won’t allow that. Then it is necessary to decide what really is necessary. The “must haves” are a good iron; a padded ironing surface with a cotton cover; a ham; a seam roll; a wooden or bamboo pointer, and a variety of pressing cloths.
Iron
Is it time to replace your “old Faithful” iron? If it spouts and spews, a thorough cleaning may help, but it may be time to spring for a new iron.
Tip: Old irons can be used for craft projects and are great for removing old wallpaper.
- Steam Power and Settings: Steam is vital for removing wrinkles and pressing fabric efficiently. Look for an iron with adjustable steam settings to control moisture levels based on fabric type. High-wattage irons usually offer better steam production, which is especially helpful for thicker materials like denim or linen. A steam burst or vertical steaming feature is also beneficial for quick touch-ups on hanging garments.
- Temperature Control: A good iron will have customizable temperature settings for different types of fabrics. Check for clear labeling of settings (e.g., silk, cotton, linen) or a digital display, as this helps you avoid damaging delicate fabrics. You’ll need the ability to set low temperatures for synthetic fabrics and high heat options for natural fibers.
- Soleplate Material: The soleplate, or base, of the iron impacts how smoothly it glides over fabric. Stainless steel and ceramic soleplates are popular choices because they distribute heat evenly and resist sticking. Stainless steel is durable and scratch-resistant, while ceramic can offer a gentler glide. Avoid aluminum soleplates as they can scratch and snag over time.
- Weight and Ergonomics: An iron that feels balanced and comfortable in hand reduces fatigue during extended pressing sessions. Lightweight irons are easier to maneuver, but a slightly heavier model may press more effectively with less effort.
- Cord: Check that the cord length is adequate for where you want to locate the iron. It’s best to plug the iron directly into a wall outlet; however, if you choose to use an extension cord, make sure the cord is not only rated for the power requirements of the iron, but that the iron is the only thing plugged in to the extension cord. Note that the cord position is important as well, especially if you are left-handed.
- Water: Check to be sure the water tank is easy to fill. If you decide on a gravity-feed tailor’s iron, do you have room for the tank? Research many brands before making your decision.
Ironing Surface
Your ironing surface can be a table, chest top, or a traditional ironing board. It should be padded and covered with a cotton cover. Note that 100% unbleached cotton or teflon are often the best choices. Note that teflon or other “silver” type covers can trap or reflect heat, potentially causing damage to delicate fabrics
DIY Ironing Board Cover
If you can’t find a cotton cover in the store, buy cotton ducking, drill cloth, or white denim.
- Trace the shape of the ironing surface onto the cloth.
- Add approximately 2 to 3 inches on all sides of the outline, then zigzag or serge over twine or small cording for a draw-string casing.
- Position the cover and pad on the surface, pull the cord tightly and secure it. The padding should have some “give” to it but should not be too spongy or soft.
- Note that cotton batting (Warm and Natural is often recommended) or even an old woolen blanket work well for the padding. Many seamstresses swear by Insul-Brite with has a foil layer to provide heat protection and reflection but you still should consider a layer of batting with this as well.
Seam Rolls
A seam roll or alternatives can be used for pressing seams either open or to the side. The seam is pressed flat first (melded) and is then positioned over the cylindrical shape. Because it is curved and the iron is flat, the only point of contact is at the stitching line so the seam allowances fall over the edges and are not mashed into the garment, thereby eliminating any ridges or impressions.
Press Cloths
A variety of press cloths are also needed.
- A see-through cotton cloth is needed for fusing interfacings and general pressing. These can be purchased in the notions section of fabric stores, or you can make your own with 1/2 yard of batiste, broadcloth, or sheeting. That can make two good-sized press cloths. It’s a good idea to label one “fusing cloth” and the other “pressing cloth.” Then you don’t risk getting residue from fusible interfacings onto the right side of your garment. (Here is where the alphabet feature of a computerized sewing machine is handy.) Just make sure that your label won’t transfer with heat and/or steam.
- A heavy cotton cloth, like drill or denim, is good for setting creases or when a lot of heat and steam are needed, as it will create a barrier preventing fabric damage.
- A piece of wool is good to use as a press cloth on woolen fabrics.
- A scrap of the fabric in use can also be utilized.
Point Presser
Until you can get a point presser/clapper or similar tool, a bamboo or wooden point turner will help you press points. Insert it into the corner or point of a collar, lapel, jacket edge, etc., and press the seam open with the tip of the iron. Be careful not to press the edges of the seam allowances to prevent imprints. It is easier to press the seams open before trimming.
Pressing is more than a finishing touch—it’s a skill that enhances the overall quality and durability of garments. With the right techniques and tools, pressing elevates homemade pieces to a professional standard, ensuring a crisp, tailored look that lasts.
- Unplug an iron before refilling the water tank.
- Don’t use water that has comes from a home water-softening system as the added minerals could harm the iron and possibly even your garment.
- Drain the water from the iron when you’re finished using it and while the iron is still hot to prevent pitting of the soleplate.
- Tap water leaves behind mineral deposits that can clog the iron’s steam and spray mechanisms. Some steam irons have a self-cleaning function that blows out sediment at the touch of a button. If your iron has this feature, use it after every ironing session. Otherwise, use a commercial steam iron cleaner or flush the tank with a 50-50 solution of white vinegar and water at the first sign of sediment. If you find that your iron needs frequent cleaning, try using distilled water instead of tap water.
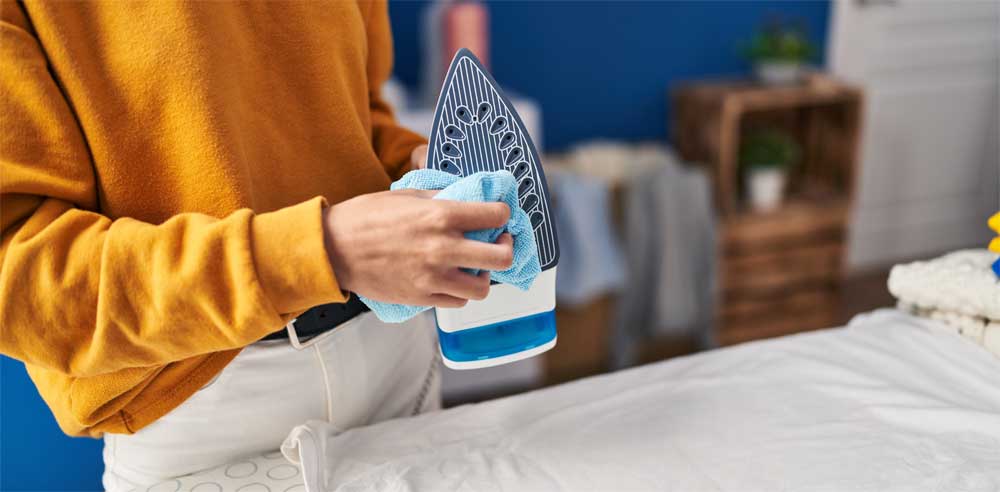
- Clean any buildup off of the soleplate with a sponge and a soleplate cleaner. A mild detergent with baking soda and water also work. Make sure to keep any cleaner out of the steam vents and never immerse your iron in water.
See our other articles on Pressing & Ironing


