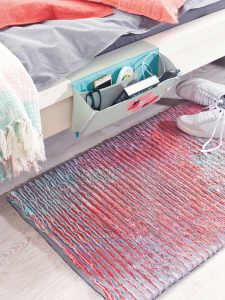
If you love the look of vintage chenille fabric, you can easily duplicate that look for any of your projects. The technique involves layering fabrics, stitching, cutting and fluffing, and the resulting fabric is suitable for garments, quilts, pillows, etc. It’s warm because of the multiple layers, and it’s comfy with a fluffy texture.
Choosing Fabrics
Chenille works best with fabrics that aren’t too tightly woven. Looser weave fabrics, like gauze and homespun, will produce more fringing. Quilting cottons, rayon challis and flannels are also ideal candidates, and each will produce a distinctly different looking fluff. Knit fabrics do not work for this technique. It’s a good idea to pre-shrink your choices first to avoid having the multiple layers shrink at different rates and cause distortion.
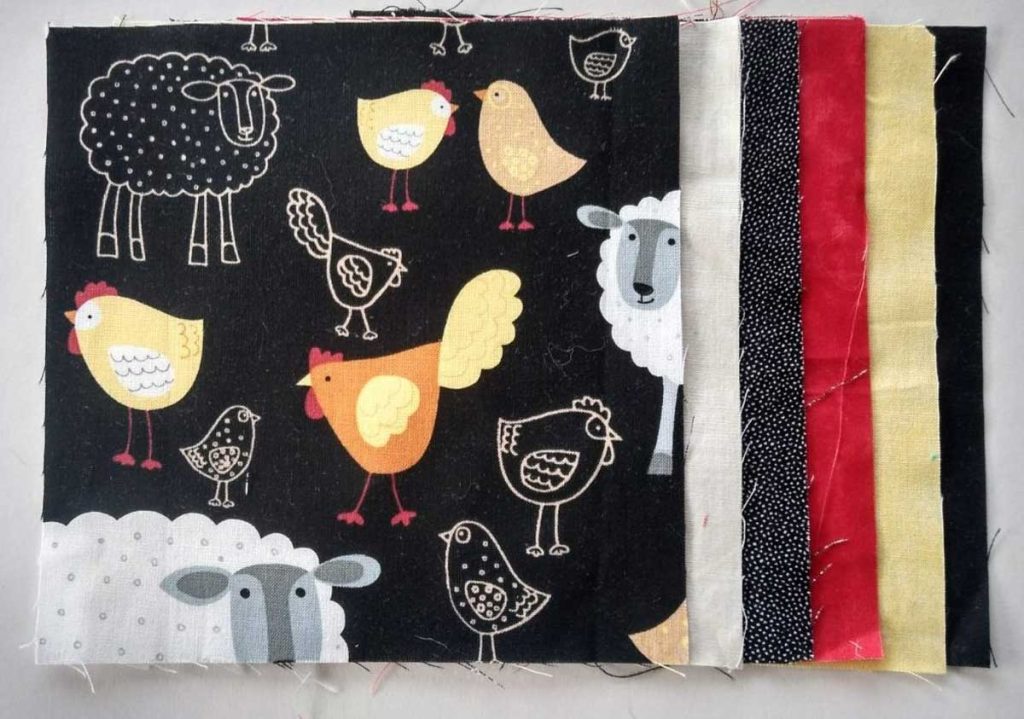
You’ll need several fabric layers—anywhere from 4-8 layers, depending on the fabric weight and the desired finished hand. The fabric layers can all be the same, or they can be different, both in color and fabric type.
Stacking Up
Cut the fabrics at least 2” larger all around than the finished amount needed. If you’re making a garment, rough-cut the pattern shapes this amount larger. Smooth the fabrics flat on a surface and layer them in the desired order with the lowest layer face down and the remaining layers face up. Note that if the top fabric is a print, it likely won’t be discernible once the piece is finished; only the bottom layer will be. If you’re making a quilt, the bottom fabric (face down) will become the quilt backing; on a garment, it will be the “lining.” However, some quilters prefer the fluffy side to be the quilt backing as it’s soft to the skin.
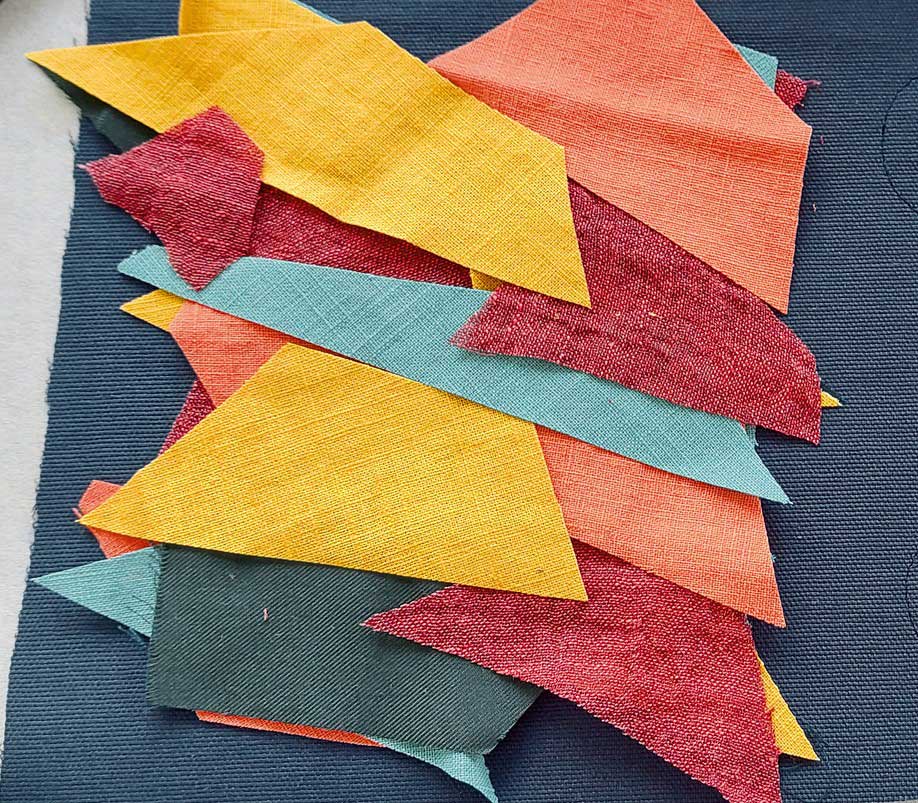
If you want a multi-color layer, arrange scraps across the surface atop another fabric layer—just overlap to avoid a gap in the finished pile.
Pin the layers together randomly to help with shifting.
Ready, Set…Stitch
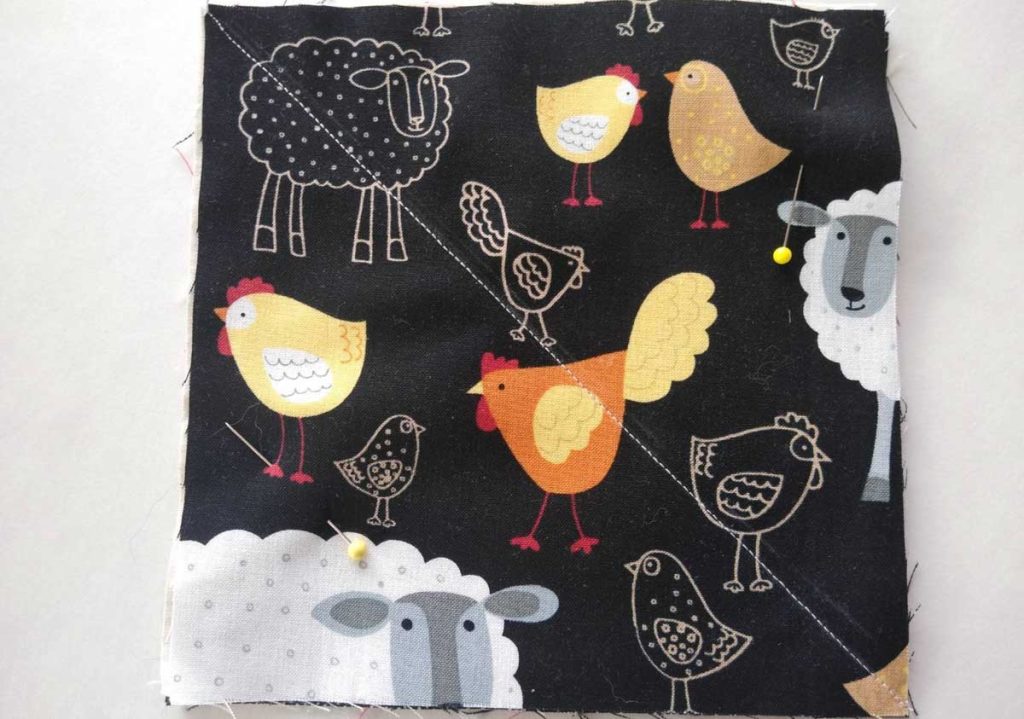
Draw a single line on the top layer of fabric at a 45° angle to one edge. On a garment, the line should be measured from the front and/or back center line, on a quilt or pillow, from the project edge. It’s important that the line is on the bias grain of the fabric.
Set the machine for a smaller than normal stitch length—2.0mm—and sew along the drawn line. Using the presser foot as a guide for spacing, sew parallel lines across the entire fabric piece 3/8”-1/2” apart.
Using a walking foot or dual feed will help keep the layers feeding evenly, but don’t worry if they shift a little, as it won’t affect the outcome of the project.
Cutting Up
If you’re making a quilt, now is the time to square it up and trim off the excess fabric. Do the same for a pillow. If you’re making a garment, lay the pattern over the stitched fabric layers and cut out the shape needed.
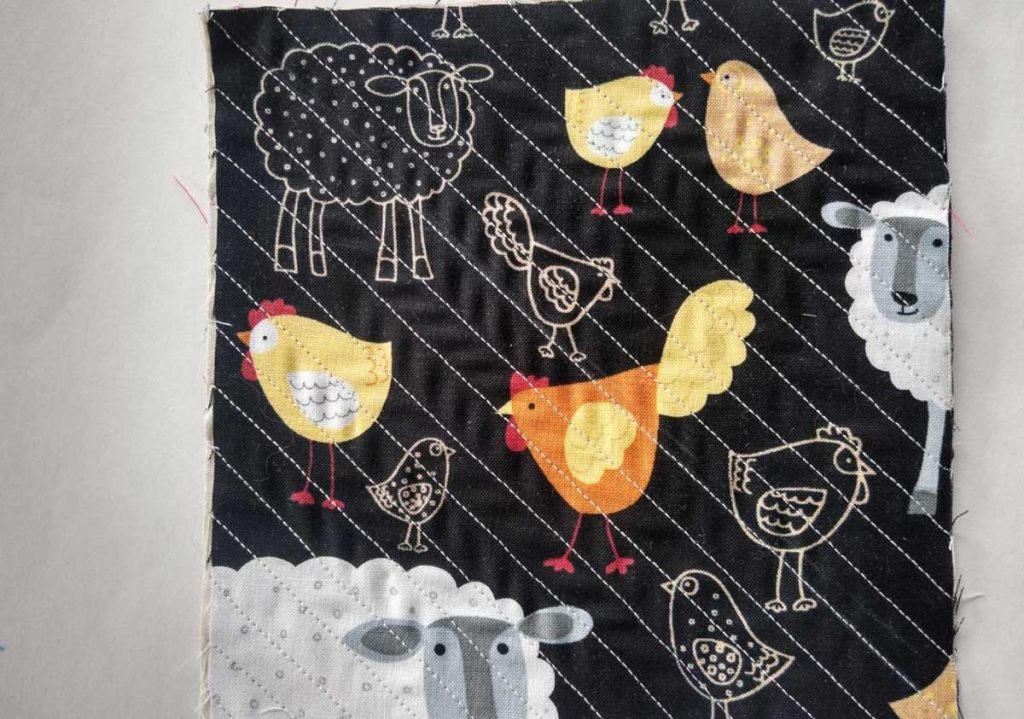
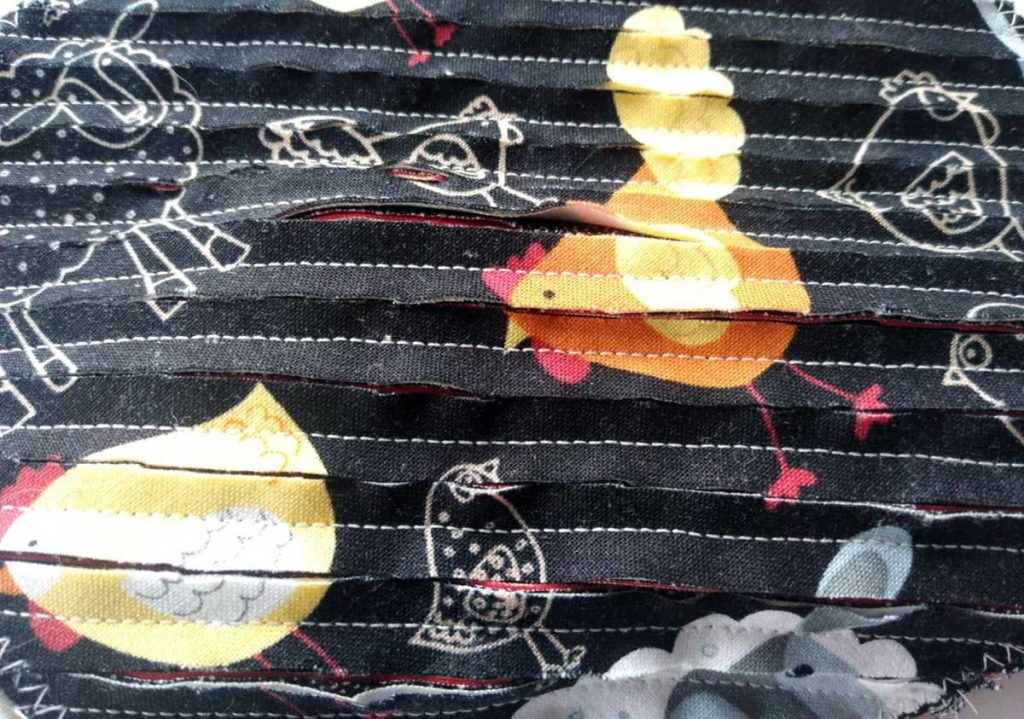
Then come the magic—slashing the channels! Without cutting through the bottom layer, use small sharp pointed scissors or a chenille or slash cutter to cut between each line of stitching.
A Slash Cutter, like this one from Clover, is a great tool to use for this step. The Slash Cutter is available at your local retailer or can be purchased on Amazon. (We may receive a small commission at no additional cost to you if you purchase via our Amazon link).
Once all the channels are slashed, use a large zigzag to stitch around the edges of the piece.
Finishing Up
Once the chenille process is complete, make the project as you normally would. For garments, the backing fabric can act as a lining and seam allowances can be bound or strapped to hide the rough edges. It’s best to avoid the extra bulk of a facing or hem, so bind garment edges instead of conventional construction.
Into the Wash
Throw the finished project into the washer and dryer as you would normally care for the fabric type. Adding a bath towel helps with fringing by providing an abrasive surface during agitation.
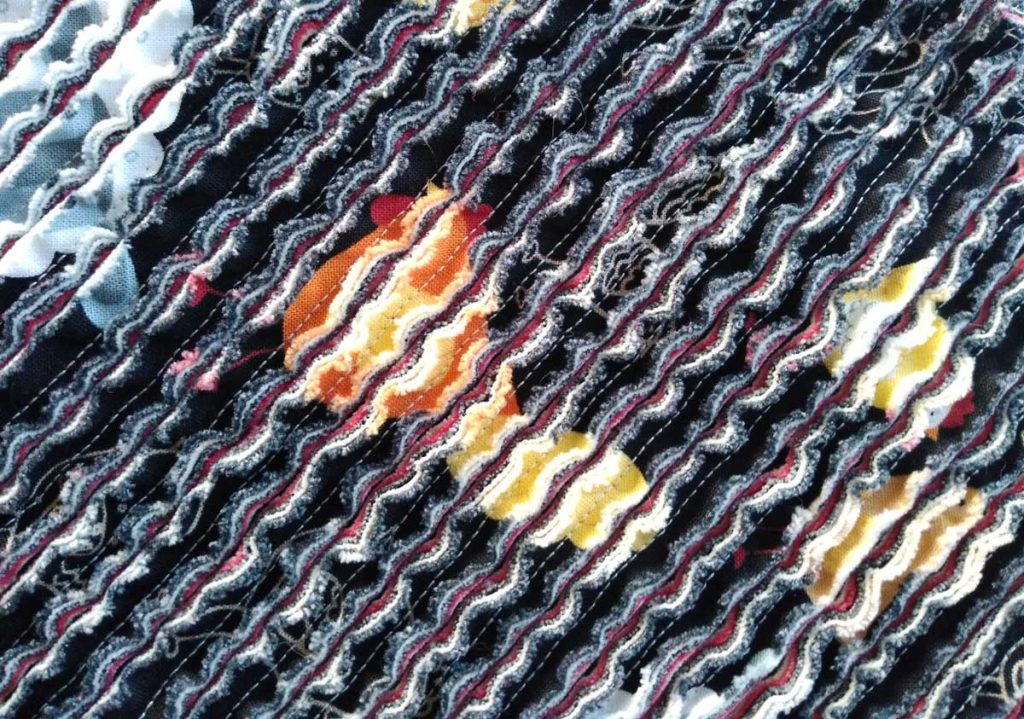
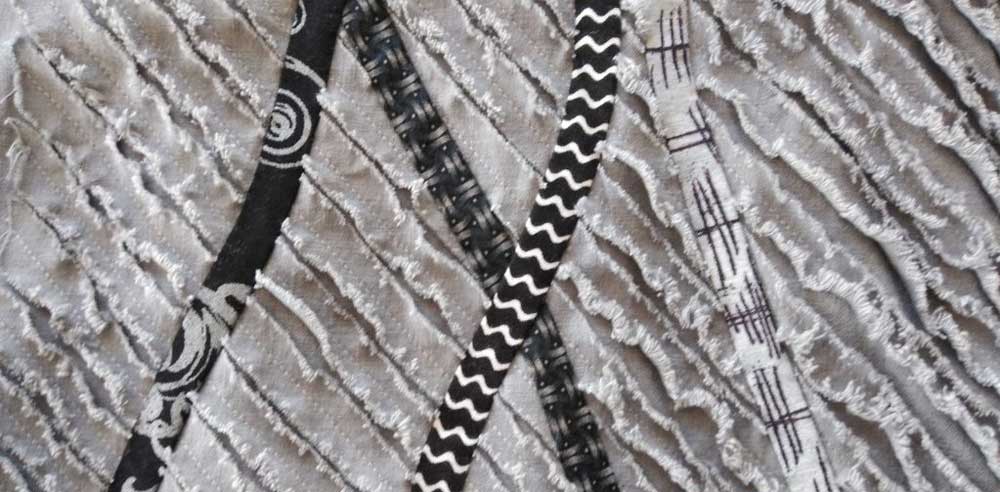
When the piece comes out of the dryer, it should be fluffed and chenille-y looking. If it didn’t fluff as much as you’d like, brush the surface with a stiff nylon brush or a chenille brush to add more richness.
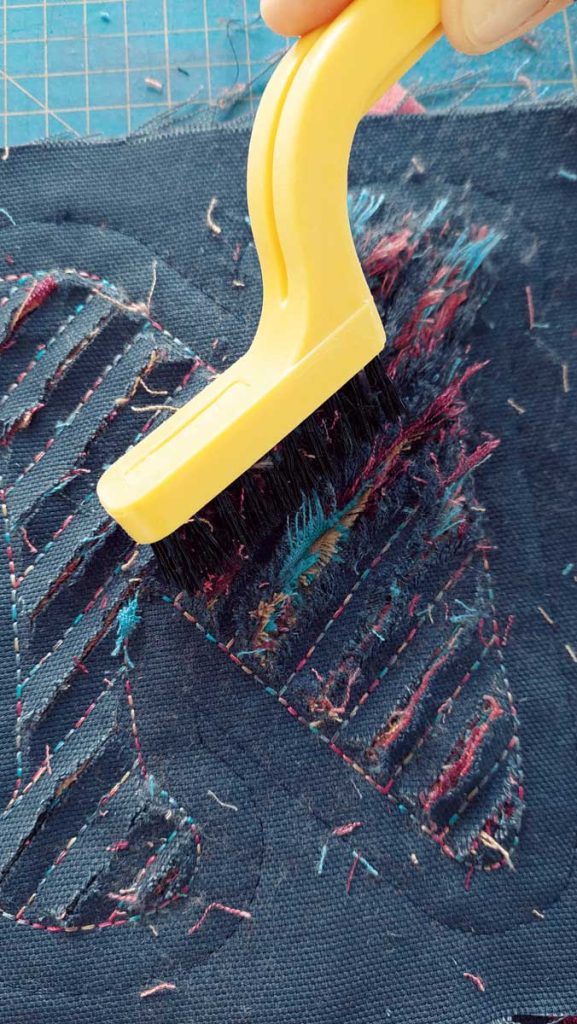
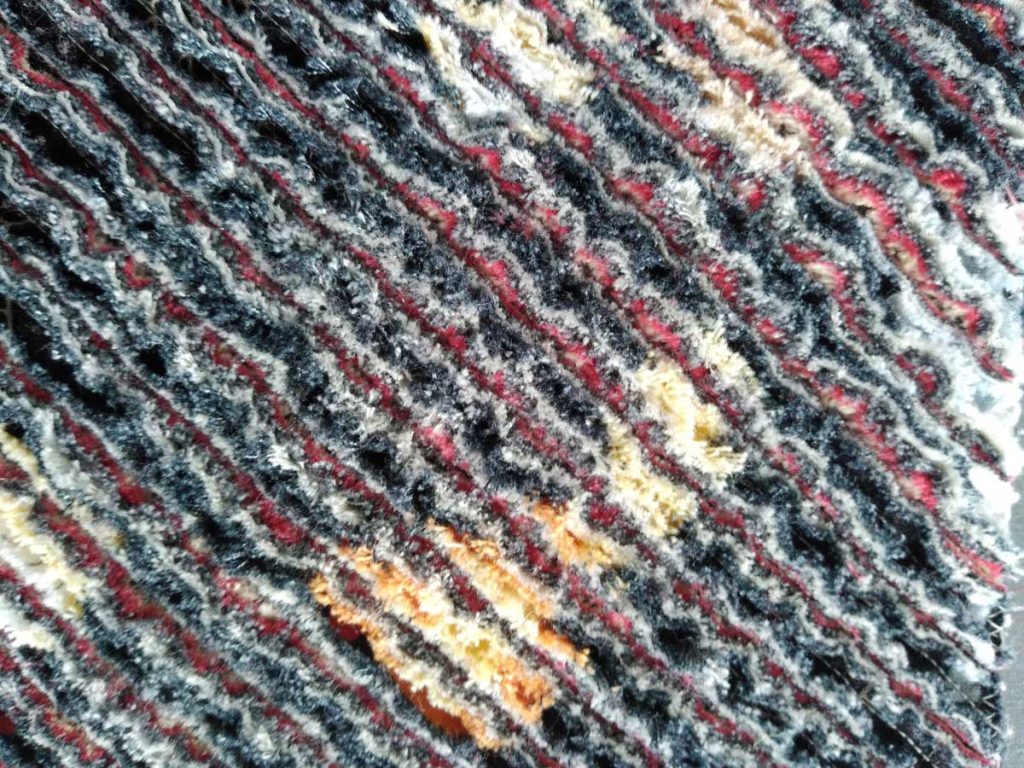
Time for Play!
Make some test samples before starting your project:
- Experiment by stacking the same fabrics in differing orders and see the difference in the finished looks.
- Use a different number of layers to vary the fringed looks.
- Stitch different width channels. You can go all the way up to 1” apart, but the backing fabric shows through at the larger widths…not necessarily bad, just a different look.
- Work with all the same color solid fabric for a seriously plush look.
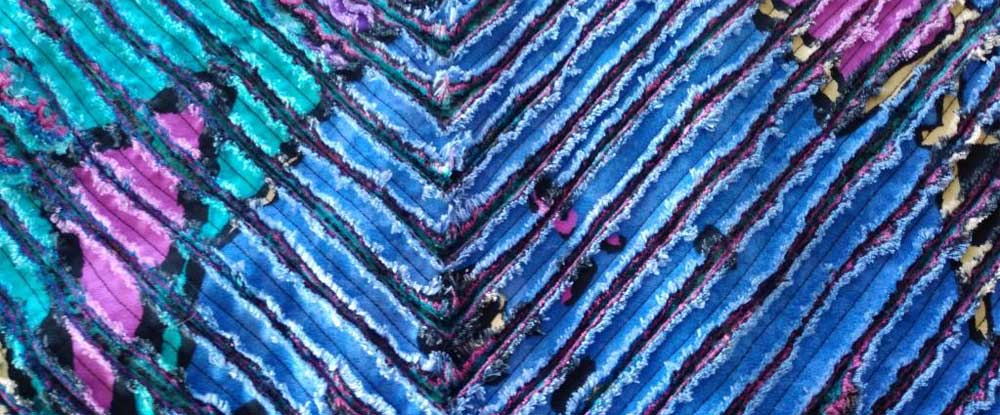
- Change line direction to form a chevron—but keep the lines at a 45° angle to the fabric grain.
~Linda Griepentrog is the owner of G Wiz Creative Services and she does writing, editing and designing for companies in the sewing, crafting and quilting industries. In addition, she escorts fabric shopping tours to Hong Kong. She lives at the Oregon Coast with her husband Keith, and three dogs, Yohnuh, Abby, and Lizzie. Contact her at .


