You’ve spent hours, days or weeks (OK, maybe years) tediously piecing your quilt top. It’s layered, basted and ready to go. It doesn’t matter if it’s a traditional look or totally mod, the next step toward the finish line—how to quilt it.
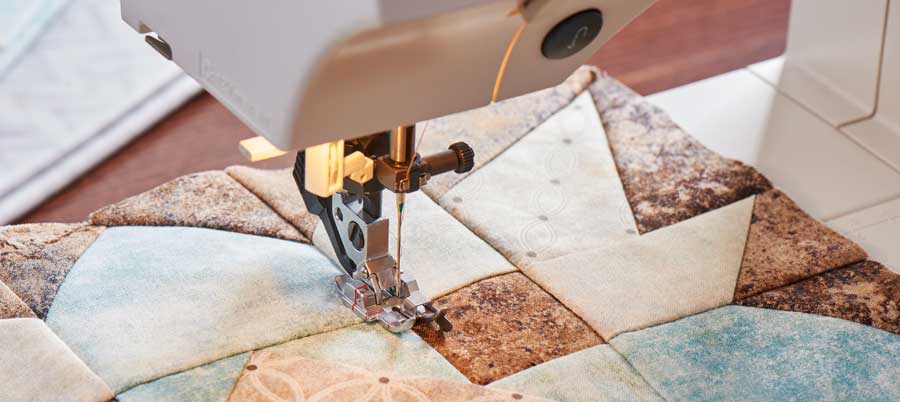
You can, of course, hire a longarm quilter to do it for you. You can free-motion quilt it from edge to edge. Or, you can use your walking foot to quilt it. Let’s take a look at a few walking-foot options.
Stitch-in-the-Ditch Quilting
When you constructed your blocks, you probably pressed the seam allowances in one direction, perhaps so they could nest with adjoining seams and because it makes a stronger seam than pressing them open. With the seam allowances pressed in one direction, it creates a “well” in the seam—a small indentation. That’s the perfect location to stitch through the three layers of your quilt (top, batting, backing).
Stitch-in-the-ditch quilting can be done with transparent thread, either smoke or clear, or with a thread color to coordinate with adjacent pieces. Choose a bobbin color that coordinates with the quilt backing. This type of quilting is an ideal way to hold the layers together without creating new design lines and it lets you highlight the piecing itself. Stitch slowly and stay in the ditch.

If you have a machine with an adjustable needle position, try moving the needle to exactly sit in the ditch of the seam for invisible stitching.
Echo Quilting
If stitching in the ditch seems a bit scary, think about echo quilting. This process uses the presser foot width to keep your quilting lines an even distance from the piecing seams—it’s akin to topstitching on a garment. This simple method allows you to highlight the shapes you’ve intricately pieced, and it’s a great way to hold the layers together.

ANCHORING THREADS: If you’re doing either stitch-in-the-ditch or echo quilting, it’s likely that you won’t be starting and finishing your stitching in a place where you can simply cut the threads. You can start and end your stitching sections by shortening the stitch length to near zero to anchor the threads. If you opt not to do that, then simply pull the top threads to the underside, knot them, thread the ends into a needle and bury them in the quilt layers.
Channel Quilting
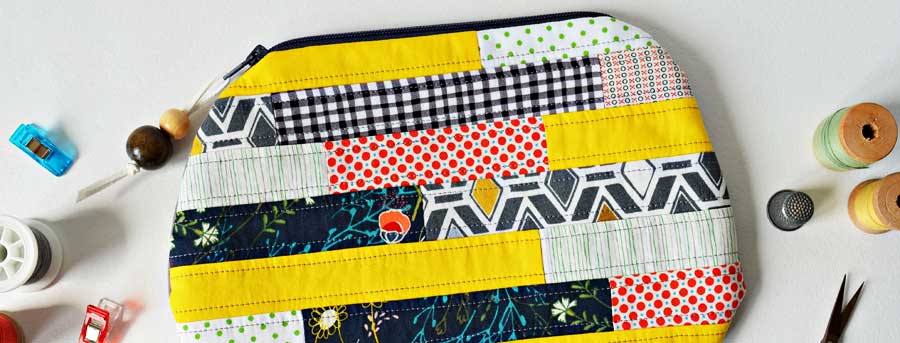
Some designs work well with overall quilting parallel rows of stitches. It’s fun, easy and pretty quick to complete. The channels can be spaced as desired, but a simple way is to use the presser foot width as a guide for the row spacing. Mark the first stitching line in the center of the quilt, then work outward from the center to the left and the right. For a more artsy look, vary the spacing of the stitching rows. If you want them further apart than the presser foot width, use a quilting guide for spacing.

Tape Tricks

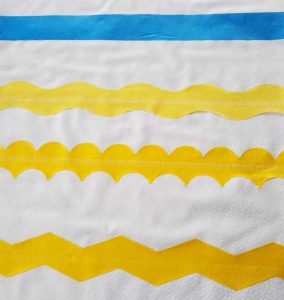
If you’re looking for a quick and easy, no-mark method to prep your quilt, look no further than the paint aisle of your favorite home improvement store. Painter’s tape is designed to mask edges and trim when changing the color of a room, but quilters have taken it to another level. The low-tack tape is available in several widths, and some shapes (scallops, zigzag and waves) and it’s perfect for “marking” quilting lines on your quilt sandwich.
Adhere the tape strips in the pattern you’d like to quilt—parallel lines, diverging lines, crisscross patterning or even diamonds or triangles. Finger-press the tape in place and you’ve got a perfect edge to follow with your stitching. Stitch your first line along the tape edge or a presser foot width away, and subsequent stitching lines using either the presser foot width for spacing, or a quilting guide for wider spacing. You can stitch on either the inside of the tape, outside or both.
When you’re done stitching, simply pull off the tape—there’s no residue. If your lines go edge to edge, there’s no need to secure the threads, as they’ll be caught under the binding. If shapes are within the quilt, tie off the threads as noted above.
~Linda Griepentrog
Linda is the owner of G Wiz Creative Services and she does writing, editing and designing for companies in the sewing, crafting and quilting industries. In addition, she escorts fabric shopping tours to Hong Kong. She lives at the Oregon Coast with her husband Keith, and two dogs, Yohnuh and Abby. Contact her at gwizdesigns@aol.com.


