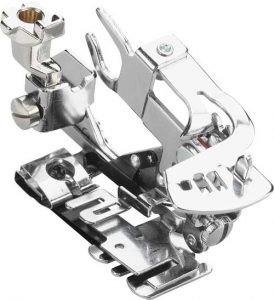
 If you dig deep into the drawers in your sewing cabinet, you might find a rather strange looking attachment called a ruffler. This funny looking attachment hasn’t changed much in the decades since its invention—perhaps yours is generic or maybe brand specific.
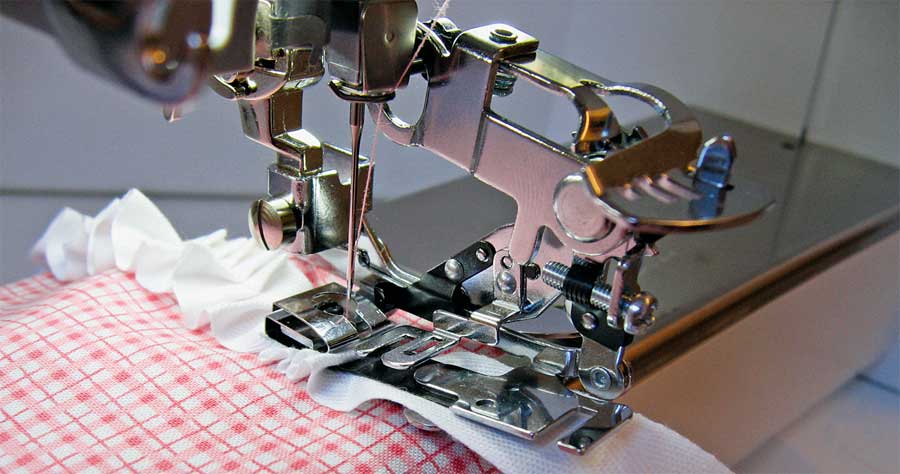
If you’re not a fan of pulling up basting threads to gather, the ruffler will be your new BFF, as it can both precisely gather and make perfect pleats and tucks. In addition, it can do those tasks while attaching that layer to a flat base fabric—all at once.
Sew Many Parts
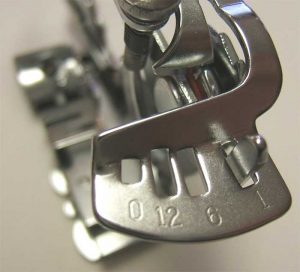
The ruffler attaches to your machine like other presser feet. Several parts are the secret to successful ruffling, so double check your owner’s manual for their location on your attachment. The fork arm that has to be positioned over the needle bar to enable the ruffler to do its work. In addition, there is a depth adjuster (either a screw or a dial) and it controls the depth of the gathers or pleats. There’s also a spacer that works in conjunction with the depth adjuster to count stitches and determine the fullness spacing. On most rufflers, the spacer has number designation like 1, 6, 12 or 0. If it’s set to 1, there will be a tuck every stitch; if it’s set to 6, there will be a tuck every sixth stitch, etc.
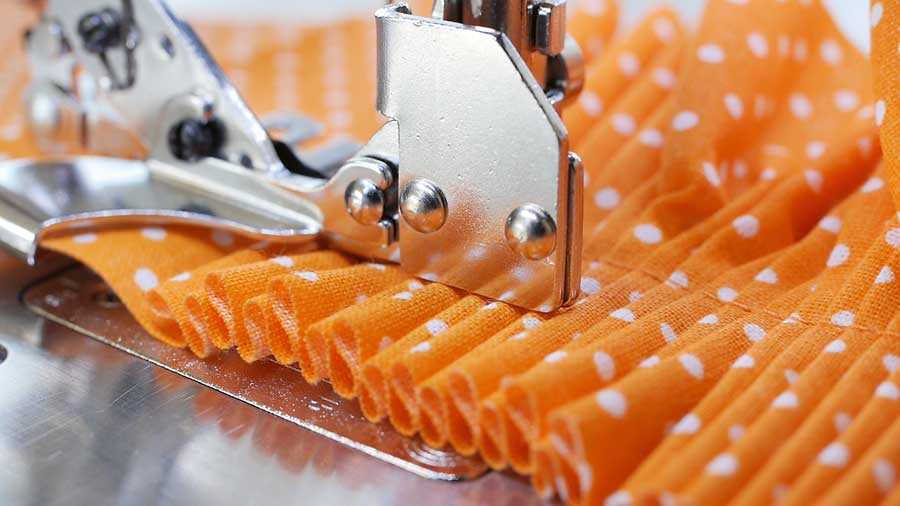
The ruffler has a blade with tiny sharp teeth to move the fabric and there’s also a separator blade to keep the ruffling separate from any base fabric you might be attaching it to. Most rufflers offer several threading guides to allow for proper positioning of the stitches from the ruffle raw edge.
Stitch Length
In addition to changing the ruffler depth and spacer settings, note that the ruffles, pleats and tucks are also determined by the stitch length setting. So, because of all the variables associated with this attachment, it’s imperative to test stitch to get a look you like. Make some samples using your project fabric and vary the stitch length, but keep the depth the same, and keep the stitch length the same, but vary the depth.
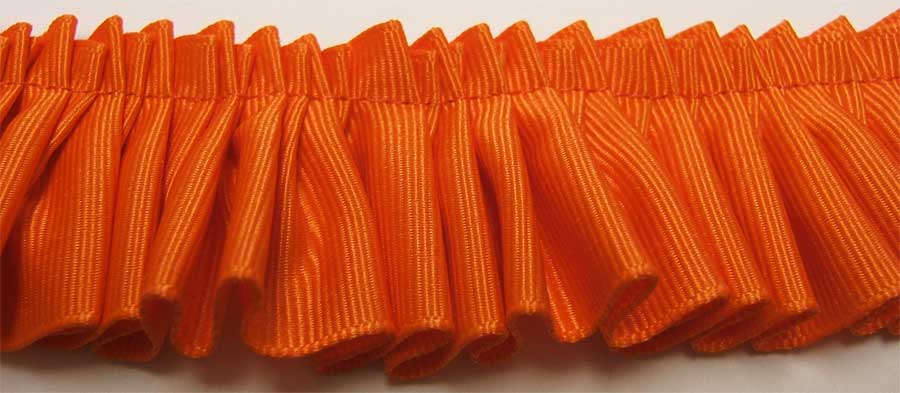
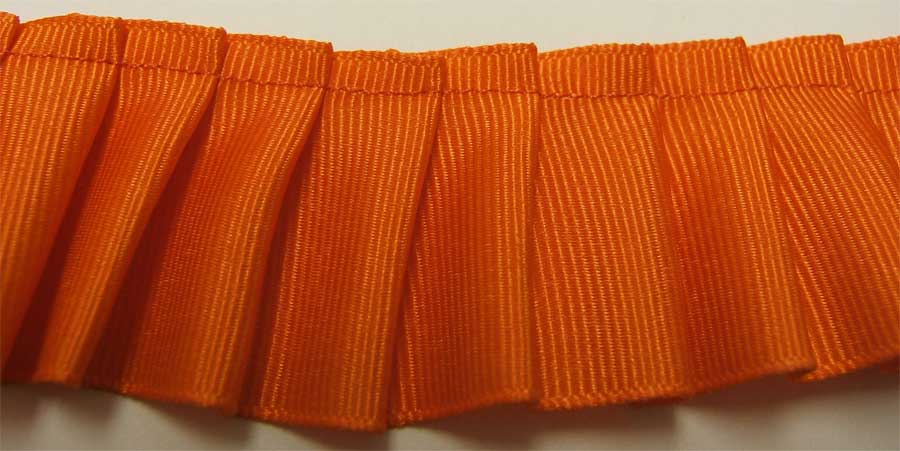

Planning Ahead
- Unlike using gathering threads, the ruffler’s fullness is not adjustable once it’s stitched, so test stitching is important for each project, as the fabric weight can affect the outcome as well.
- Be sure to finish the edge/edges of the fabric you’re ruffling prior to running it through the ruffler. Ruffles can be single- or double-layer depending on the fabric weight. If you’re attaching the ruffle to a base fabric in the same operation, wait to finish the edges together after the application.
- Because the ruffler allows you to create yards of tucked, pleated or gathered fabric quickly, it’s ideal for big projects like curtain ruffles, costumes, full skirts, pillows, etc.
- Make yourself a sample notebook using various fabrics and various ruffler settings so you have a starting place for future projects, and a good reference for how the look changes with numerous adjustments. And, it goes without saying, that you’ll want to consult your owner’s manual and the attachment instruction book for complete details of the operations and settings on your particular machine.
~Linda Griepentrog
Linda is the owner of G Wiz Creative Services and she does writing, editing and designing for companies in the sewing, crafting and quilting industries. In addition, she escorts fabric shopping tours to Hong Kong. She lives at the Oregon Coast with her husband Keith, and two dogs, Yohnuh and Abby. Contact her at .


