With the holidays approaching, you may want to make something special to wear to a dressy get-together, and velvet or velveteen could be the answer to your quest for something wonderful. Never sewn with these beautiful pile fabrics before? The helpful hints in today’s blog article will guide you down the path to success.
Fit to be Tried
Since both velvet and velveteen can be expensive, it’s a good idea to use a pattern that you know fits you. If in doubt, make a muslin first to check for any needed alterations and adjust the pattern accordingly.
What’s the scoop?
The terms velvet and velveteen are often used interchangeably, but they’re not the same. Both have pile—fibers that stick up from the backing surface—but other fabrics also fall into the pile fabric category.
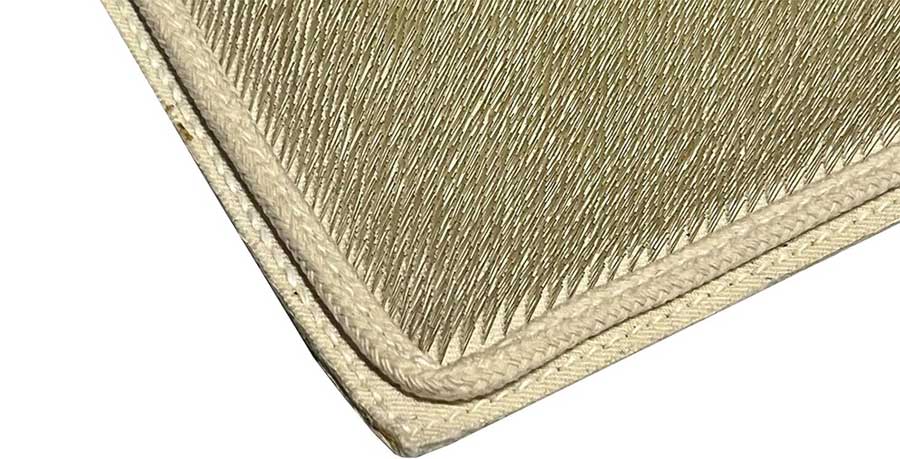
Velvet is soft, drapey and has an elegant sheen resulting from its high pile. It can be smooth or have a variety of textured surfaces. Velveteen is stiffer with a shorter, dense matte-finish pile. Velvet can be made from silk, rayon or other synthetic fibers, while velveteen is most often made from cotton. Both fabrics have a woven backing.
Sewing with Pile Fabrics
- Whether you’re sewing with velvet or velveteen, the sewing and cutting principles are similar—and perhaps different from other fabrics you’ve sewn as they require extra care. Choose a pattern with simple lines and not too many seams. The fewer seams a garment has, the easier it will be to create. Set-in sleeves can be a challenge, so opt for raglan or cut-on for easier sewing. Avoid buttonhole if at all possible, and opt for closures like buttons and loops.
- Pile fabrics have nap, meaning that all pattern pieces have to be cut in a single direction to avoid color shading, so be sure to follow that layout on the guide sheet.
- Pin marks can be permanent on pile fabrics, so pin only within the seam allowances. Another option for an even better hold is pattern weights. With a raised fabric surface, it’s easy for pieces to shift. Cutting pieces single layer with the pile side down is a sure-fire way to more accurate cutting than trying to cut two layers of shifting fabric at once.
- Cutting velvet creates a mess, as the pile fibers are being cut through as well as the fabric backing. So, clean up frequently—not only your scissor blades, but the cutting surface too.
- Markings can be transferred with chalk or an air-removable fabric marker to the wrong side of the fabric. Avoid using a tracing wheel as it will permanently damage the fabric surface. For accuracy, choose tailor tacks for marking interior details like darts or pleats.
- Choose a sharp-tip needle, in a weight compatible with the fabric.
- Always opt for sew-in interfacings, as velvet and velveteen cannot tolerate fusible products.
Foot Notes
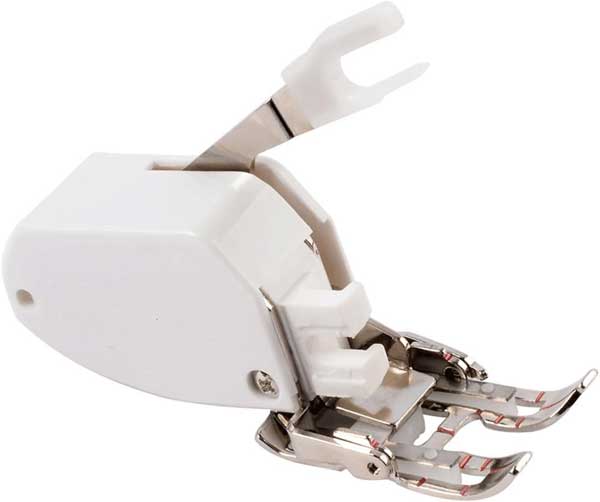
Because velvet and velveteen have pile, it’s difficult to keep pieces in place while stitching. Use a walking foot if you have one, but test-stitch first to be sure the foot doesn’t leave track marks along your seam. If it does, layer tissue paper top and bottom spanning the seam allowance.

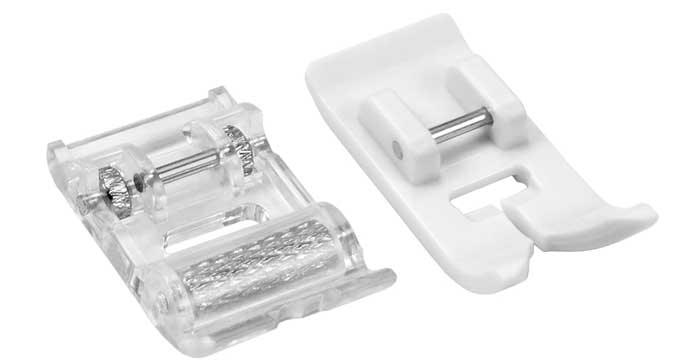
Other options for presser feet include a roller foot or a non-stick foot for seaming. Both can help reduce slipping while stitching. Hand-basting is another option to use prior to machine stitching.

Fear not, velvet and velveteen will inevitably “creep” as you sew, but test-stitch some scrap samples to devise a plan to mitigate that process and produce a pucker-free seam. You may find that you need to adjust your thread tension or the presser foot pressure to create a smooth seam.
On most velvets, no seam allowance finish is needed as it only adds bulk. If you have a ravelly velvet, use pinking shears on the seam allowance edges to minimize the fraying, or a three-thread serged edge.
Press Carefully
Press very carefully, if at all, as iron marks cannot be removed from velvet, but rather leave permanent imprints. If you feel compelled to press pile fabrics, lay them face down on a padded ironing surface covered with a thick terrycloth towel, a face-up piece of velvet, or a needle board, a tool specifically designed for this purpose.

Hover the iron over the seamline, but do not allow it to touch the velvety surface or the seam allowance edges. The latter can easily imprint onto the right side of the project.
Steam can be your friend if you insist on pressing velvet but watch the temperature on synthetic fibers and only hover the iron to create the steam in the area needed.
~Linda Griepentrog is the owner of G Wiz Creative Services and she does writing, editing and designing for companies in the sewing, crafting and quilting industries. In addition, she escorts fabric shopping tours to Hong Kong. She lives at the Oregon Coast with her husband Keith, and three dogs, Yohnuh, Abby, and Lizzie. Contact her at gwizdesigns@aol.com.


