Do you showcase your DIY projects at craft sales or bazaars, make things for charity, or make dozens of handmade items for gifts? No matter what time of year, making multiples of the same or similar item can be simple and quick with a few helpful hints.

Streamline your pattern. If you’re making lots of hats, for example, create a tagboard pattern you can trace around. Not only does this save wear and tear (and shredding) of tissue paper patterns, but it’s more accurate for cutting. It doesn’t matter if the fabric colors are the same, as long as it’s the same item being cut.
Simplify the design. Depending on the project, you may be able to change up the design a bit to save time. For example, instead of creating tedious narrow hems on something, could you bind the edges with bias tape instead? Instead of finishing seams, like on a gift bag, could you add a simple lining to hide seams and add a bit more body?
Rotary cut multiple layers. Depending on the project and the fabric, you may be able to stack fabrics and cut six or so layers at one time with a good rotary cutter.
Choose a neutral thread. If you’re making lots of items in different colors, avoid constantly changing threads by using a neutral. White, off-white or light gray work for seaming light colors, and navy, black or dark gray blend with dark colors. If your project has topstitching, you may want to use thread to match the fabric, in which case, stack up similar colors and do the matching stitching at one time.
Bundle components. If your project requires elastic, for example, pre-cut the number of lengths needed before you start construction. When it’s time to insert the elastic, it’s ready to go, without have to go back and cut for each project.
Fuse fast. Think fusible interfacing if your project requires more body. You can fuse fabric prior to cutting out pieces to avoid having to tediously match up cut edges.
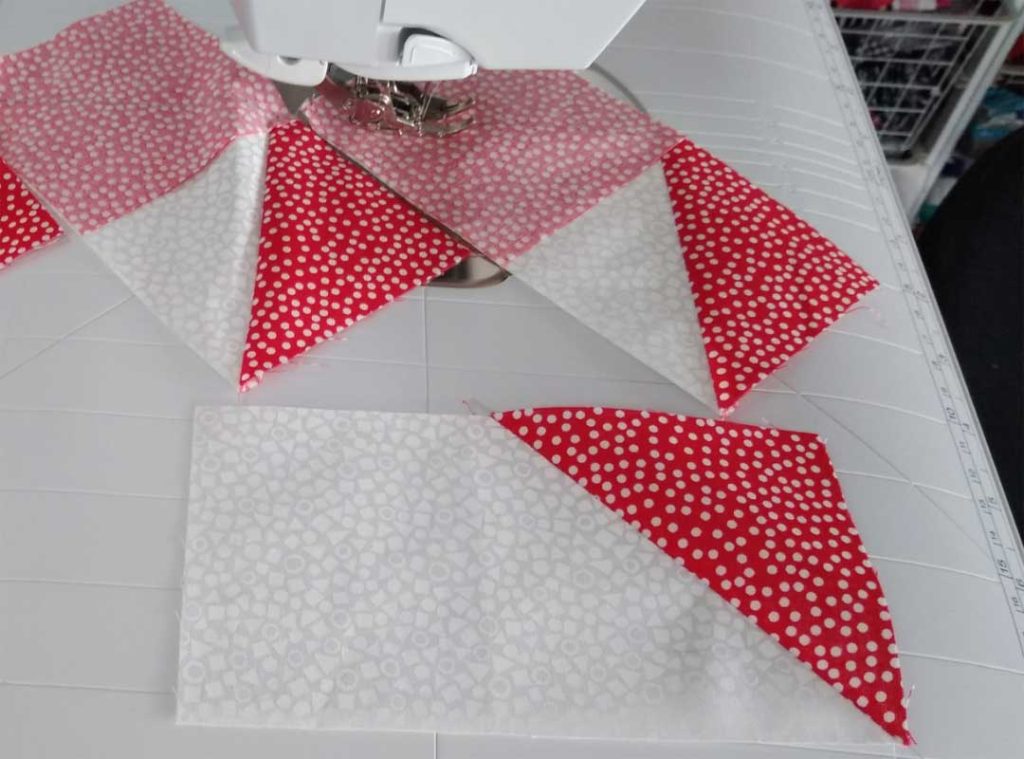
Chain sew. Continuous sewing is a technique borrowed from factories and involves sewing as many things as possible without cutting the thread. Simply feed in the next item and go, letting completed units trail out the back of the machine. Not only do you save thread, but also a lot of time. Once a task is done, simply clip apart all the pieces and move onto the next step.

Sew without pins. Take a lesson from factory workers and learn to sew without pins. The task of stopping to remove pins as you approach them takes time and slows your speedy construction methods used for sewing multiples.
If you’re bored making the same item, play a game. It makes the time go faster if you challenge yourself to accomplish a certain task within a time frame. For example, if you finish x quantity of y task by 1pm, you can reward yourself with a break and a cup of your favorite beverage. (Warning: Do not drink alcoholic beverages while sewing.)
Plan ahead. Sew together small components—like ties, drawstrings, etc.—prior to constructing the item. For example, if you’re mass-producing aprons, make all the neck ties and waistline ties first before it’s time to attach them. If you’re making dozens of fleece hats, make all the pompoms first and they’re ready when you get to sewing the seam that includes them.
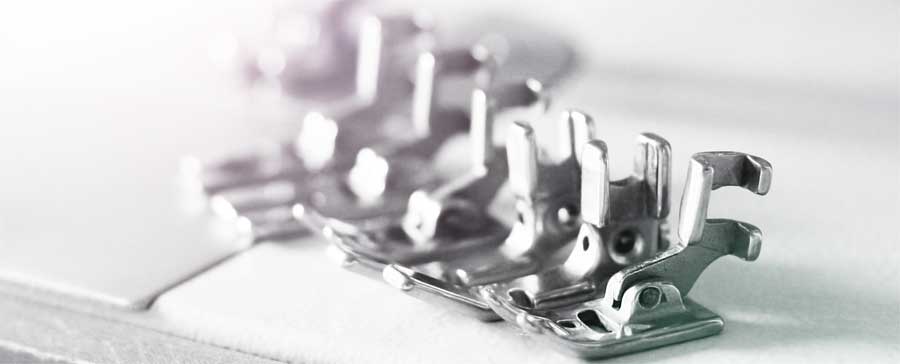
Don’t hesitate to invest. If you’re going to be doing a lot of sewing of similar items, think about what sewing machine attachments might help make your task easier. Depending on the project, you may find it’s a serious timesaver to invest in a bias binding attachment, edgestitch foot or perhaps a narrow hemming foot. If your machine doesn’t come with one, perhaps a ¼”-foot would help keep seamlines on the straight and narrow. Check with your dealer to see if there’s a machine accessory to help with specific tasks you’re facing that could speed up your work.

Keep it clean. Sewing multiples can add a lot of lint to your sewing machine bobbin area and feed dogs. Be sure to regularly brush out those areas for trouble-free sewing.
 Add an ID. If you’re a prolific crafter who sells your wares, it’s always good to add a bit of professionalism to your projects with labels or tags. It’s easy to create and print tags from the computer, as there are several templates available online. Add your business name if you have one, or simply your contact information in case someone wants to purchase another similar item. Care instructions may be noted as well, and if the project comes in different sizes, indicate the size on the tag too.
~Linda Griepentrog
Linda is the owner of G Wiz Creative Services and she does writing, editing and designing for companies in the sewing, crafting and quilting industries. In addition, she escorts fabric shopping tours to Hong Kong. She lives at the Oregon Coast with her husband Keith, and two dogs, Yohnuh and Abby. Contact her at .


