One Layer at a Time

There are times when more than one layer of fabric really isn’t necessary or desired—think bulky hems, facings, etc. Single-layer construction techniques to the rescue!
Fabric Choices
Many types of fabrics are suitable for single-layer construction, but those that are most commonly used are sheers, laces, handwovens, fleeces, boiled wools or felted fabrics, linens and double-sided fabrics (different colors or weaves on each side). The commonality in these choices is that both sides of the fabric are presentable and can show in the finished garment without anyone saying, “The wrong side of your fabric is showing.”
Obviously, densely woven or knitted fabrics are suitable for single-layer techniques, but some loosely woven or seemingly less likely candidates can also be used.
Pattern Changes
If you plan to finish the single-layer edge of your garment, mark the original seamlines along the requisite areas. The marked line becomes the new edge, using one of the techniques below. Do not trim the seam allowances.
Edge Finishes
The one place where single-layer construction is the most obvious is along the garment edge—there are no standard hems, facings or turn-backs, that add both weight and bulk to the edge, whether it be a lower hem, sleeve hem, collar, front opening or patch pocket. So, how are those unfinished edges handled? Let’s explore some options.
Cut Edges
On some fabrics, like fleece and boiled or felted wool, a simple cut edge will suffice as an edge finish. These fabrics are usually stable and won’t distort without added finishing.
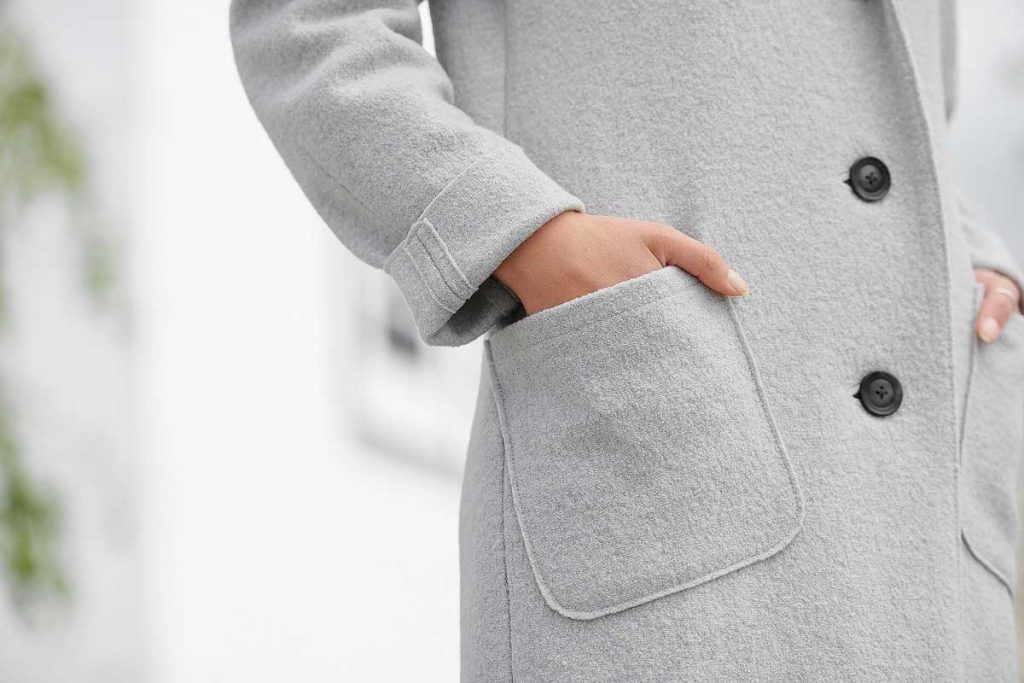
Topstitching
The cut fabric edge can simply be topstitched with one or more lines of stitching. Heavier threads can provide a nice accent to this easy edge finish.
Fringe
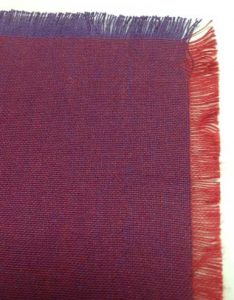 For fabrics that are loosely woven, a great single-layer finish is fringing, assuming the edge is cut on-grain, like a center front opening or collar. Sew one or two lines of stitching along the marked seamline, then carefully remove the threads up to the stitching line to form the fringe. On double-woven fabrics, or if you’re fringing perpendicular edges, you may see two different colors of threads fringe out.
Binding
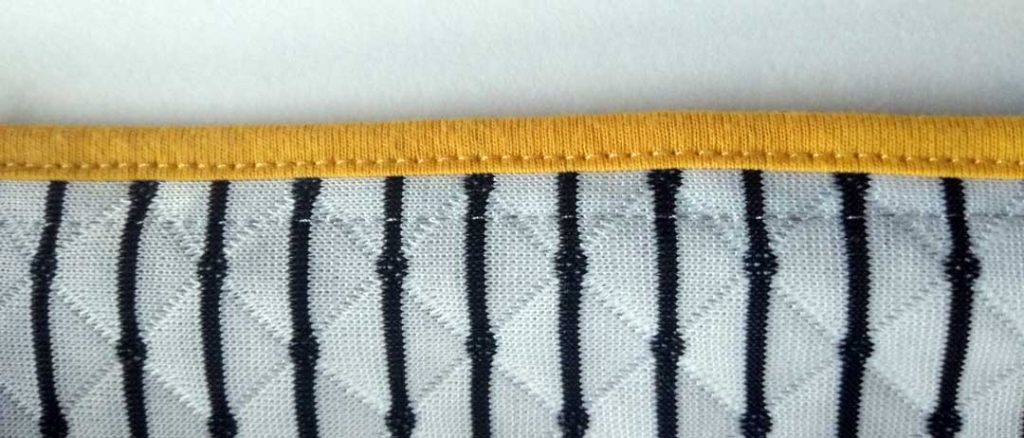
Almost any kind of fabric can be used to bind a single edge and contrast trim can form an attractive design line. On knit fabrics, bind the single edge with a knit fabric to maintain some flexibility. Use the marked seamline for attaching the binding, then trim away part of the width to create a narrower bound edge.
Fold-over Elastic
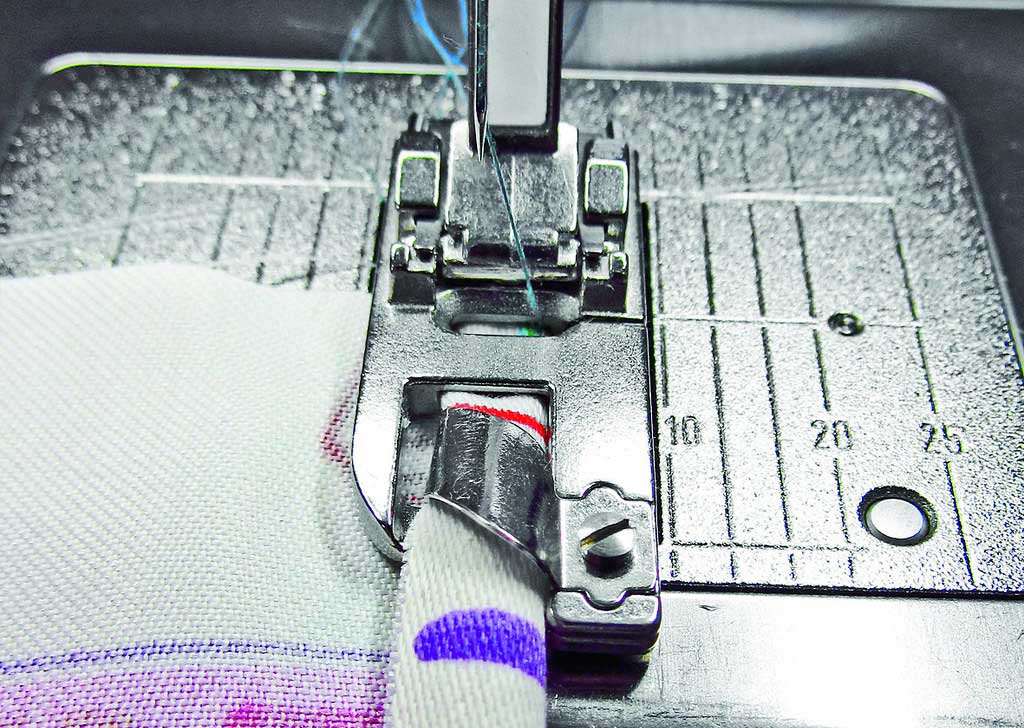
This elastic has an indentation woven into it designed to make it easy to fold in half for encasing an edge. When using this specialty elastic, trim the seam allowance off the edge that’s to be bound before applying it. A straight stitch or narrow zigzag can be used for the application, as some slight stretch may be needed in some areas, like at a neckline opening. In other areas, like a center front or lapel, no stretch is required. Fold-over elastic comes in both prints and solid colors, depending on the desired look.
Narrow Hem
On lightweight fabrics, like sheers and some linens, a narrow hem is the perfect finish for a single-layer edge. A narrow hem can be just one layer, as in turn up and finish the raw edge with a decorative machine stitch, or it can be turned twice to encase the raw edge, then topstitched in place. Either way, the narrow hem uses the garment seam allowance to finish the edge. On large expanses, a narrow hemming attachment for the sewing machine can make quick work of this finish.
Serging

One of the most common finishes for single-layer construction is a serged edge. This finish encases the raw edge and trims off the seam allowances at the same time. The stitching can be narrow or wide, depending on the desired look, and can be sewn with regular thread or one of the specialty threads like rayon for a bit of sheen. For a denser edge finish, use Woolly Nylon or Polyester thread to create a matte finish, almost braid-like look, to the edge. If both sides of the fabric will show, like on a turn-back lapel or hood lining, be sure the thread tension is adjusted so both sides of the stitching look the same.
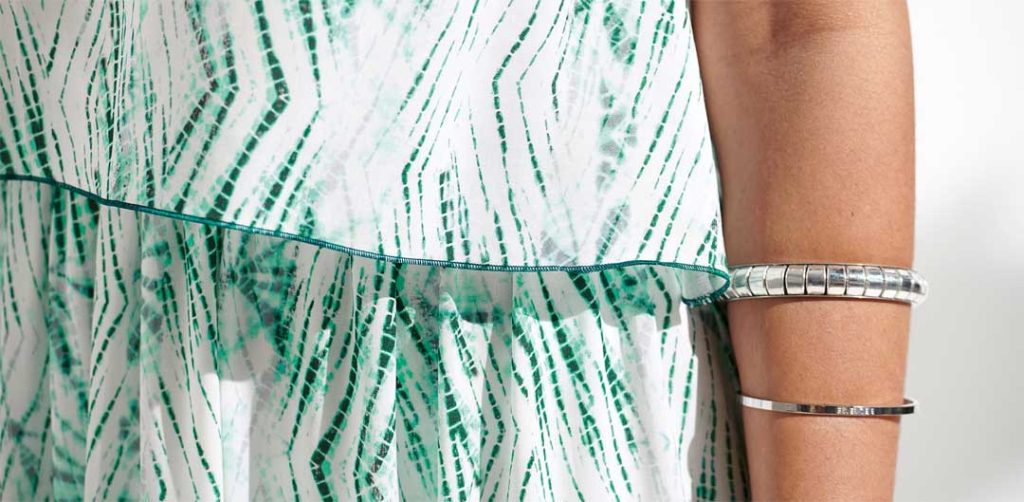
To keep edges from stretching while serge-finishing, fuse a very narrow strip of water-soluble stabilizer to the wrong side of the fabric before sewing. After the serging is complete, dissolve the stabilizer following the manufacturer’s instructions. Note that this technique works only on fabrics that can tolerate water. On other fabrics, sew a line of straight stitching along the seamline to stabilize the area, then serge over it, hiding the stitching.
~Linda Griepentrog
Linda is the owner of G Wiz Creative Services and she does writing, editing and designing for companies in the sewing, crafting and quilting industries. In addition, she escorts fabric shopping tours to Hong Kong. She lives at the Oregon Coast with her husband Keith, and two dogs, Yohnuh and Abby. Contact her at .


