Tired of hunting for the right stabilizer every time you tackle an embroidery project? This project is a great way to keep them clearly identified and within easy reach. Carmen DePalma, a talented educator and ASG member, originally created the organizer for the Marathon Thread Company and has shared it with us.
 Sturdy Home Dec, Denim, or Canvas Fabric*
- 1—28″ x 60″ rectangle for the base
- 7—20″ x 10″ rectangles for the pockets
- 1—12″ x 4″ strip for the hanging loops
Additional Supplies
- 77″ of 1″-wide ribbon
- Fusible web, such as Steam-A-Seam (optional)
- Glue stick (optional)
- 2 Over-the-door hooks if hanging on the back of a door
*If you prefer to use a lightweight fabric, you will also need:
- 1—14″ x 60″ piece of batting or fusible interfacing for the base
- 7—20″ x 10″ rectangles of fusible interfacing for the pockets
- 1—12″ x 14″ strip of batting for the hanging loops
Prepare the Pockets
For lightweight fabric, fuse interfacing to the pocket sections before you begin.
- On each pocket section, machine embroider* the name or type of stabilizer you will store in this pocket, centering the lettering approximately 5″ below the top (10″) edge. If your machine doesn’t embroider letters, use a fabric pen to print the names.
- Serge-finish the long edges of each pocket section or press under 1⁄4″ twice and fuse or topstitch in place.
- Fold the pocket in half crosswise and stitch or serge the 10″ edges together. (Note: This edge will not show on the finished holder.) Do this for all seven pockets.
Construct the Hanging Loops
- Fold the long edges of the loop strip 1⁄2″ under and press. With wrong sides together, fold lengthwise in half; topstitch close to the pressed edges.
- Cut into two 6″ long sections.
If using lightweight fabric, insert a strip of batting into each loop. This will strengthen the loop and help support the weight of the holder.
Position the Loops
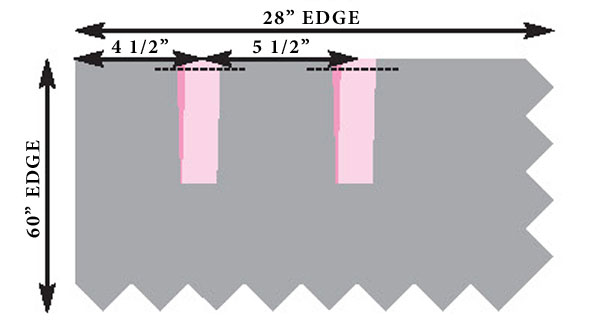
- Working along one 28″ edge of the base, measure and mark 41⁄2″ in from one long edge. Measure and mark again, 51⁄2″ from the first mark.
- Fold each strip crosswise in half to form the loop. Center one loop over each mark, matching the raw edges of the loop to the raw edge of the base. (The loops will be approximately 4″ apart.) Machine baste 1⁄2″ from the raw edges, through all layers.
 Fold the base in half lengthwise, right sides together.
Note: For lightweight fabric, center batting over the folded base or fuse interfacing to one (wrong) side before proceeding.- Using a 1⁄2″ seam allowance, stitch around raw edges of the base, leaving a 10″ opening at the center of the lower edge for turning.
- Clip the corners. Turn the base right side out; tuck the raw edges in at the lower edge and press. Slipstitch *or machine stitch the opening closed.
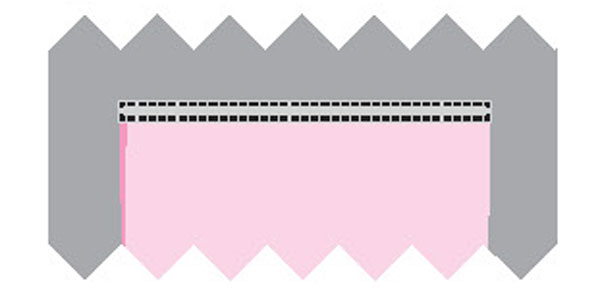
- To reinforce where the loops are attached, topstitch across the upper edge of the holder.
Attach the Pockets
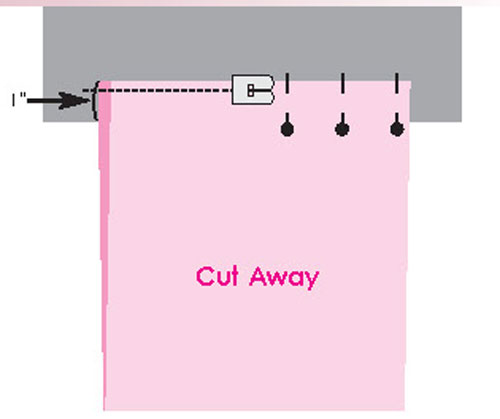
- Pin the first pocket to the base so that its upper edge is 1″ above the lower edge of the base. Make sure the embroidered names are “right side up.” Machine baste.

- Pin the next pocket in place so its lower edge overlaps the upper edge of the first pocket by about 1″. Repeat, until all seven pockets are pinned and basted in place.
- Cut the ribbon into seven 11″ pieces. On each piece of ribbon, fold the cut ends under 1⁄2″ and press.
- Center one piece of ribbon over the upper edge of one pocket; pin or glue-baste in place. Edge-stitch all around the ribbon, stitching through the pocket and the base.
- Repeat for the upper edges of all the pockets.

~Carmen DePalma, ASG Tampa Chapter


