Firming Things Up
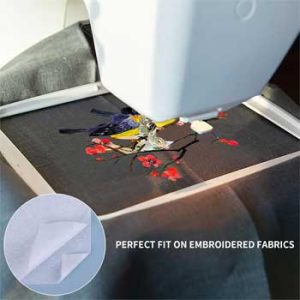
If you own an embroidery machine, chances are good you have a drawer full of various types of stabilizers needed for your embellishing. However, if you don’t have an embroidery machine, you may not think you need stabilizers—but think again!
What is stabilizer?
Simple answer—something to put behind or over fabric temporarily to well, stabilize it, while stitching. Because machine embroidery uses dense stitches and lots of thread, stabilizers help to eliminate puckering.
Stabilizers come in a variety of constructions—from woven and non-woven to mesh, film and liquid. They have a variety of application methods, from sew-in to fusible to self-adhesive. And, they have a variety of removal methods, from cut-away and tear-away to heat-away and water-soluble. Check out your store’s offerings for a multitude of mix-and-match construction, application and removal methods.
Note that most stabilizers are designed to be temporary, while similar products called interfacings are meant to be permanent. Stabilizers can also become permanent additions to your project.
So, even if you don’t do embroidery…you need stabilizer too! Here’s why:
Decorative stitching can cause some fabrics to pucker and distort, and if the stitches are especially wide, they can cause “tunneling” which means the edges of the stitches pull in toward each other. Using a stabilizer underneath can help eliminate these issues. Another option is to use liquid stabilizer to stiffen the fabric prior to stitching, then wash it out after stitching.
Appliqué, especially on lightweight fabrics or knits, can also cause puckering, so place stabilizer under the area you’re working with to keep the appliqué and the base fabric pucker-free.
Beading and sequins can cause distortion due to the added weight, so adding a stabilizer under the area will help with support. This is one area where a stabilizer can be left in permanently.
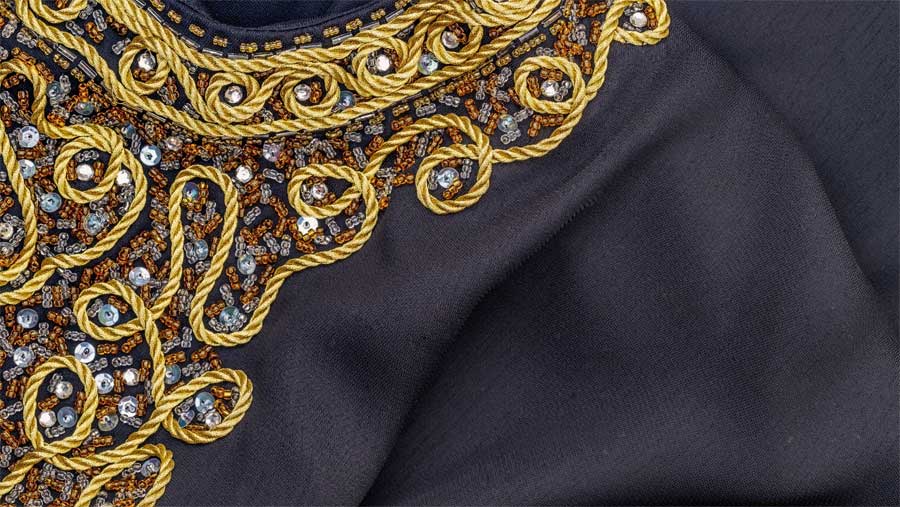
Off-the-edge stitching can play havoc with your sewing machine, as well as the fabric edge, so if you’re trying to stitch scalloped or picot edging, lay a piece of wash-away stabilizer under the edge and extending about ½”. After the stitching is complete, remove the stabilizer, leaving only your delicately stitched edge.
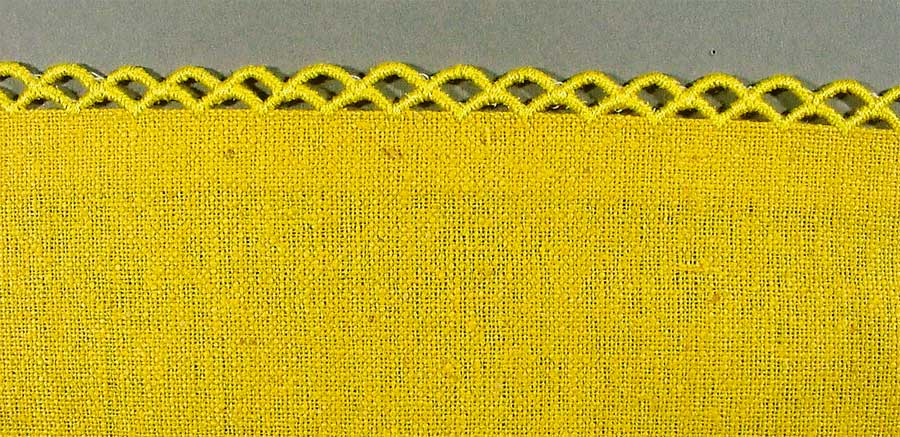
Serger rolled hems sometimes leave pesky fabric threads poking through the serger threads, but if you wrap the edge in a narrow strip of water-soluble stabilizer before sewing, those troublesome threads will be contained. If you’re serging a regular stitched edge, liquid stabilizer along the fabric edge will help keep it flat.
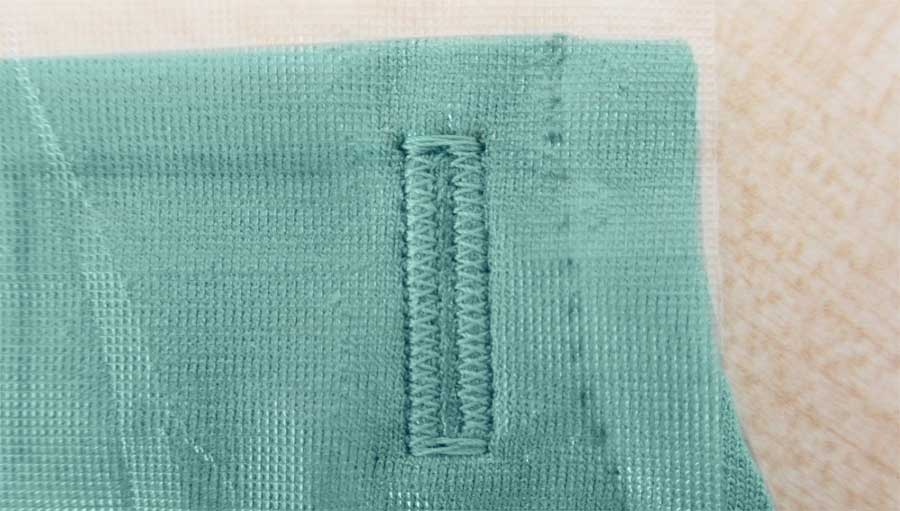
Buttonholes sometimes stretch, despite our best interfacing efforts, but adding a strip of stabilizer on the top and bottom of the fabric can help minimize distortion. A clear film stabilizer is ideal for this purpose. This technique also works well for buttonholes and seams on a textured fabric, like bouclé or loosely woven suiting, where the fabric threads or nubs may catch on the presser foot toes. Stabilizer makes for smooth stitching lines by compressing the surface texture.
Sewing sheer fabrics can sometimes be a wrestling match, as they tend to slip, slide and stretch during construction. But with the addition of a liquid stabilizer, seamlines can be stable for stitching, and edges firmed for hemming. Stabilizing the fabric itself can also make for easier and more accurate cutting. This assumes your sheer fabric is washable to remove the stabilizer after construction.
Couching—the addition of yarns, ribbons and trims with either controlled or free-motion stitching—can also cause distortion in the base fabric, but adding a stabilizer firms up the surface for easier attachment.
Creating your own free-form fabric or scarves using just yarns is easy–just sandwich the fibers between layers of clear wash-away stabilizer. Stitch in place, then rinse away.
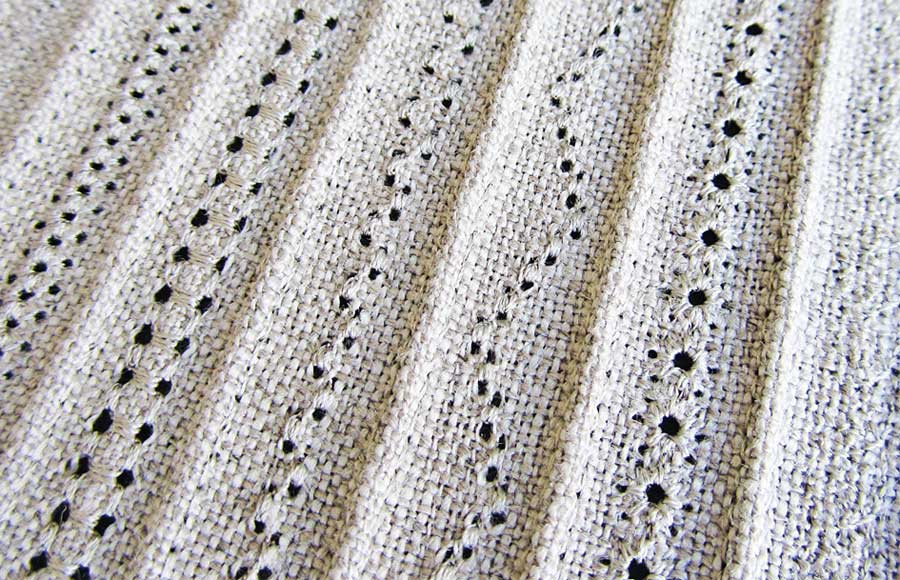
Hemstitching with a wing needle can sometimes damage the fabric as the needle “wings” can catch on fabric threads, pulling them into the needle hole. Liquid stabilizer can eliminate that and create well-defined holes for your design.
Die-cutting is a great place to use stabilizer for cleaner edges on lightweight cottons. Some stabilizers come in pre-cut sheets specifically for this purpose.
Paper-piecing is an ideal place to use an inkjet-printable stabilizer. Just print multiples of your quilt blocks and you’re ready to stitch on clearly printed lines.
So, even if you’re not a machine embroiderer, you will need a drawer of various stabilizers—trust me!
~Linda Griepentrog is the owner of G Wiz Creative Services and she does writing, editing and designing for companies in the sewing, crafting and quilting industries. In addition, she escorts fabric shopping tours to Hong Kong. She lives at the Oregon Coast with her husband Keith, and three dogs, Yohnuh, Abby, and Lizzie. Contact her at gwizdesigns@aol.com.


