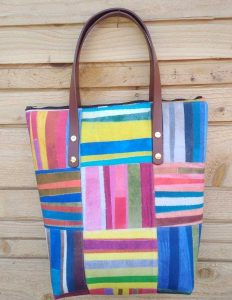
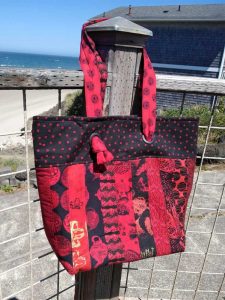
 Totes are one of the easiest projects sewers can make and are often a first project for beginners. They can be lined, unlined, open-top, zipper-top or even closed with a magnetic fastener, and some offer inside and/or outside pockets as an extra convenience. Tote bags generally have flat bottoms and corner shaping, though they can also simply be flat. These handy carryalls have gained popularity in recent years as many shoppers sport their own bags to the store to carry home their purchases.
The simple design of a tote makes it ideal for many fabrics from canvas to ripstop, quilting weights and home décor styles, even leather. Unlined totes made in lightweights like ripstop are ideal for grocery hauling, as they fold totally flat, but are still strong for carrying cans, produce and other vittles.
There are many patterns available for tote bags, or you can easily make your own simple version with two rectangles and some straps. But, no matter the style, there are some handy tips for tote making.
Inside Scoop
Unless your tote is unlined, it’s a good idea to reinforce the bag sides with interfacing or sewable foam for added stability and shape retention. Judge the type of stabilization needed by the fabric weight—lighter weight fabrics require a sturdier interfacing.
Fusible interfacings, fleeces and foams are ideal backing for tote sides. Cut the pieces the same size and shape as the outer bag pieces. Some sewers like to trim the seam allowances from the backing pieces prior to fusing to reduce bulk. Be sure to follow the manufacturer’s instructions for proper fusing and always allow the pieces to cool before moving them.
Bottom Basics
Flat tote bottoms can be further stabilized by adding an insert of the same size after constructing the bag. Materials available for inserts are acrylic shapes, very stiff interfacing or a rectangle of heavy plastic canvas and often come in various sizes, colors, and styles, or as cut-your-own. If the tote is unlined, simply cover the bottom insert with matching fabric. For lined totes, the stabilizer goes between the outer and lining layers. To keep the bottom insert from shifting, it’s a good idea to loosely tack it in place at the side seams.

Solid Footing
Adding bag feet to a tote bottom is a great way to help keep the tote cleaner, as it allows the fabric itself to stay off the ground. Bag feet come in a variety of shapes, colors and sizes, and they are applied prior to any lining, but after interfacing. Feet can be applied like a magnetic fastener with two prongs inserted into a small hole in the desired corner location on the finished bottom. A piece of foam or stiff interfacing is placed over the prongs for reinforcement, then the metal prongs are folded outward and flattened. To further protect the bag lining, a piece of fleece or interfacing can be placed over the prongs as a cushion. Feet are also available in screw-back versions and can be padded and reinforced as needed.

Getting a Handle on it
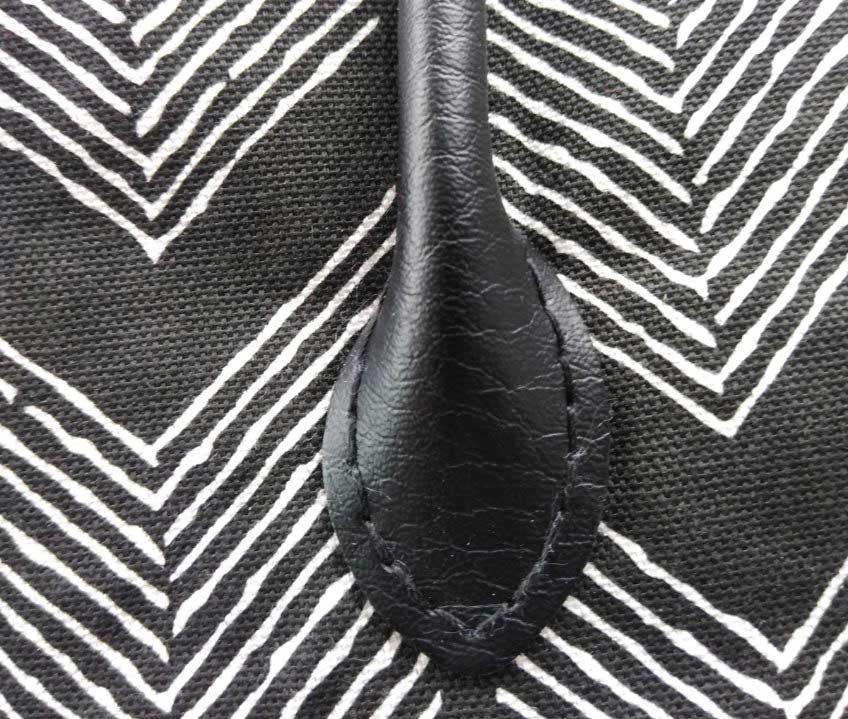
 There are a wide variety of options for tote handles. They can be short or over-the-shoulder length, and made from self-fabric, webbing, rope or leather (real or faux). The handles can simply be sewn to the tote top hem, or they can straddle the entire length of the tote and included in the bottom seam. Or, they can be applied to the outside tote surfaces, depending on the desired look.
If the tote is unlined, it’s a good idea to have a double hem at the top for stability when attaching handles to the opening.
Tote handles made of fabric need some kind of reinforcement to make them sturdy—so insert interfacing or fleece inside and topstitch both edges to flatten.
If you’re attaching finished straps to the tote outside, turn under any unfinished ends, then sew a square at each strap end, reinforced with an x for added strength.
Any handles applied to the outside of the tote should be attached prior to lining it so that the stitching or attachment backings are hidden. If you plan to carry heavy items in the tote, add a piece of stiff interfacing behind any outside handle attachments for reinforcement.
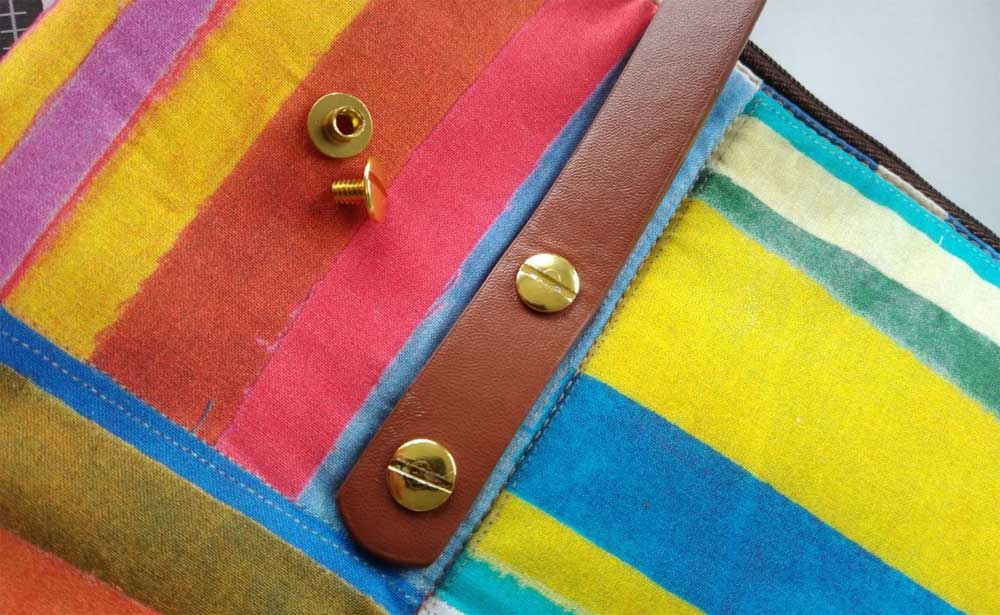
Leather handles can be attached several ways depending on the style. Some come with pre-punched holes for easy hand stitching; others require the use of screws or rivets to attach. One handy notion is called a Chicago screw—it’s a post and cap that fits into pre-made handle holes and, as the name implies, simply screws together to secure.

If you’re hand-sewing leather handles in place, use heavy thread and a backstitch for a sturdy application. Some lightweight leather handles can be machine stitched in place as well.

Share your tote projects with us! Visit our Facebook page for today’s post and show us your own tote bag projects.
~Linda Griepentrog is the owner of G Wiz Creative Services and she does writing, editing and designing for companies in the sewing, crafting and quilting industries. In addition, she escorts fabric shopping tours to Hong Kong. She lives at the Oregon Coast with her husband Keith, and three dogs, Yohnuh, Abby, and Lizzie. Contact her at gwizdesigns@aol.com.


