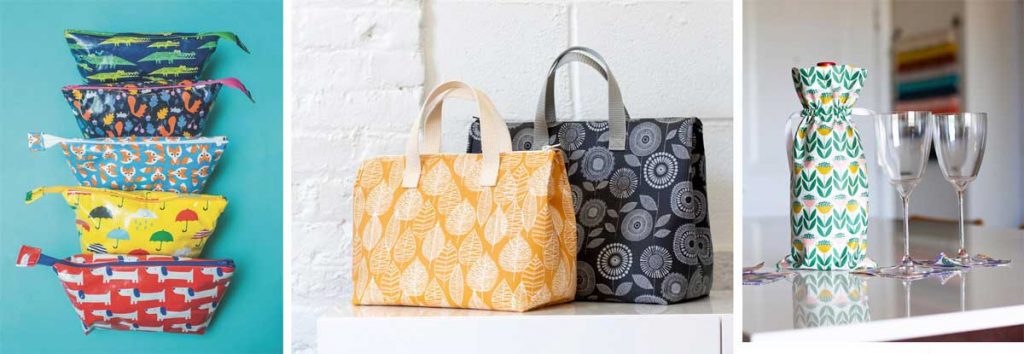
 If you’re looking to make that perfect raincoat, try one of the great laminated fabrics on the market today. Colorful cottons with a clear coating are ideal for rainy weather attire, and a host of other projects from cosmetic bags to totes and aprons.
And you have options—laminated cottons come with either a matte finish or a glossy finish, depending on the brand and the desired look. In many instances, the same print is available in a non-laminated version, so that you can use it for facings, hood linings, binding, etc.
Although they do require some care when sewing, there’s nothing off-putting about these fun fabrics. Just be sure to purchase a laminated cotton, as opposed to traditional oilcloth fabric which has a heavier mesh base and is best suited for home décor items.
The coating on laminates makes them water resistant (not waterproof), and it keeps seam allowances from fraying. Some coatings are lightweight and others a bit heavier, so select the fabric by the intended use. Softer coatings are ideal for garments, as they’re more flexible than heavier ones.
Preparation

When choosing a pattern, look for simple lines and few seams, as well as raglan sleeves vs. set-in. There’s no room for error with laminates, so be sure the pattern fits you.
When you cut out your project, opt for pattern weights instead of pins, unless you keep them only within the seamlines as the marks are permanent.
Mark with chalk or soap slivers and never a tracing wheel, as that can damage the coating.
Sewing
There are some helpful notions for stitching these sticky fabrics. Spring clips, such as Wonder Clips, help hold layers in place without pinning, as do coated paperclips.
If sticking is an issue, opt for a non-stick presser foot, or put tape on the bottom of a regular foot to keep it moving. Sticking becomes an issue usually only if you’re sewing with the right side up, otherwise, the fabric should move smoothly under the foot.
Adjust the stitch length to slightly longer than normal and use a small needle to avoid large holes in the fabric.
Pressing isn’t an option for most laminates, so keep the iron away. To keep the seams flat, finger-press, then topstitch, either open or with seam allowances to one side. Topstitching is also recommended for all edges to keep them flat.

Finishing
If your raincoat requires buttonholes, interface the area with a sew-in interfacing (not fusible) and use the setting on your machine that produces a buttonhole with simply straight stitching around the slit. Any dense satin stitching can damage the fabric.
For hems, there’s no need to finish the edge as the lamination keeps the fabric from fraying—just turn up the hem evenly, clip it in place and sew one or two rows of stitching evenly from the folded edge.
On a tote, bound edges work perfectly—not only are they easy to do, but they also reduce the bulk of multiple laminate layers on turned-and-stitched edges.
~Linda Griepentrog
Linda is the owner of G Wiz Creative Services and she does writing, editing and designing for companies in the sewing, crafting and quilting industries. In addition, she escorts fabric shopping tours to Hong Kong. She lives at the Oregon Coast with her husband Keith, and two dogs, Yohnuh and Abby. Contact her at .


